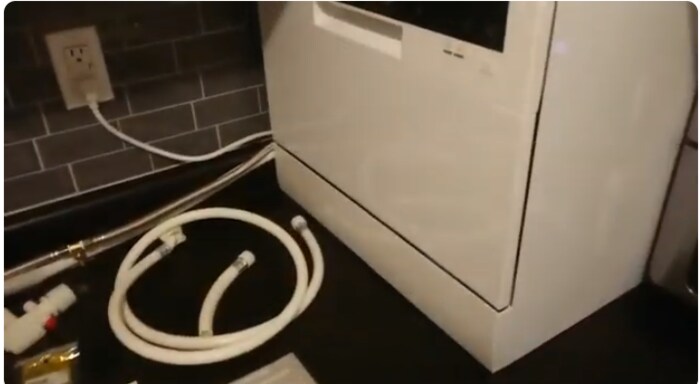
Tired of dragging your portable dishwasher to the sink, hooking up the faucet adapter, and losing access to the sink for the entire wash cycle? Converting it to a permanent, built-in installation solves all of that, and for many models, it’s a project you can do yourself in a weekend. This guide walks through how to hook up a portable dishwasher permanently, including a step most other guides skip: confirming your specific model can actually be converted in the first place.
Key Takeaways
- Not every portable dishwasher can be converted. Check your model’s convertibility before buying supplies, since some manufacturers stopped including conversion hardware on newer units.
- Under the National Electrical Code, the outlet or hardwired connection supplying a dishwasher must have GFCI protection.
- Some states require a physical air gap for the drain line rather than accepting a high loop alone, so check your local plumbing code before deciding which method to use.
- The full conversion typically takes a full day for a first-timer, including converting the unit, running new water and drain lines, and wiring the power source.
Can Your Portable Dishwasher Be Converted? Check First
Before buying supplies, confirm your specific model supports conversion. This matters more than it used to. GE Appliances’ own support documentation notes that portable dishwasher models built from October 2019 onward cannot be converted to built-in units, while earlier convertible models could be converted using a manufacturer conversion kit that’s since been discontinued for most older models too. Check your owner’s manual or model number against your manufacturer’s current support page before assuming conversion is possible. If your unit isn’t convertible, the realistic path is either continuing to use it as a portable unit or replacing it with a dedicated built-in dishwasher.
Permanent Conversion vs. Temporary Hookup
If you’re just looking to connect a portable dishwasher to your faucet for regular use without cutting into cabinets or running new lines, that’s a different, simpler project. Our guide on how to connect a portable dishwasher covers the faucet-adapter method, which takes minutes and requires no permanent changes. This guide is for the opposite approach: trading portability for a dishwasher that’s plumbed and wired in place like a standard built-in unit.
What to Expect From This Project
Choose the Ideal Location
Some kitchens are already laid out to accommodate a built-in dishwasher, but if yours isn’t, you’ll need to prepare a space. Most units sit under the countertop near the sink, both for easy water line access and because that’s where your drain and power source options are already close by. You’ll also need access to an electrical source nearby. If there’s no ready-made slot, you may need to adjust the cabinet configuration to fit the unit, so carefully measure your dishwasher’s dimensions against our guide to standard dishwasher sizes and confirm the available space, including room for the mounting frame, before you start.
Technical Considerations
This is a solid DIY project if you’re comfortable with basic plumbing and, ideally, some electrical experience. If you’re not confident wiring a hardwired appliance, bring in a licensed electrician for that portion. The plumbing side is generally more forgiving of a first attempt than the electrical side, where mistakes carry real safety consequences.
Plug-In vs. Hardwiring, and the Electrical Code
You can use a plug-in dishwasher connected to a standard outlet, or hardwire the unit directly to a circuit. The plug-in route is simpler for most DIYers, provided you have the right outlet available. Under NEC 210.8(D), the outlet or hardwired connection that supplies a dishwasher in a dwelling unit must have GFCI protection, regardless of whether it’s a standard receptacle or a direct wire connection. If you don’t already have a GFCI-protected outlet in the right spot, you’ll need to install one, ideally mounted on the cabinet frame or an adjacent wall where it stays accessible for future service.
Check Your Local Codes on Air Gap Requirements
Some states require a physical air gap device to prevent contaminated drain water from siphoning back into the dishwasher, while others accept a high loop in the drain hose as sufficient protection instead. An air gap is a small, dome-shaped fitting installed on the sink deck or countertop. Since this varies significantly by state and even by local jurisdiction, confirm with your local building department which method your area requires before you finalize your drain hose routing.
Convert Your Portable Dishwasher
Assuming your model is convertible, the conversion itself is usually straightforward. Remove the wheels and casters, typically with just a screwdriver. If your dishwasher’s controls are on the side, installation is simpler, since the unit fits neatly under a countertop like a standard built-in. If the controls are top-mounted, it won’t fit under a countertop and you’ll need a space without any covering above the unit. Once the wheels are gone, remember the dishwasher can no longer be rolled in and out, so confirm the final location before proceeding.
Get Your Supplies in Order
Gather everything before you start to avoid mid-project trips to the hardware store. Most of what you need is available at any hardware store that carries plumbing supplies.
Supplies you’ll need:
- Screwdriver
- Adjustable wrench
- Level
- Drill with an assortment of bits
- Spade bits or a hole saw
- Locking pliers
- Wire nuts
- Hose bracket
- 1-inch screws
- Power cord (if not hardwiring)
- Hose clamps
- Double-port shutoff valve
- Drain tailpiece with dishwasher port
- Water supply hose
- Drain hose
- Lumber for the installation frame, plus wood screws, if your space needs one
Installation Process Steps
Once you’ve picked the location, prepared the space, converted the dishwasher, and confirmed your GFCI outlet is ready, you’re set to begin the permanent installation.
Step 1: Install a New Hot Water Shutoff Valve
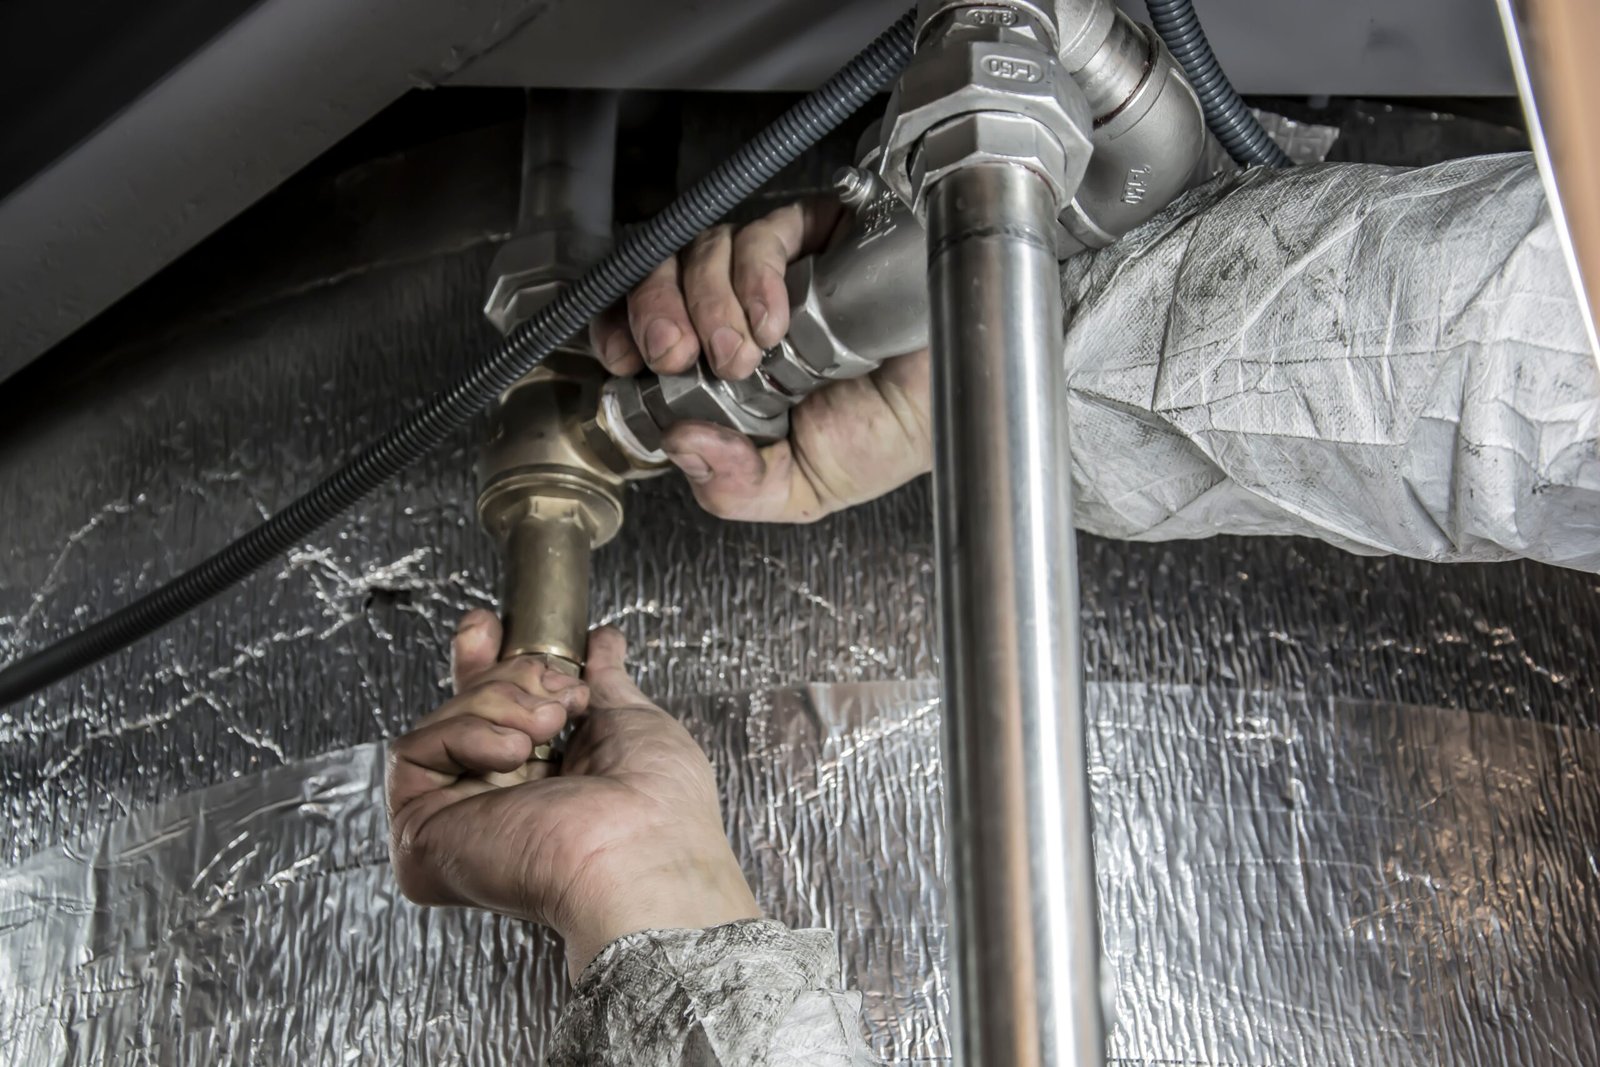
Turn off the cold water inlet valve at your water heater, then open the kitchen faucet’s hot water side to relieve pressure. Use locking pliers to disconnect the existing water supply line from the shutoff valve, remove the old valve, and install a new double-port shutoff valve, tightening the compression fitting with pliers. Teflon tape usually isn’t needed here. Leave one port for the dishwasher and connect the faucet’s line to the other. Turn the water on with the dishwasher valve left off, and check every connection for leaks before moving on.
Step 2: Drill the Power Cord and Drain Hose Holes
Using a hole saw or a drill with a spade bit, drill a hole sized for your air gap or drain loop as close to the countertop as reasonably possible, in the wall between the sink cabinet and the dishwasher slot. Add a roughly 1-inch hole for the water line, and a 3/4-inch hole for the power cord and plug, sized generously enough that the plug end passes through cleanly.
Step 3: Replace the Drain Tailpiece
Install a dishwasher-compatible drain tailpiece on your sink drain if one isn’t already there. If a garbage disposal is present, you can typically connect to its dishwasher port instead. Disconnect power to the disposal first, then remove the knockout plug from its dishwasher inlet before making the connection.
Step 4: Install the Air Gap, If Required
If your local code calls for a physical air gap, drill the mounting hole in the countertop or sink deck now, positioned close enough to the sink that any overflow drains into it rather than onto the counter.
Step 5: Prepare the Dishwasher
Lay the dishwasher on its side for easier access to its underside connections. Connect the drain hose to the drain port and secure it with a hose clamp. Connect the water supply hose to the water inlet and tighten with an adjustable wrench or locking pliers. Locate the electrical terminals, connect the power cord or wiring, tighten the terminal lugs with a screwdriver, and reattach the cover plate.
Step 6: Position the Dishwasher
Stand the dishwasher upright and move it toward its final spot, feeding the power cord, water line, and drain hose through the holes you drilled as you go. This step goes much faster with a second person, one feeding cords and hoses while the other slides the unit forward.
Step 7: Level the Dishwasher
Adjust the leveling feet before pushing the unit fully into place, bringing it to within about 1/2 inch of the countertop. Open the door and set a level on the floor of the unit to check both directions, adjusting the front feet as needed. Once level, secure the dishwasher to the surrounding frame with its included brackets and screws. If it’s not installed under a countertop, such as with top-mounted controls, secure it to the sides of the wood framework instead.
Step 8: Connect the Drain Hose
If using an air gap, connect the dishwasher’s drain hose to its inlet port and secure with a hose clamp, then run a second length of hose from the air gap to the garbage disposal or tailpiece, clamping both ends firmly. Without an air gap, secure the drain hose to the underside of the countertop with a hose bracket and connect it directly to the disposal or tailpiece.
Step 9: Connect the Water Supply
At the hot water shutoff valve, secure the water hose to the open port with a screwdriver, then tighten the connection with an adjustable wrench or locking pliers. Turn the shutoff valve on and check closely for leaks, tightening further if you find any.
Step 10: Power It Up
If hardwiring, follow the manufacturer’s wiring diagram to locate the electrical box, connect the circuit wires with wire nuts, and cut power to the circuit before doing any of this work. Replace the cover plate once finished. If your dishwasher uses a standard plug, simply plug it into its GFCI-protected outlet.
Testing and Finishing Up
Before loading a full set of dishes, run a short rinse cycle with the dishwasher empty. Check every connection point, the water supply, the drain hose, and the air gap if you installed one, for leaks while it runs and again once it finishes. If everything looks dry and the unit runs quietly and levelly, you’re ready for regular use. Once it’s running, our guide on what to consider before installing a new dishwasher is worth a look too, since several of the same fit and clearance checks apply whether you’re converting an existing unit or planning to replace it down the road.
Frequently Asked Questions
How do I know if my portable dishwasher can be converted?
Check your owner’s manual or your manufacturer’s current support page for your specific model number. If your dishwasher was made after October 2019, conversion may not be possible at all, depending on the brand.
Do I need a plumber and an electrician for this project?
Not necessarily, if you’re comfortable with basic plumbing and wiring. But if you’re not confident working with electrical connections, it’s worth hiring an electrician for that portion specifically, since mistakes there carry real safety risk.
Can I switch back to a portable setup later if I change my mind?
It depends on whether you kept the wheels, casters, and original hoses. Some people keep these parts stored in case they move or want to revert, though many find the permanent setup more convenient once it’s in place.
Is a GFCI outlet really required, or just recommended?
It’s a requirement under the National Electrical Code for the outlet or connection supplying a dishwasher in a home, not just a best practice. Check with your local building department if you’re unsure whether your area has adopted this specific provision.
How long does this project typically take?
Budget a full day for a first attempt, longer if you’re also installing a new outlet or running plumbing from scratch rather than tying into existing lines.
Final Thoughts
Converting a portable dishwasher to a permanent installation is a genuinely doable weekend project, provided your model supports it and you’re comfortable with the plumbing and electrical work involved. Confirm convertibility first, follow the code requirements for GFCI protection and drain backflow prevention, and take your time on each connection. Once it’s in, you’ll have a dishwasher that’s ready to use the moment you load it, without a single hose to hook up first.

Hey, My name is MAMON. I am a SEO content creator and affiliate marketer with over 8 years of experience. I create honest product reviews, in-depth buying guides, and practical how-to articles to help readers make informed decisions. My mission is to provide trustworthy, research-backed content that delivers real value.
Leave a Reply