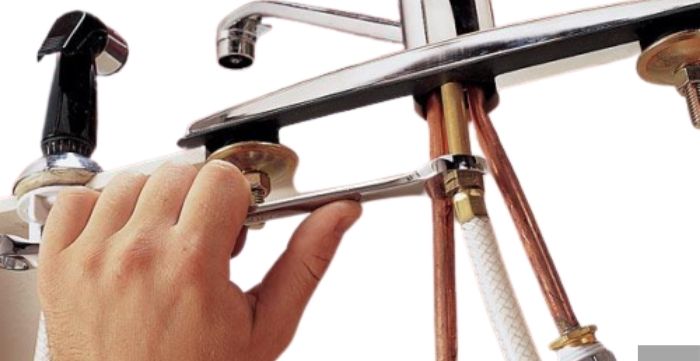
Here’s how to replace a kitchen faucet sprayer hose in about 30 to 60 minutes, even if you’ve never done a plumbing repair before: shut off the water, disconnect the old hose under the sink, and swap in a replacement matched to your faucet brand. If your sprayer is dripping, hard to pull out, or barely holding water pressure, the hose is almost always the fix, not the whole faucet. This guide walks through every step, from confirming the hose is actually the problem to testing the new connection for leaks.
Key Takeaways
- A cracked, loose, or mineral-clogged sprayer hose is the most common cause of a leaking or weak kitchen sprayer, and it’s usually cheaper and faster to replace than the entire faucet.
- You only need a few basic tools: an adjustable wrench or basin wrench, pliers, a screwdriver, and a replacement hose matched to your faucet’s brand and connector type.
- Shutting off the water supply and relieving line pressure before you disconnect anything is the step most DIYers skip, and it’s the one that prevents a mess.
Signs Your Kitchen Faucet Sprayer Hose Needs Replacing
Before you buy parts, confirm the hose is actually the culprit. These are the clearest signs it’s time for a replacement.
It’s leaking
Water pooling under the sink or dripping from the hose during use is the clearest sign of a failing sprayer hose. Even a small leak can waste water and, over time, damage the cabinet floor or surrounding pipes.
It won’t hold a tight connection
If the fitting between the hose and the faucet body keeps loosening, you’ll get inconsistent spray patterns or leaks that come back no matter how many times you tighten the nut. A worn gasket or stripped threads inside the connector usually means it’s time for a new hose.
Mineral buildup on the nozzle
Hard water leaves calcium and lime deposits inside the hose and around the nozzle. A white, crusty residue that won’t come off with vinegar or a cleaning brush is often a sign the internal lining is degrading, not just the visible nozzle.
The hose is old
Most manufacturers rate sprayer hoses for roughly 8 to 10 years of regular use before the rubber or braided lining starts to break down. If yours is past that mark, replacing it proactively can save you an emergency repair later.
Visible wear or damage
Cracks, cuts, kinks, or fraying anywhere along the hose are a sign it could fail without warning. Even minor surface damage can turn into a full leak once water pressure is running through it regularly.
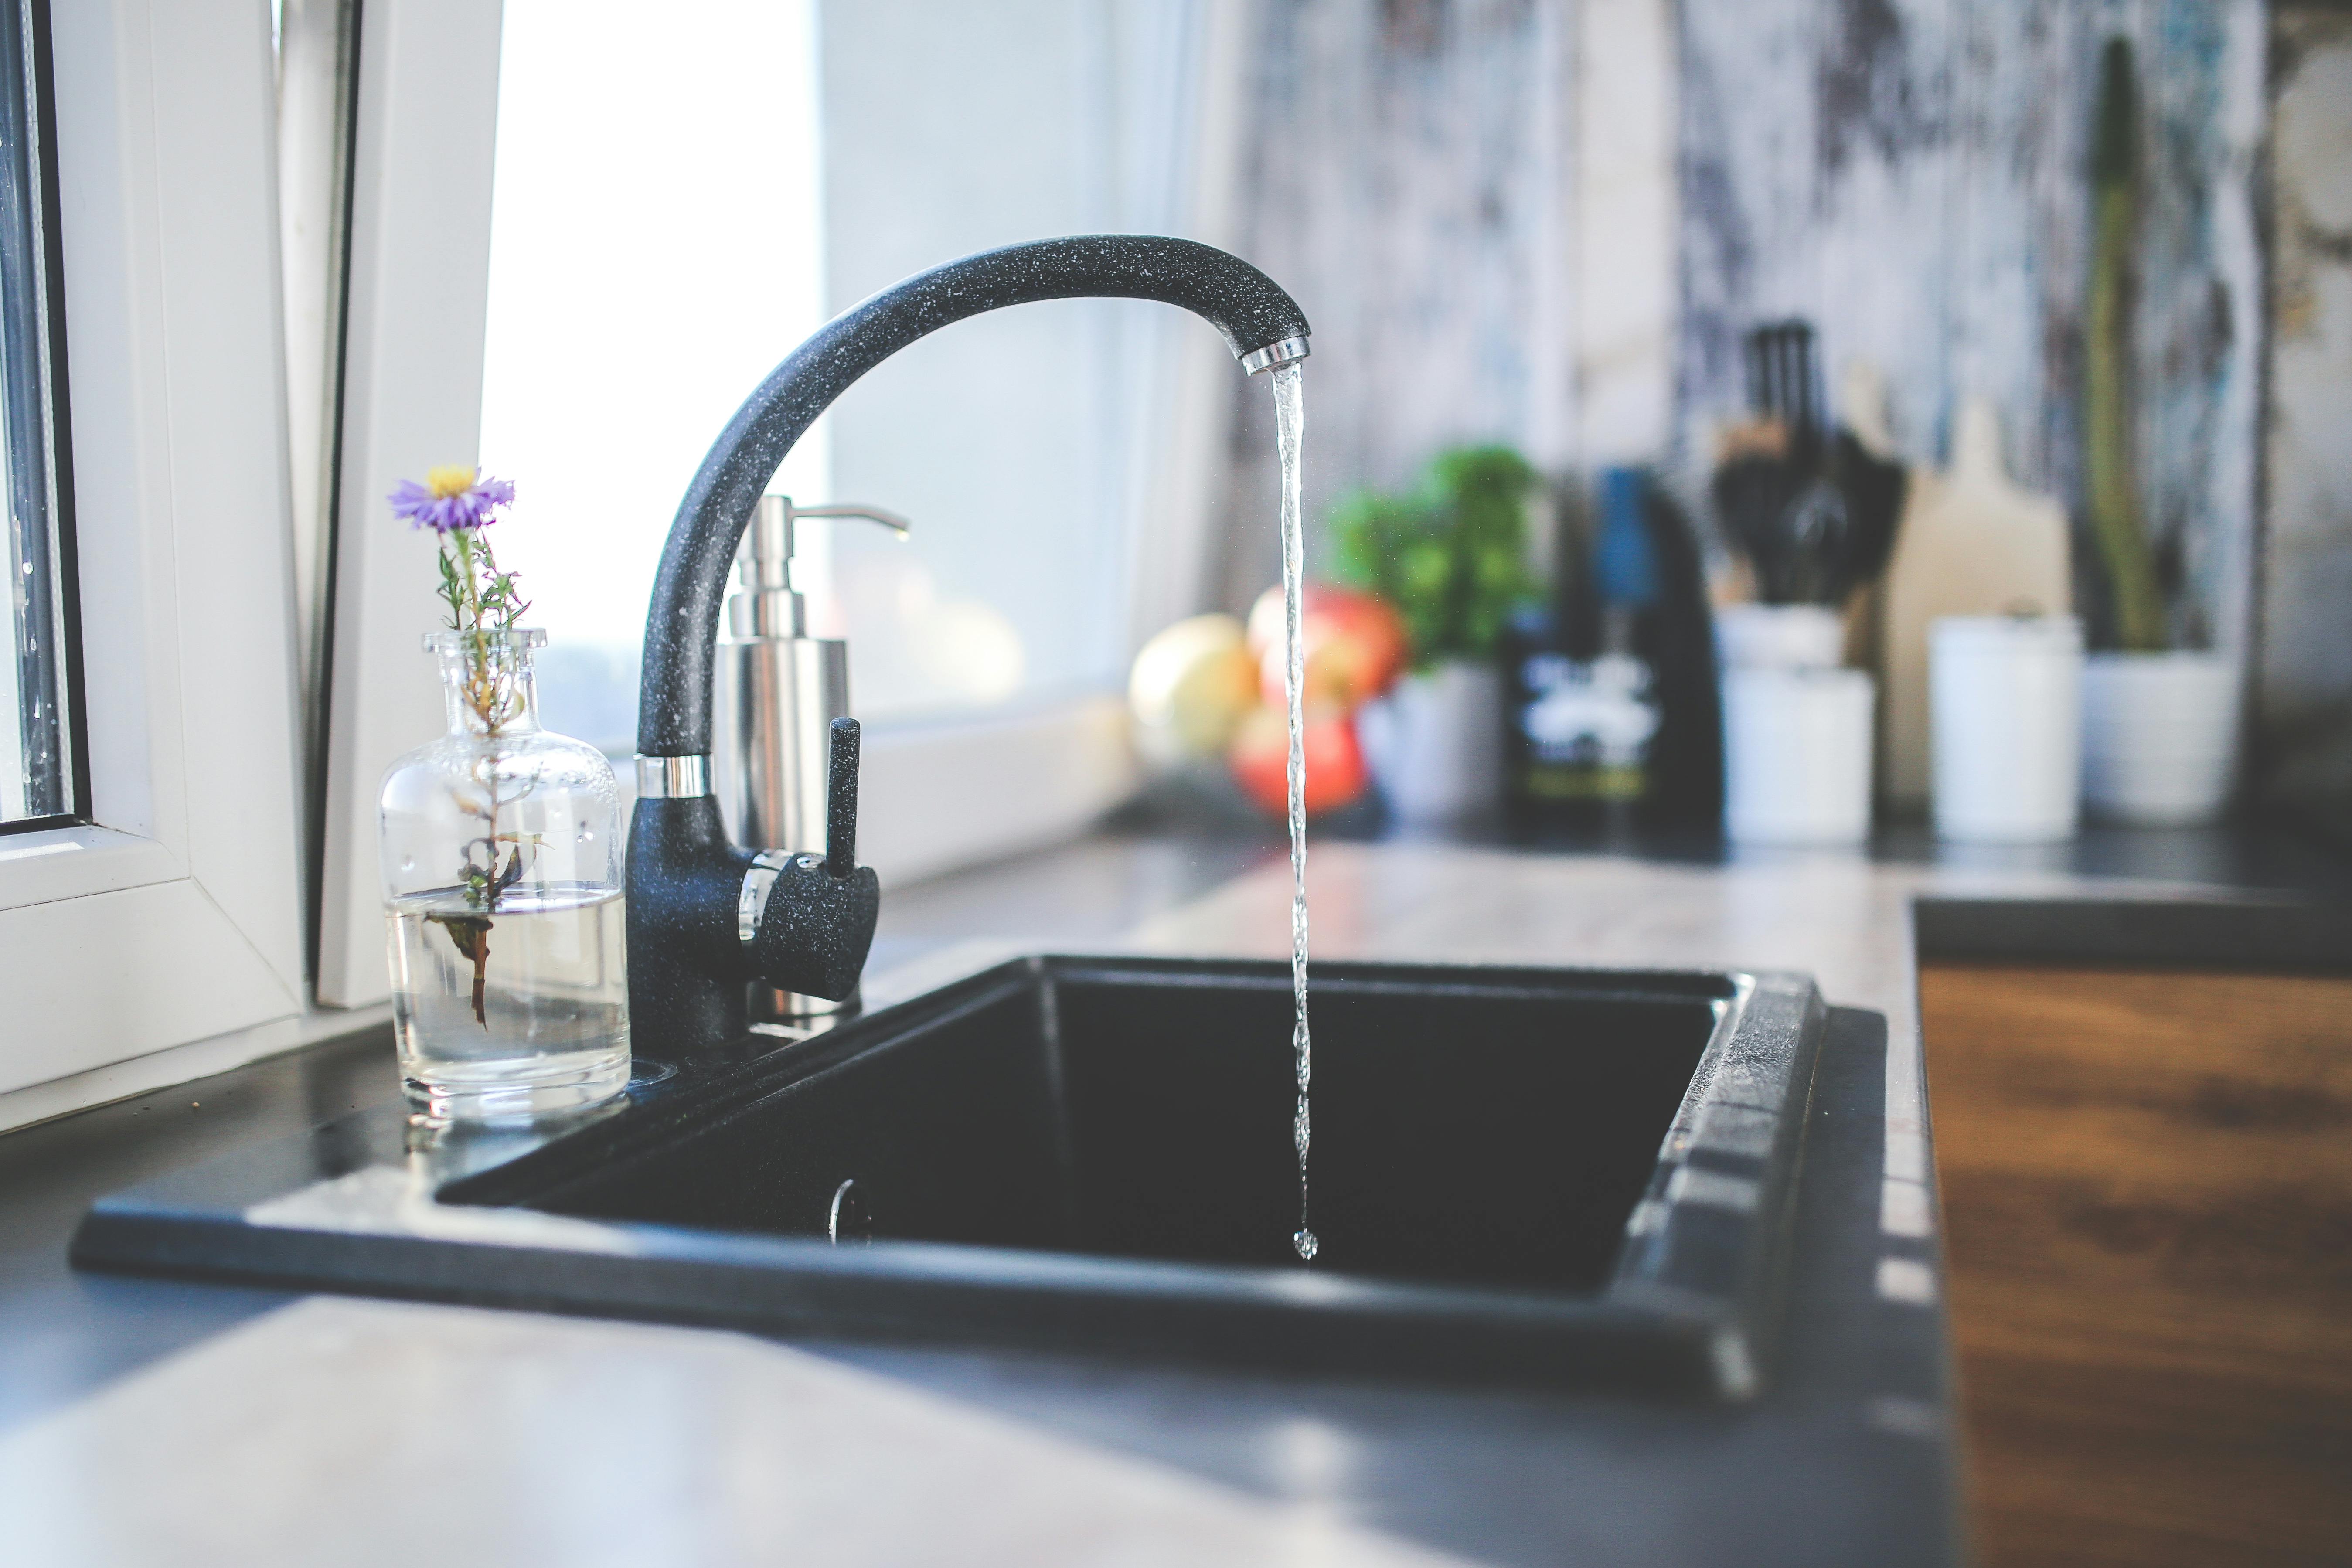
If your faucet is leaking from the base instead of the sprayer itself, the fix is different.
Tools and Materials You’ll Need
Gather these before you start so you’re not making a mid-project trip to the hardware store.
- Adjustable wrench or basin wrench — for loosening and tightening the nuts and fittings that secure the hose to the faucet and water supply. A basin wrench’s long handle makes it much easier to reach fittings tucked behind the sink.
- Pliers (regular and needle-nose) — for gripping and twisting stubborn connections, and for pulling the old hose free once it’s disconnected.
- Screwdriver — a flathead or Phillips, depending on your faucet model, for any mounting screws.
- New sprayer hose — matched to your faucet’s brand and connector type (threaded or quick-connect). Check the length and diameter against your old hose before buying.
- Bucket and towel — to catch residual water when you disconnect the old hose.
- Plumber’s putty or the included gasket — to seal the base of the new hose housing if it doesn’t already have a rubber gasket.
Watch: How to Replace a Kitchen Sink Sprayer Hose
If you’d rather see the process in action before you start, this walkthrough covers the same steps outlined below.
Step-by-Step: How to Replace a Kitchen Faucet Sprayer Hose
1. Turn off the water supply
Locate the hot and cold shut-off valves under the sink and turn them clockwise until fully closed. If your sink doesn’t have individual shut-off valves, close the main water supply to the house instead. Skipping this step is the single most common reason this repair turns into a bigger mess than it needs to be.
2. Relieve the remaining water pressure
Turn the faucet handle on and squeeze the sprayer trigger to drain any water left in the lines. This keeps you from getting sprayed when you disconnect the hose in the next step.
3. Disconnect the old hose under the sink
Reach under the sink and find where the sprayer hose connects to the faucet body, usually at a brass nipple or diverter valve. Hold the faucet’s connection steady with one wrench while you loosen the connector nut with a second wrench or pliers. Keep a bucket and towel handy for any drips.
4. Remove the old hose and sprayer housing
Once disconnected, pull the hose down and out through the mounting hole. If the sprayer housing is held by a separate mounting nut, loosen it with a wrench or pliers, holding the housing steady from above so it doesn’t spin while you work underneath.
5. Insert the new sprayer hose
Feed the new hose’s tailpiece up through the mounting hole from below, or down through the deck plate from above, depending on your faucet’s design. Check whether the housing has a built-in rubber gasket. If it doesn’t, apply a thin bead of plumber’s putty around the base before seating it against the sink or countertop.
6. Secure the mounting nut
From underneath the sink, thread the mounting nut onto the housing tailpiece and tighten it with a wrench or pliers. If the housing spins while you tighten, hold it steady from above with your other hand.
7. Connect the hose to the faucet body
Attach the threaded or quick-connect fitting on the hose to the nipple or diverter valve on the faucet. For threaded connections, use one wrench to hold the fitting steady and a second to tighten the nut. Quick-connect fittings usually just need firm, even pressure until you hear or feel it click into place.
8. Attach the counterweight, if applicable
Pull-down and pull-out sprayers typically use a weight clipped onto the hose to help it retract smoothly. If your old hose had one, clamp it onto the new hose at roughly the same position before you finish routing it under the sink.
9. Turn the water back on and test for leaks
Open the shut-off valves slowly and run both hot and cold water through the faucet and sprayer. Check every connection you touched for drips, and give the nuts an extra quarter-turn if you spot any moisture. Run the sprayer for a full minute to make sure the flow is steady and the hose extends and retracts without catching.
How to Choose the Right Replacement Hose
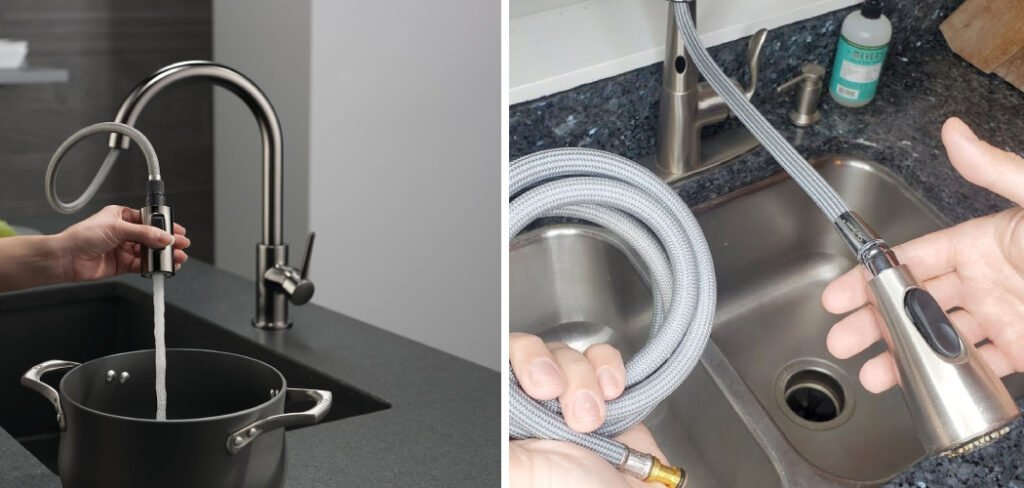
Buying the correct part up front saves you a return trip to the store. Match these details to your existing faucet before you order:
- Brand and model — Moen, Delta, Kohler, and other major brands use proprietary quick-connect fittings that aren’t always interchangeable. A hose sold specifically for your faucet model will fit without adapters.
- Connector type — threaded fittings screw on with a wrench; quick-connect fittings snap or clip into place. Bringing your old hose’s connector to the hardware store, or matching it against product photos online, is the easiest way to get this right.
- Length — measure your old hose or the distance from the faucet body to the sink’s deepest point, plus a few extra inches for routing.
- Head type — if you’re also swapping the spray head, decide between a standard aerated stream or a pull-down head with a spray/stream toggle.
According to Home Depot’s sprayer replacement guide, using a friction washer and mounting nut matched to your specific sprayer base helps the housing seat tightly and prevents it from spinning loose over time. Family Handyman also notes that a combined head-and-hose kit is often a better value than replacing just the head if your hose shows any wear at all, since labor is the same either way.
If the sprayer issue turns out to be bigger than the hose, such as a cracked faucet body or a diverter valve that won’t hold, it may be more cost-effective to replace the whole unit. Our touch kitchen faucet buyer’s guide is a useful starting point if you’re upgrading rather than repairing.
How to Make Your New Sprayer Hose Last Longer
A little maintenance goes a long way toward getting the full 8 to 10 years out of your new hose. Wipe down the nozzle periodically to prevent mineral deposits from building up, especially if you have hard water. Avoid yanking the hose to its full extension repeatedly, since that puts extra strain on the internal braiding near the connector. If you notice the hose kinking in the same spot every time it retracts, check how it’s routed under the sink. A tight bend against a cabinet wall or pipe will wear through the outer layer faster than normal use ever would. Finally, if you ever smell or see standing water under the sink between uses, trace it back immediately. Catching a slow leak early is much easier than dealing with water damage to the cabinet floor later.
Frequently Asked Questions
How much does it cost to replace a kitchen faucet sprayer hose?
A replacement hose typically runs $10 to $25, and a combined head-and-hose kit usually costs $15 to $40, depending on the brand. Since this is a DIY-friendly repair, most homeowners only pay for the part.
How long does the repair take?
Most people finish in 30 to 60 minutes, including shutting off the water and testing for leaks afterward. Tight cabinet spaces or corroded fittings can add extra time.
Do I need a plumber for this job?
Not usually. Replacing a sprayer hose only requires basic hand tools and doesn’t involve cutting pipes or soldering. If your fittings are severely corroded and won’t budge, or you’re not comfortable working under the sink, it’s reasonable to call a plumber instead.
Are kitchen faucet sprayer hoses universal?
No. Connector types vary by brand and sometimes by model year, so a hose from one manufacturer may not fit another faucet without an adapter. Always match the hose to your faucet’s brand and connection style.
Why does my new sprayer hose still leak after installation?
This is almost always an under-tightened connection or a missing gasket. Recheck each fitting, confirm the gasket or plumber’s putty is seated correctly at the base, and give the nuts another quarter-turn before testing again.
If you’re dealing with other faucet issues, our guides on tightening a loose kitchen faucet handle and how touchless faucets work cover other common repairs.
Final Thoughts
Replacing a kitchen faucet sprayer hose is one of the more approachable plumbing repairs you can tackle yourself. With the water shut off, the right tools on hand, and a hose matched to your faucet, most of the job is just working through the connections methodically. If you run into corroded fittings that won’t budge or discover damage beyond the hose itself, that’s the point where calling in a professional plumber makes sense.

Hey, My name is MAMON. I am a SEO content creator and affiliate marketer with over 8 years of experience. I create honest product reviews, in-depth buying guides, and practical how-to articles to help readers make informed decisions. My mission is to provide trustworthy, research-backed content that delivers real value.
Leave a Reply