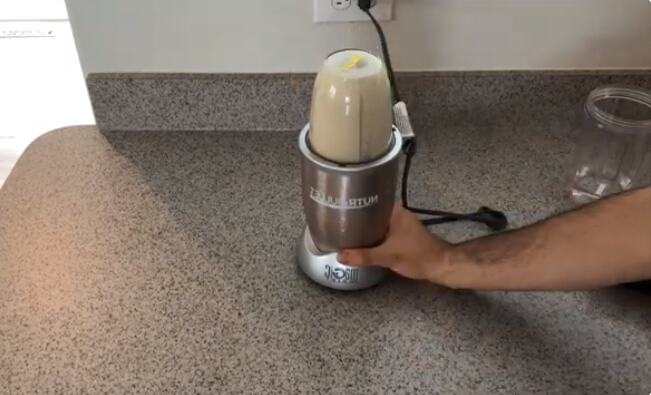
Fresh ginger juice has a sharp, warming bite that store-bought versions rarely match, and knowing how to make ginger juice with a blender means you can have it ready in about five minutes with two ingredients: ginger root and water. No juicer required. It’s also considerably cheaper than buying pre-made ginger shots at the store, since a few dollars of fresh root produces far more juice than a single bottled shot. This guide covers the full method, the health benefits backed by real research, a food-safety note worth knowing since homemade juice is unpasteurized, and how to store and use what you make.
Key Takeaways
- All you need is fresh ginger root, water, and a blender with a fine mesh strainer or cheesecloth to separate the pulp from the juice.
- Peeling is recommended for the blender method, since a blender shreds the skin rather than removing it, which can make straining less efficient.
- Homemade ginger juice is unpasteurized. The FDA advises pregnant women, young children, older adults, and anyone immunocompromised to use extra caution with any unpasteurized juice.
- Fresh ginger juice keeps for about 2 to 3 days in the refrigerator, or up to several months frozen in an ice cube tray.
Blender vs. Juicer: Which Makes Better Ginger Juice?
Both methods work, and the right one mostly comes down to what’s already in your kitchen. A juicer extracts juice more directly and tends to produce a slightly more potent, concentrated result since it separates fiber from liquid as part of the mechanical process itself. Learning how to make ginger juice with a blender instead requires the extra straining step described above, but it gets you most of the way to the same result with equipment far more households already own. If you’re only making ginger juice occasionally, or want to use the leftover pulp in other recipes, the blender method is the more practical choice. If you juice ginger frequently and want maximum yield with minimal effort, a dedicated juicer may be worth the investment, but it’s not a requirement to get good results.
Ingredients and Equipment
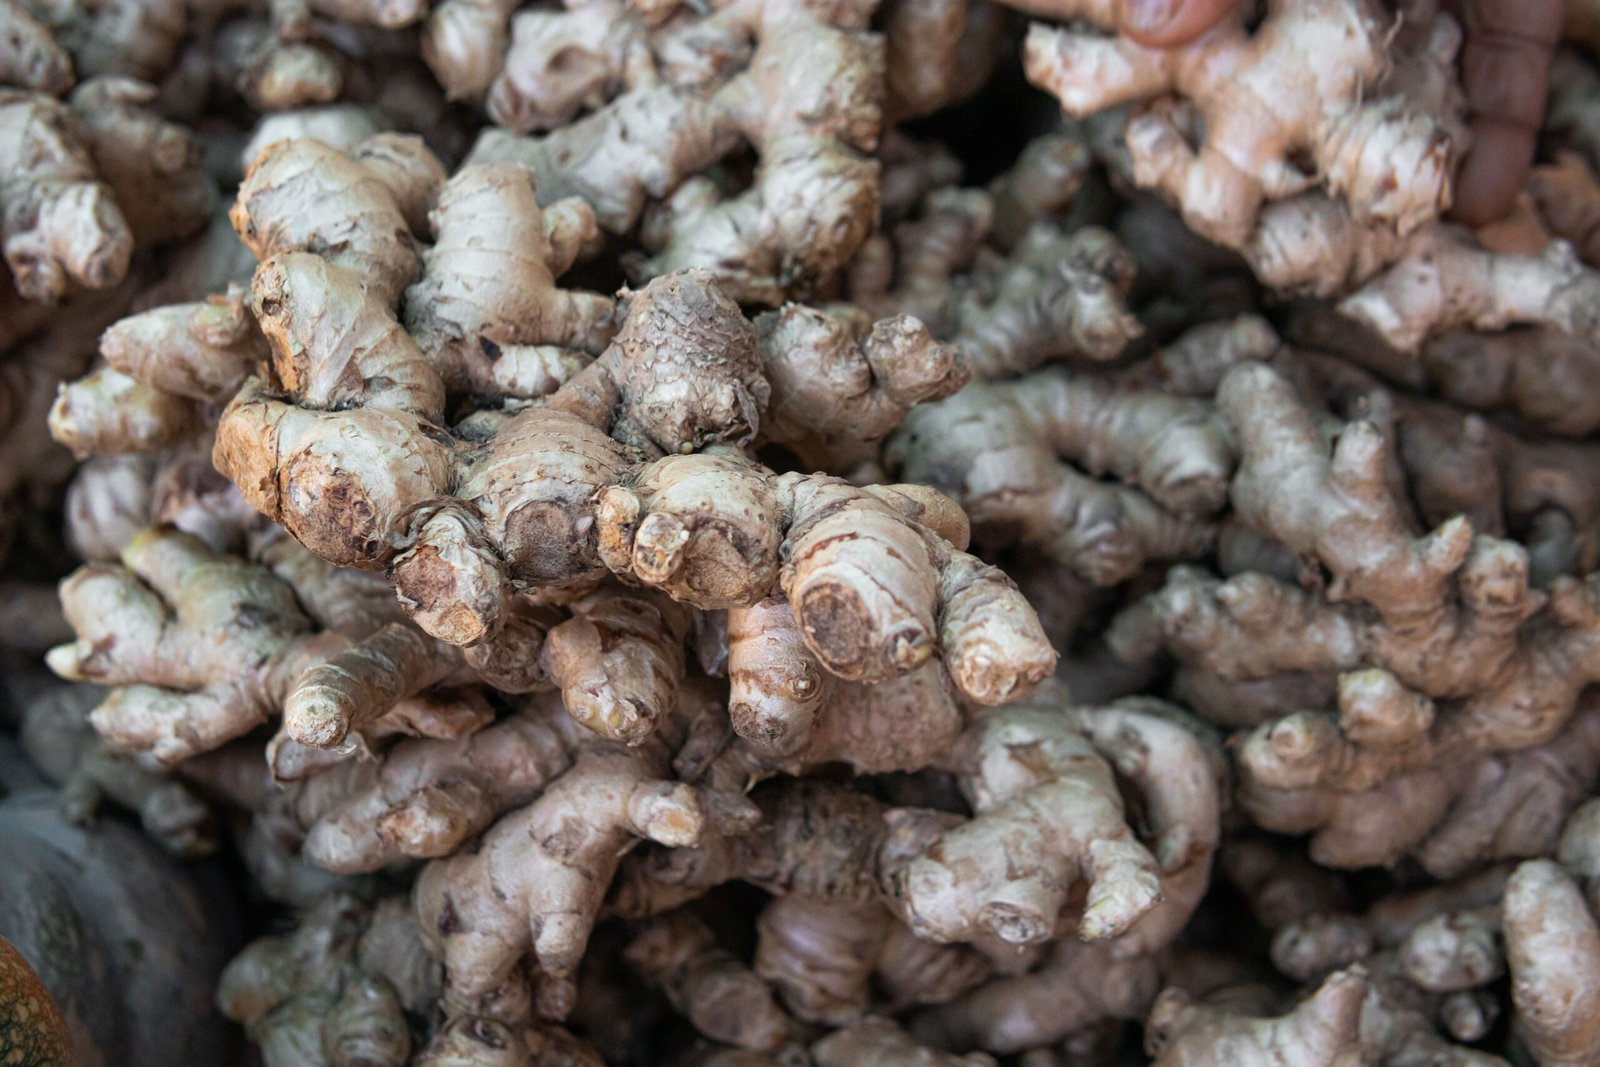
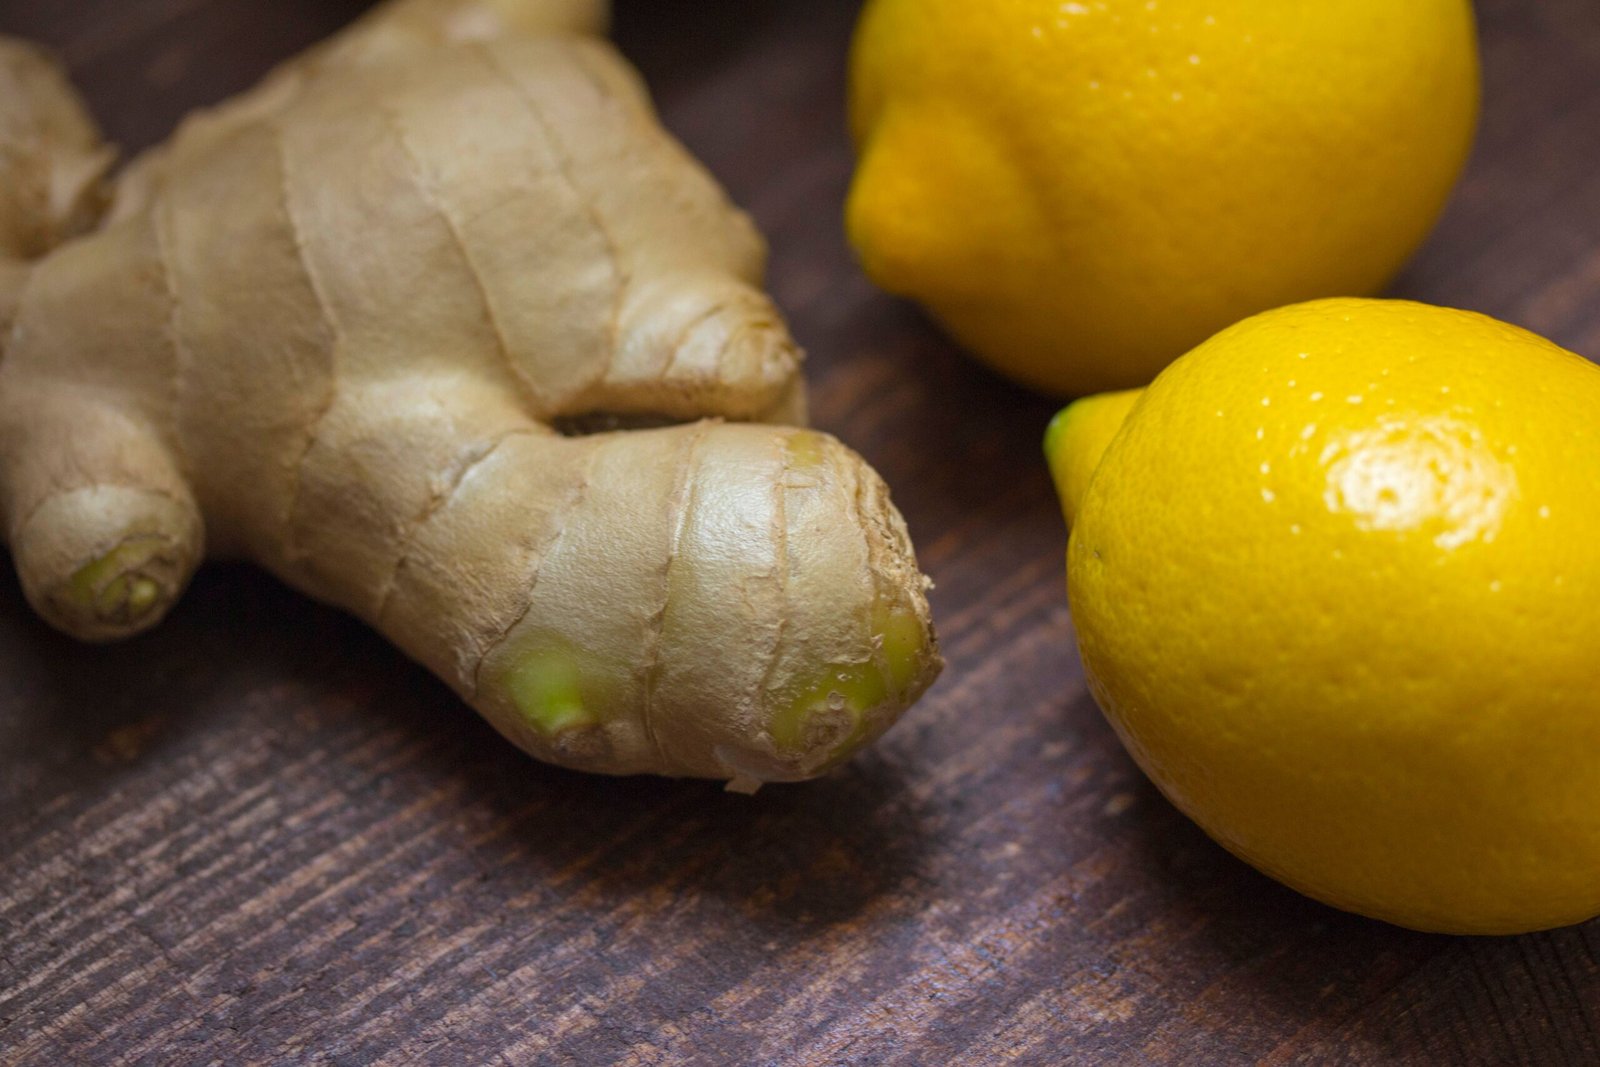
- Fresh ginger root
- Water
- Honey or maple syrup (optional, to sweeten)
- Lemon juice (optional, for a tangy flavor)
- A blender
- A fine mesh strainer, cheesecloth, or nut milk bag
- A jar or bottle for storage
For a standard batch, about 5 ounces of ginger root blended with 1 cup of water produces a strong, concentrated juice. Scale the ratio up or down depending on how much you want to make, and adjust the water if you prefer a milder result.
How to Make Ginger Juice With a Blender: Step-by-Step
1. Wash the ginger thoroughly
Ginger grows underground, so scrub it well under running water to remove dirt before you do anything else, even if you plan to peel it. This matters more than it might seem, since surface bacteria can transfer to the flesh underneath once you start cutting.
2. Peel the ginger
Use the edge of a spoon to scrape off the thin skin, which works better than a vegetable peeler for ginger’s uneven, knobby shape. Peeling isn’t strictly required, but it’s recommended for the blender method specifically, since a blender shreds the skin into small bits rather than removing it, which makes straining slower and less complete.
3. Cut the ginger into chunks
Cut the peeled ginger into roughly 1-inch pieces. Smaller, more uniform pieces blend faster and more evenly than tossing in a whole root, and they’re easier on your blender’s motor.
4. Blend with water
Add the ginger chunks and water to the blender pitcher and blend on high until smooth, usually 30 seconds to 1 minute. The mixture should look like a fine, pulpy slurry with no large chunks remaining.
5. Strain the juice
Set a fine mesh strainer, cheesecloth, or nut milk bag over a jar and pour the blended mixture through it. Use the back of a spoon to press down on the pulp as it collects, squeezing out as much liquid as possible. This step is what separates true juice from a ginger-infused slurry, so don’t rush it.
6. Sweeten and adjust (optional)
Taste the strained juice and add honey, maple syrup, or a splash of lemon juice if you want to soften ginger’s sharp bite. Straight ginger juice is intense, so this step is entirely a matter of preference.
Health Benefits of Ginger
Ginger’s reputation as a wellness staple has real backing. According to Johns Hopkins Medicine, gingerol, ginger’s main active compound, supports gastrointestinal motility, which can ease nausea from sources ranging from motion sickness to pregnancy-related morning sickness, and the American Academy of Obstetrics and Gynecology recognizes ginger as an acceptable nonpharmaceutical option for that specific use. Ginger also contains antioxidant compounds and may help reduce bloating and gas by cutting down on fermentation and constipation in the gut. None of this means ginger juice is a cure-all, but the digestive and anti-nausea benefits in particular are well-documented rather than purely anecdotal.
A Food Safety Note Worth Knowing
Homemade ginger juice, like any fresh-squeezed or blended juice, is unpasteurized. According to the FDA’s guidance on juice safety, unpasteurized juice can carry harmful bacteria like E. coli or Salmonella if it isn’t handled carefully, and the agency specifically advises pregnant women, young children, older adults, and anyone with a weakened immune system to be cautious with untreated juice. This isn’t a reason to avoid making ginger juice at home, but it is a reason to wash your ginger thoroughly, keep your equipment clean, refrigerate the juice promptly, and drink it within a few days rather than letting it sit out. If you fall into one of the higher-risk groups above, it’s worth a quick conversation with your doctor before making this a regular habit, especially alongside any existing medication like blood thinners, since ginger itself can interact with those too.
How to Store Ginger Juice
Store fresh ginger juice in an airtight glass container in the refrigerator, and plan to use it within 2 to 3 days for the best flavor and safety. For longer storage, pour the juice into an ice cube tray and freeze it; once solid, transfer the cubes to a freezer bag, where they’ll keep well for several months. Frozen cubes are convenient for dropping straight into smoothies, tea, or a quick reheated shot without needing to thaw a full batch. For a broader look at how long different homemade juices last and the best ways to store them, our guide on how long juice lasts covers the general principles that apply here too.
Ways to Use Ginger Juice
- Wellness shots: Drink a small amount, around an ounce, straight or diluted with water or coconut water.
- Tea: Stir a spoonful into hot water with honey and lemon for a warming, soothing drink.
- Smoothies: Add a splash to your usual smoothie for extra warmth and bite, especially alongside fruit like pineapple or mango.
- Marinades and dressings: Ginger juice adds sharp flavor to Asian-inspired marinades and vinaigrettes without the texture of grated ginger.
- Mocktails and cocktails: A small amount goes a long way in a homemade ginger lemonade or a ginger-spiked cocktail.
Concentrated ginger juice like this is meant to be used in small amounts rather than sipped by the glass, since a little genuinely goes a long way once you taste how sharp it is straight. If you enjoy making your own fresh juices at home, the same basic blend-and-strain technique works well for other produce too. Our guide to making grape juice with a blender covers a similarly simple process for a completely different flavor profile.
Tips for the Best Results
- Choose firm, unwrinkled ginger. Soft or shriveled roots have less juice and a duller flavor than fresh, firm ones.
- Don’t skip the straining step. Pressing the pulp firmly makes a real difference in yield, sometimes an extra ounce or two per batch.
- Use a high-powered blender if you have one. Ginger’s fibrous texture blends more thoroughly in a powerful blender, which means an easier strain and less waste. If you’re working with a Vitamix, our guide on cleaning a Vitamix is worth a look afterward, since ginger’s strong flavor and color can linger in the container if it isn’t cleaned promptly.
- Save the leftover pulp. The spent ginger pulp still has flavor left in it and works well steeped in hot water for a milder ginger tea, or added to a stir-fry.
- Wear gloves or wash your hands promptly. Ginger’s oils can irritate skin and especially eyes, so avoid touching your face while handling it.
Frequently Asked Questions
Do I need to peel the ginger before juicing it in a blender?
It’s recommended but not strictly required when you’re learning how to make ginger juice with a blender. Peeling makes straining more efficient since the blender shreds unpeeled skin into small fragments that can clog your strainer. If you’re using a juicer instead of a blender, peeling generally isn’t necessary.
How much ginger juice should I drink per day?
A common guideline is around 1 ounce (roughly 30 ml) per day if drinking it straight, though this varies by individual tolerance. Start with less and see how your body responds, especially if you’re new to concentrated ginger.
Can I make ginger juice without a strainer?
You’ll need something to separate the pulp from the liquid, a fine mesh strainer, cheesecloth, or a clean, thin dish towel all work if you don’t have a dedicated nut milk bag.
Why does my ginger juice taste bitter?
This is usually just ginger’s natural sharpness, which some people find bitter, especially with older or more mature roots. Diluting with water, adding a sweetener, or mixing with citrus can all help balance the flavor.
Is it safe to drink ginger juice every day?
For most healthy adults, moderate daily amounts are generally considered safe, but ginger can interact with blood-thinning medications and isn’t recommended in large amounts during pregnancy without a doctor’s guidance. If you take medication regularly or fall into a higher-risk group, check with a healthcare provider before making it a daily habit.
Can I use a food processor instead of a blender?
A food processor can work in a pinch, but blenders generally produce a finer, more liquid consistency that’s easier to strain effectively. If you only have a food processor, you may need to blend for longer and expect a slightly lower juice yield.
Final Thoughts
Once you know how to make ginger juice with a blender, the whole process comes down to a short list of steps: wash, peel, chop, blend, and strain. No juicer, special equipment, or advanced technique required, just a blender and a few minutes. Keep it refrigerated, use it within a few days or freeze it for later, and take basic food-safety precautions since it’s unpasteurized. Once you’ve made a batch, you’ll likely find plenty of uses for it, from a quick morning shot to a splash in your favorite smoothie or tea.

Hey, My name is MAMON. I am a SEO content creator and affiliate marketer with over 8 years of experience. I create honest product reviews, in-depth buying guides, and practical how-to articles to help readers make informed decisions. My mission is to provide trustworthy, research-backed content that delivers real value.
Leave a Reply