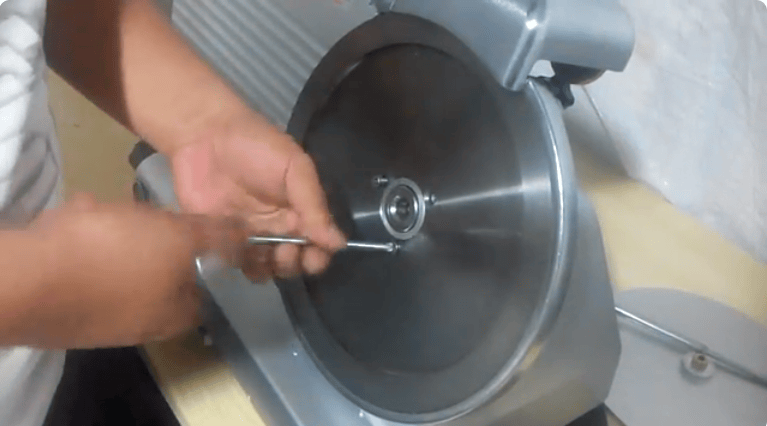
Knowing how to replace a meat slicer blade matters because even the sharpest blade dulls or gets damaged over time, leading to uneven slices, wasted product, and real safety risk. The process itself is straightforward once you know the steps.
This guide covers the full process for belt-driven, gear-driven, vertical, semi-automatic, and vintage slicers alike: removing the old blade, installing the new one, testing it, and keeping it running safely.
Key Takeaways
- Properly replacing the blade is key to optimal slicing performance
- Understanding the slicer’s key components makes the replacement process easier
- Safety comes first when working with a slicer blade: use proper precautions and protective gear
- Thorough inspection and careful installation ensure a seamless transition
- Regular maintenance and troubleshooting extend the slicer’s life and prevent costly breakdowns
Understanding the Parts of a Meat Slicer
Knowing a meat slicer’s parts matters for anyone doing their own maintenance, and it’s the foundation for learning how to replace a meat slicer blade with confidence instead of guesswork.
Key Components to Know
The main parts of a meat slicer are:
- Rotating blade: the sharp blade that slices food
- Movable meat carriage tray: where you place food for slicing
- Inbuilt sharpening devices: keep the blade sharp between full replacements
- Safety features: guards and switches that protect the user
Importance of the Blade
The blade is the slicer’s core. Sizes typically range from 9 to 14 inches depending on duty class, with 12 inches common on mid-tier models; larger blades generally mean more cutting capacity.
| Slicer Type | Blade Size Range | Horsepower Range |
|---|---|---|
| Entry-level | 9″ – 12″ | 1/5 – 1/3 |
| Mid-tier | 10″ – 12″ | 1/3 – 1/2 |
| Heavy-duty | 13″ and up | 1/2+ |
A sharp blade is central to food safety: a dull one causes uneven cuts, wastes product, and raises injury risk. Keeping it sharp, and replacing it when sharpening no longer helps, is core to both performance and safety.
Safety Precautions
Safety comes first in how to replace a meat slicer blade correctly. Before starting, make sure you’re set up for a safe process. Our guide to using a meat slicer safely covers the same fundamentals for everyday operation.
Always Unplug the Slicer
The first and most important step is to unplug the meat slicer before you start — accidental start-ups during blade work cause the most serious injuries.
Use Protective Gear
Wear both food-grade and cut-resistant gloves when working with the blade; they keep your hands safe.
Keep Work Area Clean
Keep your work area clean and clear, set the slicer to “0,” and place it on a stable, level surface — a tidy workspace helps you stay focused and safe.
OSHA has documented at least 4,000 lost-workday incidents involving meat slicers in a single recent year, most tied to unguarded blades or machines not fully powered down before service. Unplugging the slicer and wearing cut-resistant gloves are the two steps that prevent most of these injuries.
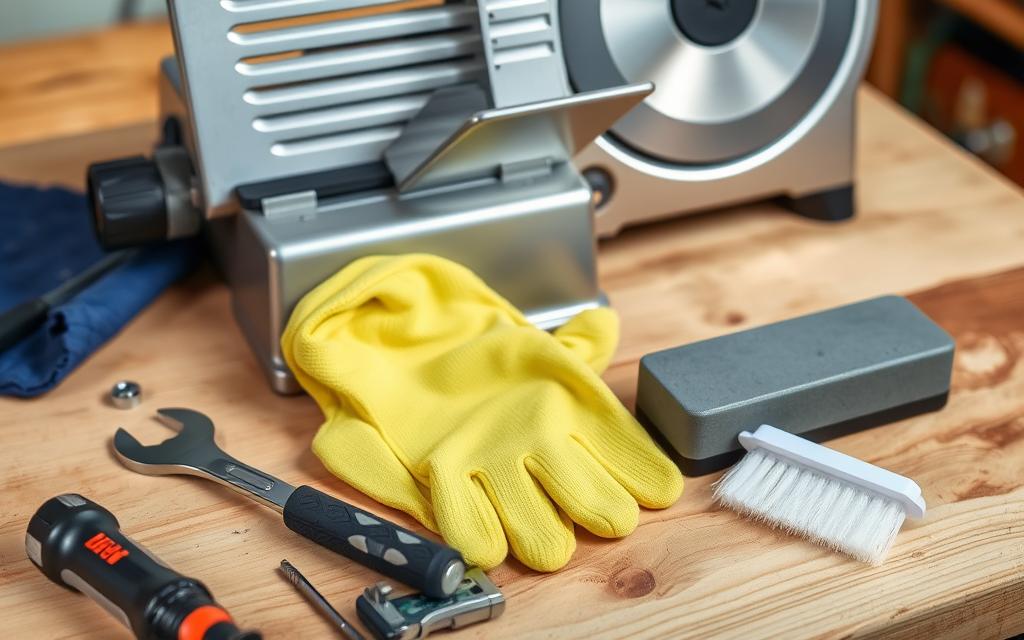
Tools Needed for Blade Replacement
Keeping your meat slicer in good shape starts with having the right tools on hand before you begin.
Recommended Tools
- Screwdriver – a Phillips head screwdriver is needed to remove the screws holding the blade
- Blade removal tool – safely removes the blade from the slicer, preventing injury
- Blade protection guard – protects your hands from the sharp blade during replacement
Additional Supplies
- Food-safe cleaner – made for food equipment, to clean the slicer parts
- Warm soapy water – essential for cleaning before and after blade replacement
- Soft cloth – a clean, lint-free cloth for wiping down the slicer and blade
- Disposal receptacle – a sturdy container to dispose of the old blade safely
For Bizerba electric slicers, like the GSP-HD33, you may need extra tools for the mounting screws — check your manual or the manufacturer for the right ones.
| Tool | Purpose |
|---|---|
| Screwdriver | Removes mounting screws to detach the blade |
| Blade Removal Tool | Safely grasps the blade for removal |
| Blade Protection Guard | Shields hands while handling the sharp blade |
| Food-Safe Cleaner | Cleans the slicer components thoroughly |
| Warm Soapy Water | Provides a thorough cleaning before and after blade replacement |
| Soft Cloth | Wipes down the slicer and blade for a spotless finish |
| Disposal Receptacle | Safely discards the old blade |
With the right tools and supplies gathered, you’re ready to replace the blade.
Removing the Old Blade
Removing the old blade is the first real step in how to replace a meat slicer blade, and it sets up everything that follows.
Step-by-Step Process
- Unplug the meat slicer to make sure it’s off and safe
- Take off the meat carriage arm and tray for better access
- Remove the center plate or cover that shields the blade
- Lift the sharpening housing to expose the blade
- Use the blade removal tool to pull the blade off the shaft; don’t force it if it’s stuck
- Once the blade is out, put on the blade protection guard to keep it safe
Common Challenges
When removing the blade, you might run into a few issues:
- The blade might be stuck on the shaft if the slicer hasn’t been used in a while; try pushing it gently from the back
- For Bizerba slicers, remove the blade cover and unscrew the four mounting screws before lifting out the blade
- If the blade is very worn or damaged, it might resist removal — worth getting help from a pro in that case
Following these steps gets the old blade out cleanly and the slicer ready for a new one. This overlaps with a full teardown, so our guide to disassembling a meat slicer is worth a look if you’re doing a deep clean at the same time. Keep safety gear on while handling a loose blade.
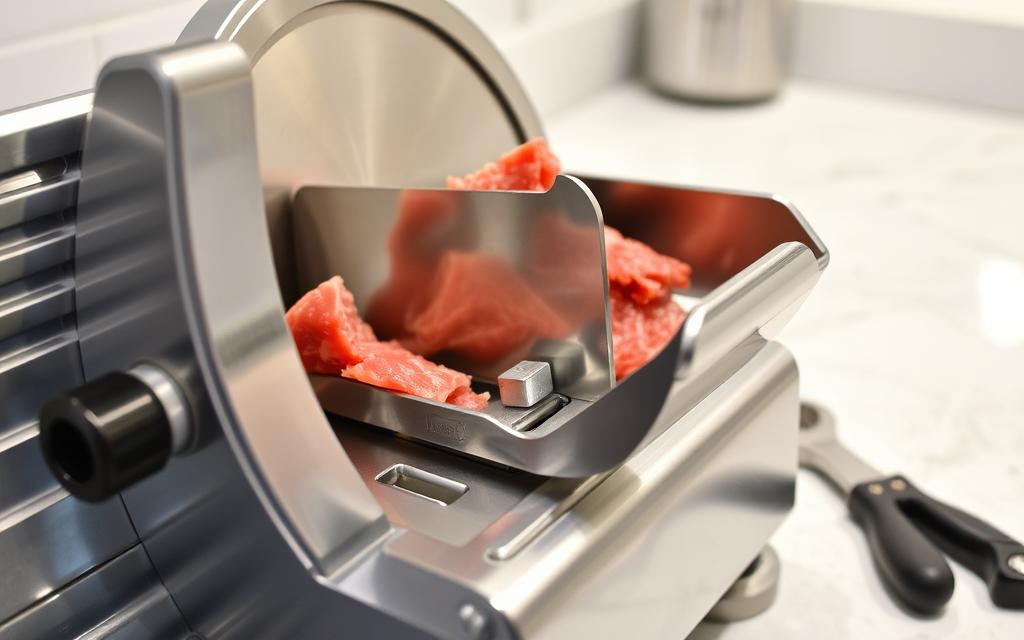
Inspecting the New Blade
Before installing a new blade, check it thoroughly for nicks, cracks, or bends that could affect performance or safety, and confirm it’s smooth, without burrs or rough edges that could tear food or turn dangerous.
Checking for Damage
Examine the blade’s surface and edges carefully, running a finger along it to catch anything off. If something looks wrong, don’t install it — contact the manufacturer or a technician to confirm the fit.
Understanding Blade Sizes
- Measure the diameter of your current blade to find the right replacement size
- Check your meat slicer’s manual, or talk to the manufacturer, to confirm what size you need
- Using the wrong size can hurt slicer performance and may be unsafe
Once the blade is confirmed undamaged and correctly sized, clean it with a food-safe cleaner before installing.
Installing the New Blade
Installing the new blade is the payoff step in how to replace a meat slicer blade: careful attention here keeps the slicer working safely and efficiently for years.
Aligning the Blade Properly
Attach the new blade with the specialized tool, making sure its mounting holes line up with the slicer’s mounting points — correct alignment keeps the cutting motion smooth.
Tightening the Blade Safely
Once seated, tighten all screws or fasteners fully — this matters especially on Bizerba slicers, where the blade must be aligned before tightening. Take your time, keep gloves on, and clean the blade once more to remove contaminants.
| Blade Installation Tips | Importance |
|---|---|
| Align the blade holes properly | Ensures smooth, even cutting motion |
| Tighten all screws and fasteners securely | Prevents the blade from becoming loose or detached |
| Clean the blade after installation | Maintains food safety and cleanliness |
| Handle the blade with care throughout | Prevents personal injury |
Following these steps installs the blade correctly and keeps the kitchen efficient and safe.
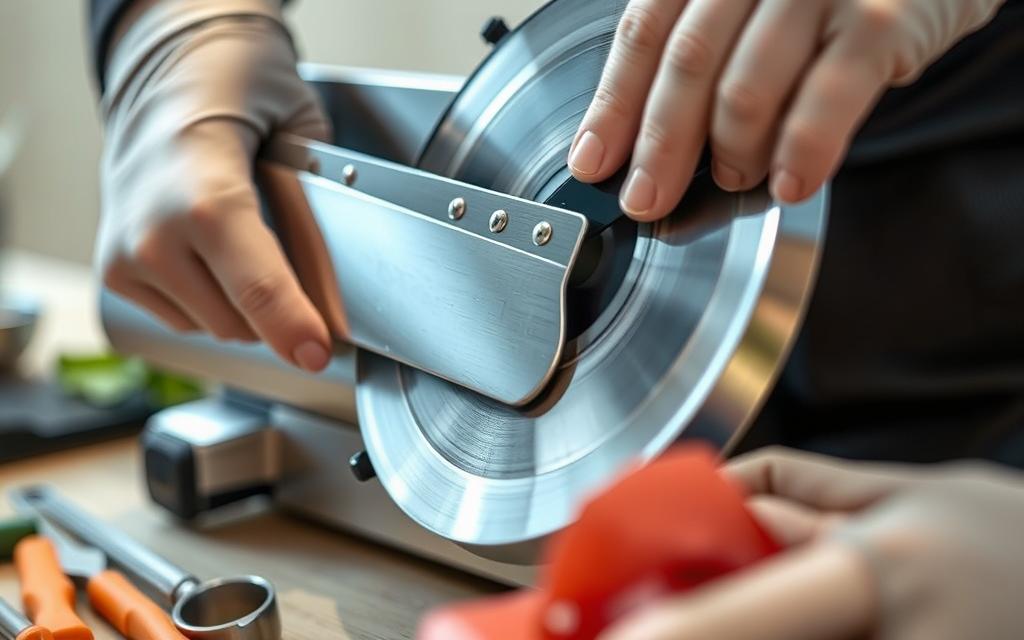
Testing the Meat Slicer
After installing the new blade, test the slicer before putting it back into service. This last check is what confirms how to replace a meat slicer blade was done correctly, protecting both food quality and your staff.
How to Run a Test Slice
Plug in the slicer, turn it on, and increase speed slowly, confirming the blade spins smoothly with no odd noises or vibration. Set the gauge plate to roughly 1/16 to 1/4 inch, then cut a few test slices — they should be even, consistent, and free of rough edges.
Checking for Proper Function
- Make sure the product carriage moves smoothly without catching
- Check that the blade guard is in place and functioning
- Verify safety features, like the on/off switch and emergency stop, work as they should
- Watch for unusual vibration, noise, or other warning signs
If it passes these checks, the slicer’s ready for regular use, producing safe, consistent slices.

Regular Maintenance Tips
Keeping a slicer in good shape after a blade swap is what makes the new blade last — cleaning and checking it regularly are the habits that matter most.
Cleaning the Slicer
Always clean your meat slicer after each use. Our guide to cleaning a meat slicer safely covers the full routine: unplug it, disassemble as the manual describes, wash removable parts in warm soapy water with a food-safe cleaner, then sanitize and dry before reassembly. Skip steel wool and harsh abrasives, which can damage the finish.
Conducting Routine Inspections
- Look for damage or wear on the blade guard, slicer handle, and ring guard
- Make sure the blade stays sharp, and sharpen it with a stone as needed between replacements
- Check that the slicer’s moving parts move smoothly
- Follow the maintenance schedule the manufacturer suggests; our full guide to long-term slicer maintenance breaks this down by task
Regular care like this keeps a slicer’s life and food-safety record intact well beyond just this one repair.
Troubleshooting Common Issues
A blade swap keeps a slicer in top shape, but a couple of problems can still show up afterward.
Blade Not Spinning Freely
If the blade won’t move smoothly, confirm it’s seated and tightened correctly, and check the shaft and bearings for wear. If it still won’t spin right, the problem may be the motor or drive system, which needs a professional.
Unusual Noises When Operating
Grinding, squeaking, or rattling point to a problem — often worn parts, imperfect installation, or gear and bearing issues. Check for loose parts or wear, and call a technician if the noise doesn’t stop.
Fixing these issues quickly keeps the slicer working safely, and regular upkeep helps avoid them.
When to Call a Professional
Sometimes a blade swap uncovers issues beyond a simple replacement — that’s when it’s worth bringing in a professional.
Signs You Need Expert Help
Call a pro if you’re struggling to remove or install the blade, the slicer isn’t working right after a change, or you spot damage on other parts.
Finding a Qualified Technician
Start with the manufacturer, since they often have certified service centers or repair-shop referrals; local deli-equipment specialists are another option. A meat slicer is a real investment, and regular upkeep plus timely repairs protect it over its working life.
| Slicer Type | Recommended Usage |
|---|---|
| Light-duty | Up to 1 hour per day on easy-to-slice meats and vegetables |
| Medium-duty | Several hours of use per day, can also slice cheeses |
| Heavy-duty | Intense use, mainly in busy restaurant kitchens and grocery store deli counters |
Frequently Asked Questions
How do I know when it’s time to replace a meat slicer blade instead of sharpening it?
If the blade has chips, deep nicks, or is sharpened past the manufacturer’s minimum thickness, sharpening won’t help — replacement is the safer option.
Is it hard to learn how to replace a meat slicer blade yourself?
Not with the right tools. Most slicers follow the same sequence: unplug, remove the old blade, install the new one, then test. Automatic models like Bizerba just add a few extra screws.
How often does a meat slicer blade actually need replacing?
There’s no fixed schedule — it depends on usage and upkeep. A well-cared-for commercial blade can last years; one sharpened past its limit may need replacing sooner.
What size replacement blade do I need?
Measure your current blade’s diameter, or check the manual or manufacturer for the exact size — the wrong size hurts performance and creates a safety hazard.
Can I use a universal replacement blade on any slicer?
Not always. Mounting points and sizes vary by manufacturer and model, so buy a blade rated for your specific slicer rather than assuming a universal fit.
What should I do with the old blade?
Dispose of it in a sturdy, labeled container so no one is cut handling the trash later. Some manufacturers or metal recyclers will take old blades back too.
Final Thoughts on How to Replace a Meat Slicer Blade
Replacing a meat slicer blade is detailed but manageable, starting with unplugging the machine and ending with a tested, properly installed blade. Doing it right keeps the slicer working, food safe, and the kitchen safer.
Recap of Key Steps
To replace a meat slicer blade: unplug the machine, put on safety gear, remove the old blade, check the new one for damage, align and tighten it, then run a test slice.
Importance of Regular Maintenance
Keeping the slicer clean and sanitized matters just as much as the blade. The FDA Food Code calls for cleaning food-contact surfaces at least every 4 hours during continuous use, plus a deep clean at day’s end. Regular maintenance also prevents the kind of injuries a neglected or poorly guarded slicer can cause.

Hey, My name is MAMON. I am a SEO content creator and affiliate marketer with over 8 years of experience. I create honest product reviews, in-depth buying guides, and practical how-to articles to help readers make informed decisions. My mission is to provide trustworthy, research-backed content that delivers real value.
Leave a Reply