Knowing how to disassemble a meat slicer properly is what separates a quick surface wipe-down from the deep clean these machines actually need. Food residue collects in spots a damp cloth never reaches, and that buildup is a real food-safety risk if it’s never cleared out.
This guide walks through the full process: the safety steps to take first, the tools you’ll need, and a step-by-step breakdown of removing the blade, the food pusher, the meat tray, and the smaller parts underneath. We’ll also cover cleaning, reassembly, and the maintenance habits that keep a slicer running for years.

Key Takeaways
- Meat slicers need regular disassembly and cleaning to work safely and stay food-safe
- Always power down and unplug the slicer, and handle the blade only from the center hub
- Keep spare sharpening stones on hand, since they wear out or occasionally crack
- Follow the manufacturer’s manual for your specific model when reassembling
- A light coat of food-grade lubricant on the pusher rod and other moving parts prevents premature wear
Introduction to Meat Slicers
Meat slicers are a staple in delis, butcher shops, and commercial kitchens. They slice meats, cheeses, and vegetables efficiently and consistently. Keeping one clean and well-maintained matters for food safety and the machine’s working life alike; our guide on using a meat slicer safely covers day-to-day operation.
What Is a Meat Slicer?
A meat slicer is a tool for cutting food into thin, even slices. It’s built around a sharp, rotating blade and a sliding carriage, giving you precise control over slice thickness.
Common Uses of Meat Slicers
- Slicing deli meats, such as ham, turkey, and roast beef
- Cutting cheese into uniform slices for sandwiches or charcuterie boards
- Slicing vegetables, such as tomatoes, onions, and cucumbers
- Cutting smoked or cured meats, like salami or prosciutto, for serving
Why Proper Maintenance Matters
Regular cleaning and blade sharpening prevent bacterial buildup and keep cuts clean and even. Skipping either one raises the risk of foodborne illness, which is exactly why learning how to disassemble a meat slicer for a proper deep clean is worth the extra few minutes it takes.
Safety Precautions Before Disassembly
Safety comes first with any meat slicer. Before you take it apart, make sure you’re geared up and the machine is fully powered down.
Necessary Safety Gear
Wear cut-resistant gloves whenever you’re disassembling a meat slicer; they protect your hands from the exposed blade. Safety glasses help too, in case debris comes loose while you work.
Powering Down the Machine
Turn off the slicer and unplug it before doing anything else. This one step prevents the vast majority of slicer-related accidents.
Handling the Blade Safely
The blade is the most dangerous part of the machine. Always move your hand from the center outward, never toward the cutting edge, and follow the manufacturer’s instructions for your specific model. For a closer look at the blade removal process specifically, Manconi’s guide to disassembling a slicer blade is a useful reference.
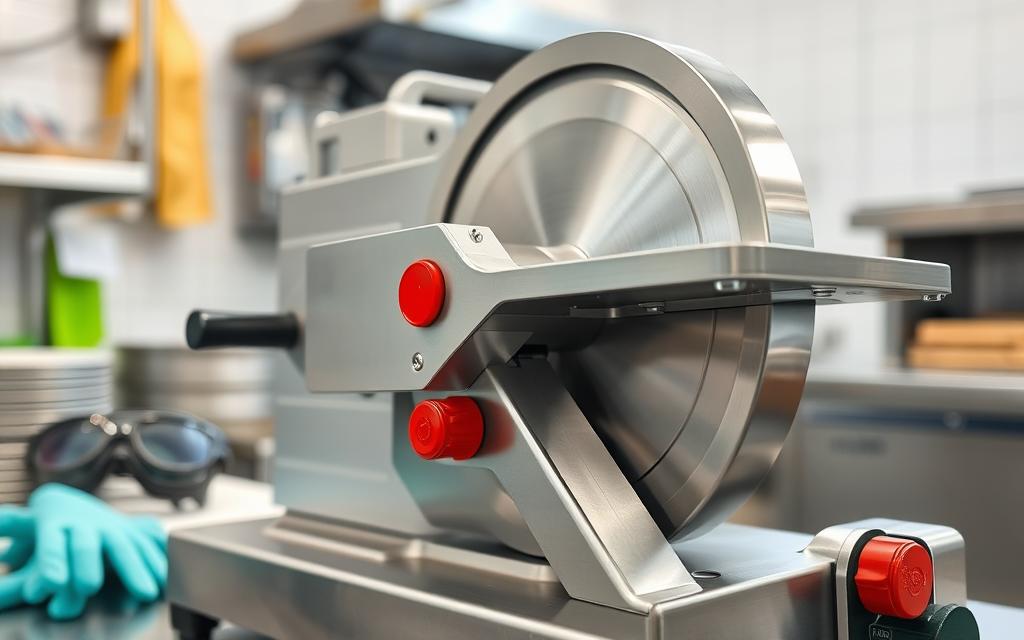
Under the FDA Food Code, food-contact surfaces on equipment like slicers should be cleaned and sanitized at least every 4 hours during continuous use, plus at shift changes and end of day. That’s the baseline for how often this whole process should happen.
Gathering the Right Tools
Disassembling a meat slicer properly takes more than your hands. A basic tool kit makes the job faster and safer.
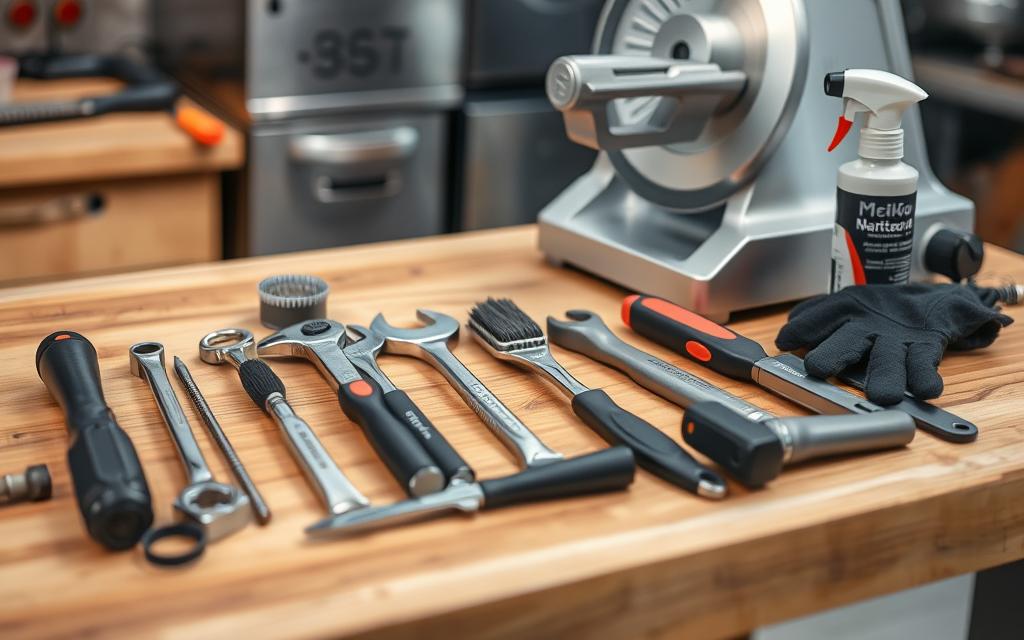
Essential Tools for Disassembly
- A set of screwdrivers (both flat-head and Phillips-head) in various sizes
- An adjustable wrench or a set of open-end wrenches
- Food-grade lubricant or mineral oil for moving parts
- Clean, lint-free rags for wiping down parts
- Cut-resistant gloves for handling the blade
Where to Find Replacement Parts
If a part needs replacing, check with the manufacturer or a food equipment supplier first. Your owner’s manual or the manufacturer’s customer support line can confirm exactly which parts fit your model; our guide to replacing a meat slicer blade covers that specific swap in detail.
Optional Tools That Help
A blade remover tool makes it easier to take out the blade without touching the edge directly. A torque wrench helps tighten bolts and screws to the right spec during reassembly.
| Tool | Purpose |
|---|---|
| Blade Remover Tool | Facilitates safe removal of the slicer blade |
| Torque Wrench | Ensures proper tightening of bolts and screws during reassembly |
How to Disassemble a Meat Slicer: Full Step-by-Step Process
With the tools ready and the safety basics covered, the rest is a straightforward five-step process: prep the machine, cut the power, remove the blade, detach the remaining body parts, and clean everything before putting it back together.
Step 1: Preparing the Meat Slicer
Before taking anything apart, clean the outside of the slicer well. This keeps loose debris from contaminating the internal parts once you open it up.
Cleaning the Surface
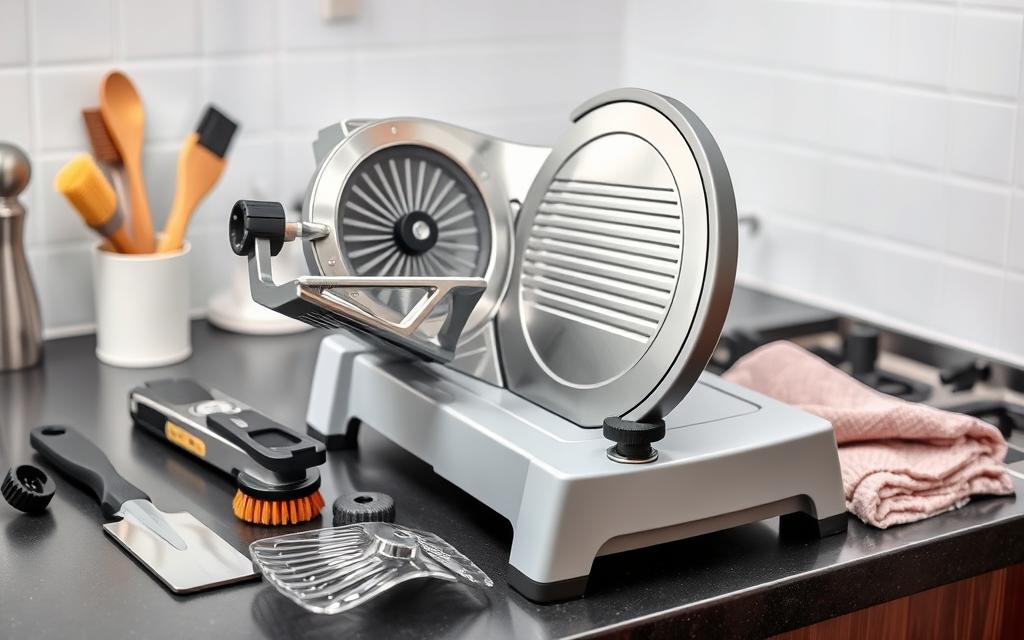
Wipe down the slicer’s exterior with a damp cloth and a mild soap or degreaser, clearing away any visible grime.
Removing Food Residue
Pay close attention to spots where food tends to collect, like the blade guard, gauge plate, and food carriage. A soft-bristled brush or a damp cloth handles most leftover residue.
Setting Up a Safe Workspace
Work somewhere clean, dry, and well-lit. Close the gauge plate to the “0” position before you go any further; it meaningfully reduces the risk of an accidental cut.
Step 2: Disconnecting the Power Supply
Confirm the slicer isn’t connected to power before you continue. This step alone prevents most electrical accidents during disassembly.
Locating the Power Source
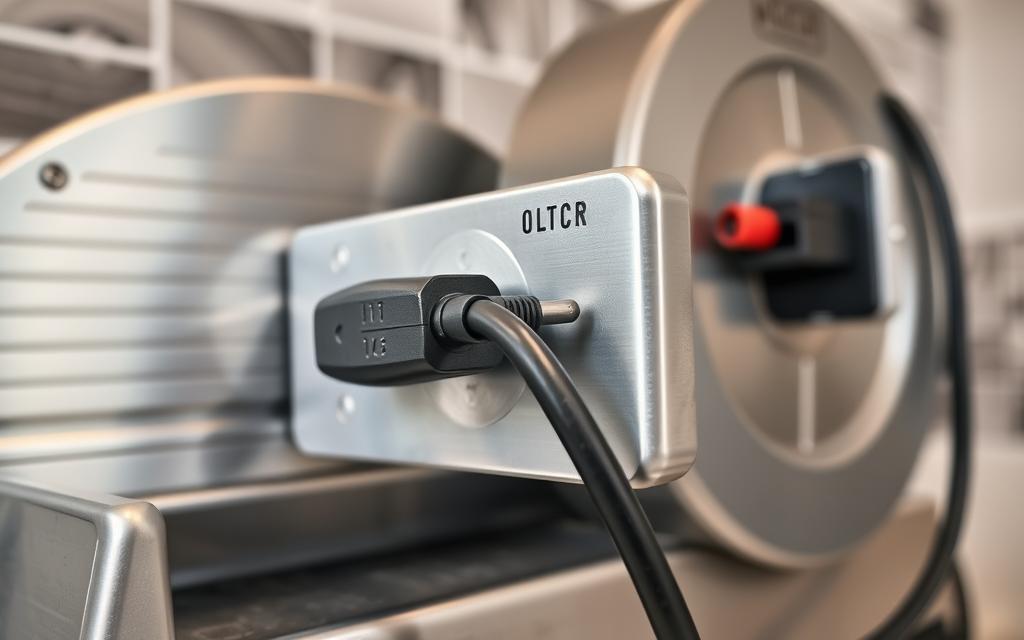
Find the power cord, usually at the back or side of the machine depending on the model, and make sure it isn’t tangled or blocked.
Unplugging the Machine
Pull the plug itself, not the cord, to avoid damaging the wiring. Once it’s unplugged, tuck the cord out of the way so it isn’t a tripping hazard.
Letting Residual Charge Dissipate
Give the slicer a minute or two after unplugging before you touch any internal components. This lets any residual electrical charge fade, for your safety and the machine’s electronics.
Step 3: Removing the Blade Assembly
This is the step in how to disassemble a meat slicer that demands the most care. Find the blade locking mechanism, which varies by model, and remove the blade cleanly without touching the edge.
Locating the Blade Locking Mechanism
It’s usually near the center of the blade or on the body of the slicer. Check your manual if it isn’t obvious; you may need to loosen a nut, press a button, or turn a knob to free the blade.
Techniques for Safe Blade Removal
- Use a specialized blade remover tool if you have one
- Grasp the blade by the center hub only, away from the sharp edges
- Pull the blade away slowly and keep it level to avoid nicks or drops
- Set it down somewhere secure, out of reach, until you’re ready to clean it
Cleaning During Blade Removal
While the blade is out, clean the area it sat in with a soft-bristled brush and hot, soapy water. Always brush away from the edge, not toward it. Rinse and dry the blade thoroughly before setting it aside.
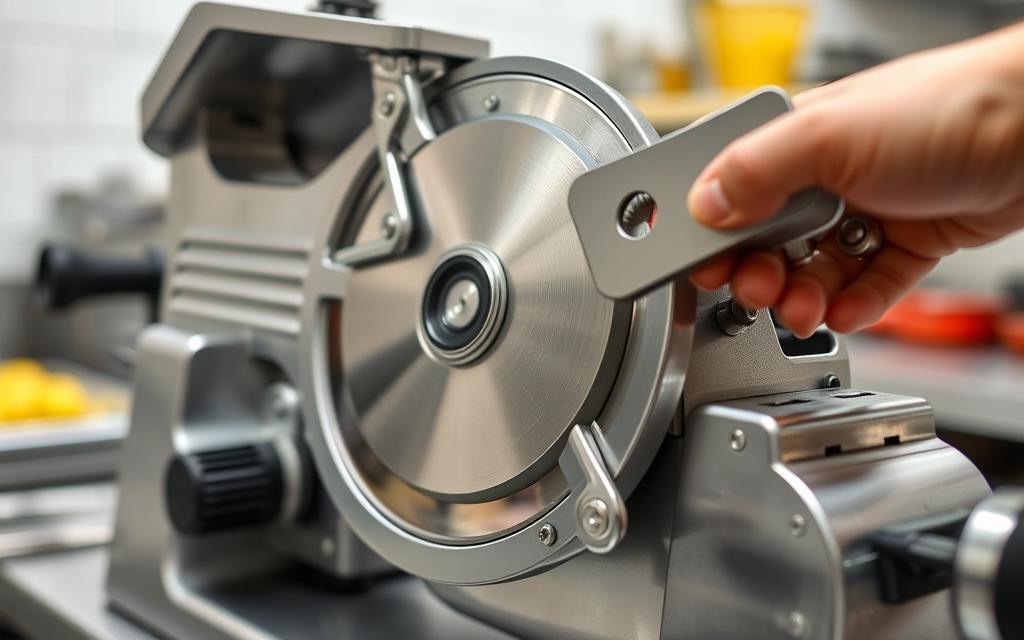
Once the blade is out, the rest of the machine opens up for a deep clean.
Step 4: Detaching the Body Components
With the blade out, you can move on to the food pusher, meat tray, and the smaller parts underneath.
Removing the Food Pusher
This usually just pulls away from the slicer. Watch for any springs or small attachments as you remove it.
Accessing the Meat Tray
Once the pusher is off, the meat tray comes out next. It may be held on with screws or other fasteners that need a tool to release.
Handling Smaller Parts
- Remove nuts, washers, and similar small parts carefully
- Keep everything organized so reassembly is straightforward later
- Clean each piece in hot, soapy water, paying attention to tight spots
Working through each component this way means nothing gets missed.
| Meat Slicer Component | Cleaning Recommendations | Replacement Considerations |
|---|---|---|
| Food Pusher | Wash with hot, soapy water; dry thoroughly | Replace if worn, cracked, or damaged |
| Meat Tray | Scrub with a non-abrasive sponge; rinse and dry | Consider upgrading to a larger or more durable tray |
| Smaller Parts (nuts, washers, etc.) | Soak in a degreasing solution; scrub clean | Replace any worn or damaged components |
Step 5: Cleaning the Disassembled Parts
With everything apart, give each piece a thorough clean before you think about reassembly.
Proper Cleaning Solutions
Use a mild, pH-neutral detergent (roughly pH 7 to 8), and avoid anything abrasive that could scratch the surfaces. Rinse with hot water, then sanitize with a food-safe cleaner.
Drying Techniques
- Dry parts with clean, lint-free towels
- Or let them air dry completely before reassembly
- Make sure everything is fully dry to prevent bacteria growth and rust
Checking for Wear and Tear
Inspect each part for cracks, chips, or other damage while it’s apart, and set aside anything that needs replacing rather than reassembling it as-is.
| Cleaning Frequency | Recommended Practices |
|---|---|
| Every 4 Hours | Clean and sanitize the meat slicer during continuous use |
| Shift Change | Clean and sanitize the meat slicer at the start of a new shift |
| End of Day | Thoroughly clean and sanitize the meat slicer at the end of the working day |
Reassembling the Meat Slicer
Once every part is clean and checked over, it’s time to put the slicer back together.
Step-by-Step Reassembly
Reverse the order you took it apart in: meat tray first, then the food pusher, and the blade assembly last. Confirm each part is seated and aligned correctly before moving on.
Add a light coat of food-grade lubricant to moving parts like the pusher rod. A little goes a long way; too much just attracts dirt and grime.
Final Checks Before Use
- Confirm all guards and safety features are back in place
- Check that the carriage moves freely without catching
- Look for loose screws or fasteners and tighten anything that needs it
Testing the Machine
Plug it in and run it briefly to confirm everything works. Listen for odd sounds or vibration, and check that the blade spins smoothly and evenly. Once you’ve been through the process a couple of times, how to disassemble a meat slicer stops feeling intimidating and becomes routine. For the ongoing care that keeps it running this well, our guide to maintaining a meat slicer covers what to do between deep cleans.
| Recommended Maintenance Practices | Frequency |
|---|---|
| Cleaning the Meat Slicer | After each use, at minimum once a month for a deep clean |
| Lubricating Sliding Components | As needed, using a food-grade lubricant |
| Sharpening the Blade | Weekly, or whenever cutting starts to feel less clean |
| Inspecting for Wear and Tear | Regularly, per the manufacturer’s instructions |
Regular blade sharpening is worth its own routine separate from disassembly; our guide to sharpening a meat slicer blade safely covers the technique, and our meat slicer buying guide is worth a look if an older unit is due for replacement instead.
Frequently Asked Questions
How often should you fully disassemble a meat slicer?
Food-contact parts need cleaning at least every 4 hours during continuous use. A full disassembly for a deep clean is typically daily in commercial settings, and weekly to monthly at home.
Do I need special tools to disassemble a meat slicer?
A basic set of screwdrivers and wrenches covers most models. A blade remover tool and torque wrench are optional extras.
What’s the safest way to remove a meat slicer blade?
Grasp it only by the center hub, keep it level as you pull it free, and move your hand from the center outward rather than toward the edge.
Can I disassemble a meat slicer without unplugging it first?
No. Always power down and unplug it first; that single step prevents most slicer-related accidents.
How do I know if a part needs to be replaced instead of cleaned?
Look for cracks, chips, excessive wear, or anything that no longer fits or seats correctly. When in doubt, check with the manufacturer or a food equipment supplier before reassembling it.
Is it hard to learn how to disassemble a meat slicer?
Not really, once you’ve done it once or twice. It’s the same five steps every time: prep, power down, remove the blade, detach the remaining parts, and clean. The learning curve is mostly getting comfortable with your model’s blade release.
Conclusion
Knowing how to disassemble a meat slicer correctly is most of the job; the rest is a routine of cleaning every part, checking for wear, and putting it back together properly. Doing this regularly protects both food safety and the life of the machine.
Maintenance Tips for the Long Run
Sharpen the blade on a regular schedule, use food-grade lubricant where needed, and inspect the machine often for early wear. Following the manufacturer’s schedule keeps a slicer in shape for years.
When to Call in a Professional
Routine cleaning and basic maintenance are within reach for most people. For a motor issue or persistent mechanical problem, bring in a qualified technician instead.

Hey, My name is MAMON. I am a SEO content creator and affiliate marketer with over 8 years of experience. I create honest product reviews, in-depth buying guides, and practical how-to articles to help readers make informed decisions. My mission is to provide trustworthy, research-backed content that delivers real value.
Leave a Reply