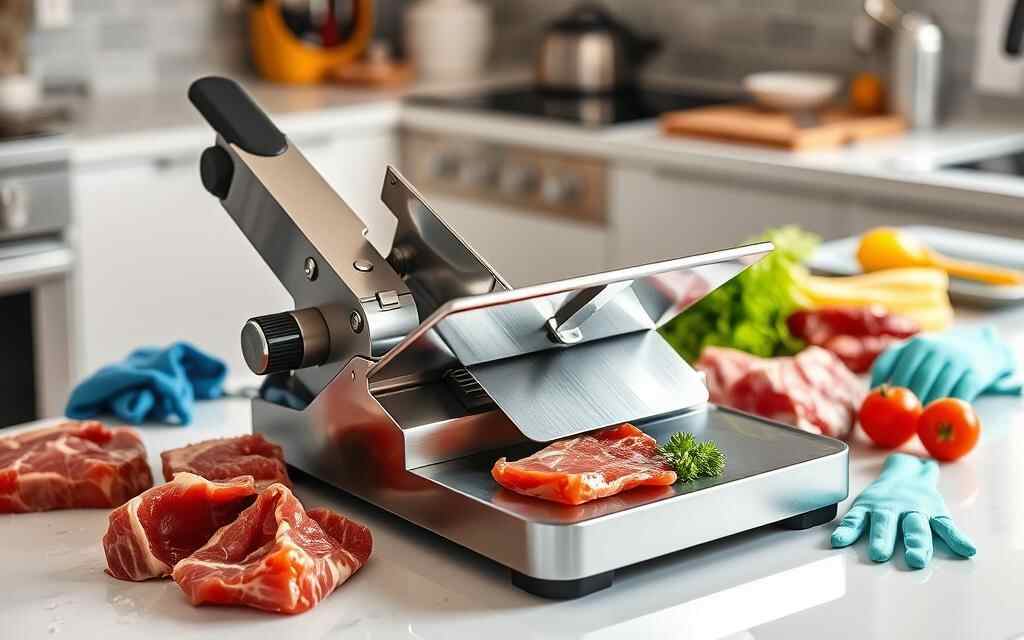
Knowing how to clean a meat slicer properly is not optional in a deli, butcher shop, or home kitchen. Any setting that handles raw meat and deli cuts regularly needs a real cleaning routine. A slicer’s blade, carriage, and food guard have grooves and seams built for cutting. Those same features trap juices and fat where bacteria can grow between uses.
This guide walks through the full process. That includes what to gather before you start, the safety steps that come first, a step-by-step cleaning routine, a deeper end-of-shift clean, and the maintenance habits that keep a slicer running safely for years.
Key Takeaways
- Clean and sanitize food-contact surfaces at least every 4 hours during continuous use, and always at the end of a shift
- Always unplug the slicer and set the blade to zero before disassembling or cleaning it
- Disassemble the blade guard, food tray, and center plate for cleaning; don’t just wipe the outside
- Skip steel wool and abrasive pads on the blade and housing; they scratch surfaces and create places for bacteria to hide
- Dry every part completely before reassembly to prevent rust and bacterial growth
Why Cleaning a Meat Slicer Matters
A slicer that isn’t cleaned often enough is one of the more common sources of cross-contamination in food service. According to a CDC study of retail delis across six U.S. sites, only about 45.8% of delis had all of their slicers cleaned as often as the FDA recommends. That gap matters because deli slicers have repeatedly been linked to Listeria monocytogenes outbreaks. The bacteria can survive in the grooves of a blade guard or carriage long after the machine looks clean.
The FDA Food Code calls for food-contact surfaces like slicer blades to be cleaned and sanitized at least every 4 hours during continuous use. It also requires the slicer to be fully disassembled and cleaned at the end of each shift. Beyond the health risk, a slicer with dried-on residue also cuts less consistently. It wears out its motor and bearings faster, too.
Who This Guide Is For
Whether you run a deli counter, work in a butcher shop, or use a slicer at home for cold cuts and roasts, the core steps are the same. Commercial kitchens have stricter frequency requirements. The actual cleaning technique below applies everywhere, regardless of setting.
Manual, Semi-Automatic, and Fully Automatic Slicers
Manual slicers require you to push the carriage by hand, so there’s no motor housing to protect beyond the base. Semi-automatic and fully automatic slicers add a motor-driven carriage, and sometimes a digital control panel. Keeping liquid away from those components matters even more on these models. Regardless of type, the core steps for how to clean a meat slicer stay the same: disassemble what comes apart, wash and sanitize every food-contact surface, then dry everything before reassembly. The main difference is how much care you take protecting the motor and electronics along the way.
What You’ll Need
- Cut-resistant gloves
- An apron or protective clothing, plus eye protection
- A food-grade degreaser or mild dish detergent
- A soft scrub pad or sponge (never steel wool)
- Cotton swabs for tight seams and corners
- A sanitizing solution (1 tablespoon of unscented bleach per gallon of water, or a commercial food-safe sanitizer)
- Clean cloths or paper towels
- Food-grade silicone lubricant for the slide rods
Safety First: Before You Start Cleaning
Power Off and Blade to Zero
Unplug the slicer completely rather than just switching it off. Then turn the blade adjustment knob to the zero setting so the blade retracts as far as possible. Both steps protect you if the machine is accidentally bumped while you’re working near the blade.
Wear the Right Protective Gear
Cut-resistant gloves are non-negotiable when your hands are anywhere near an exposed blade, even one that looks dull. Add an apron to keep splashed grease and sanitizer off your clothes. Consider safety glasses, too, if you’re using a spray sanitizer that could mist back toward your face.
How to Clean a Meat Slicer: Step-by-Step
Disassemble the Slicer
Remove the food tray, slice deflector, and center plate following your model’s manual. Our step-by-step disassembly guide covers model-specific quirks if you’re not sure where a part releases.
Clean the Blade
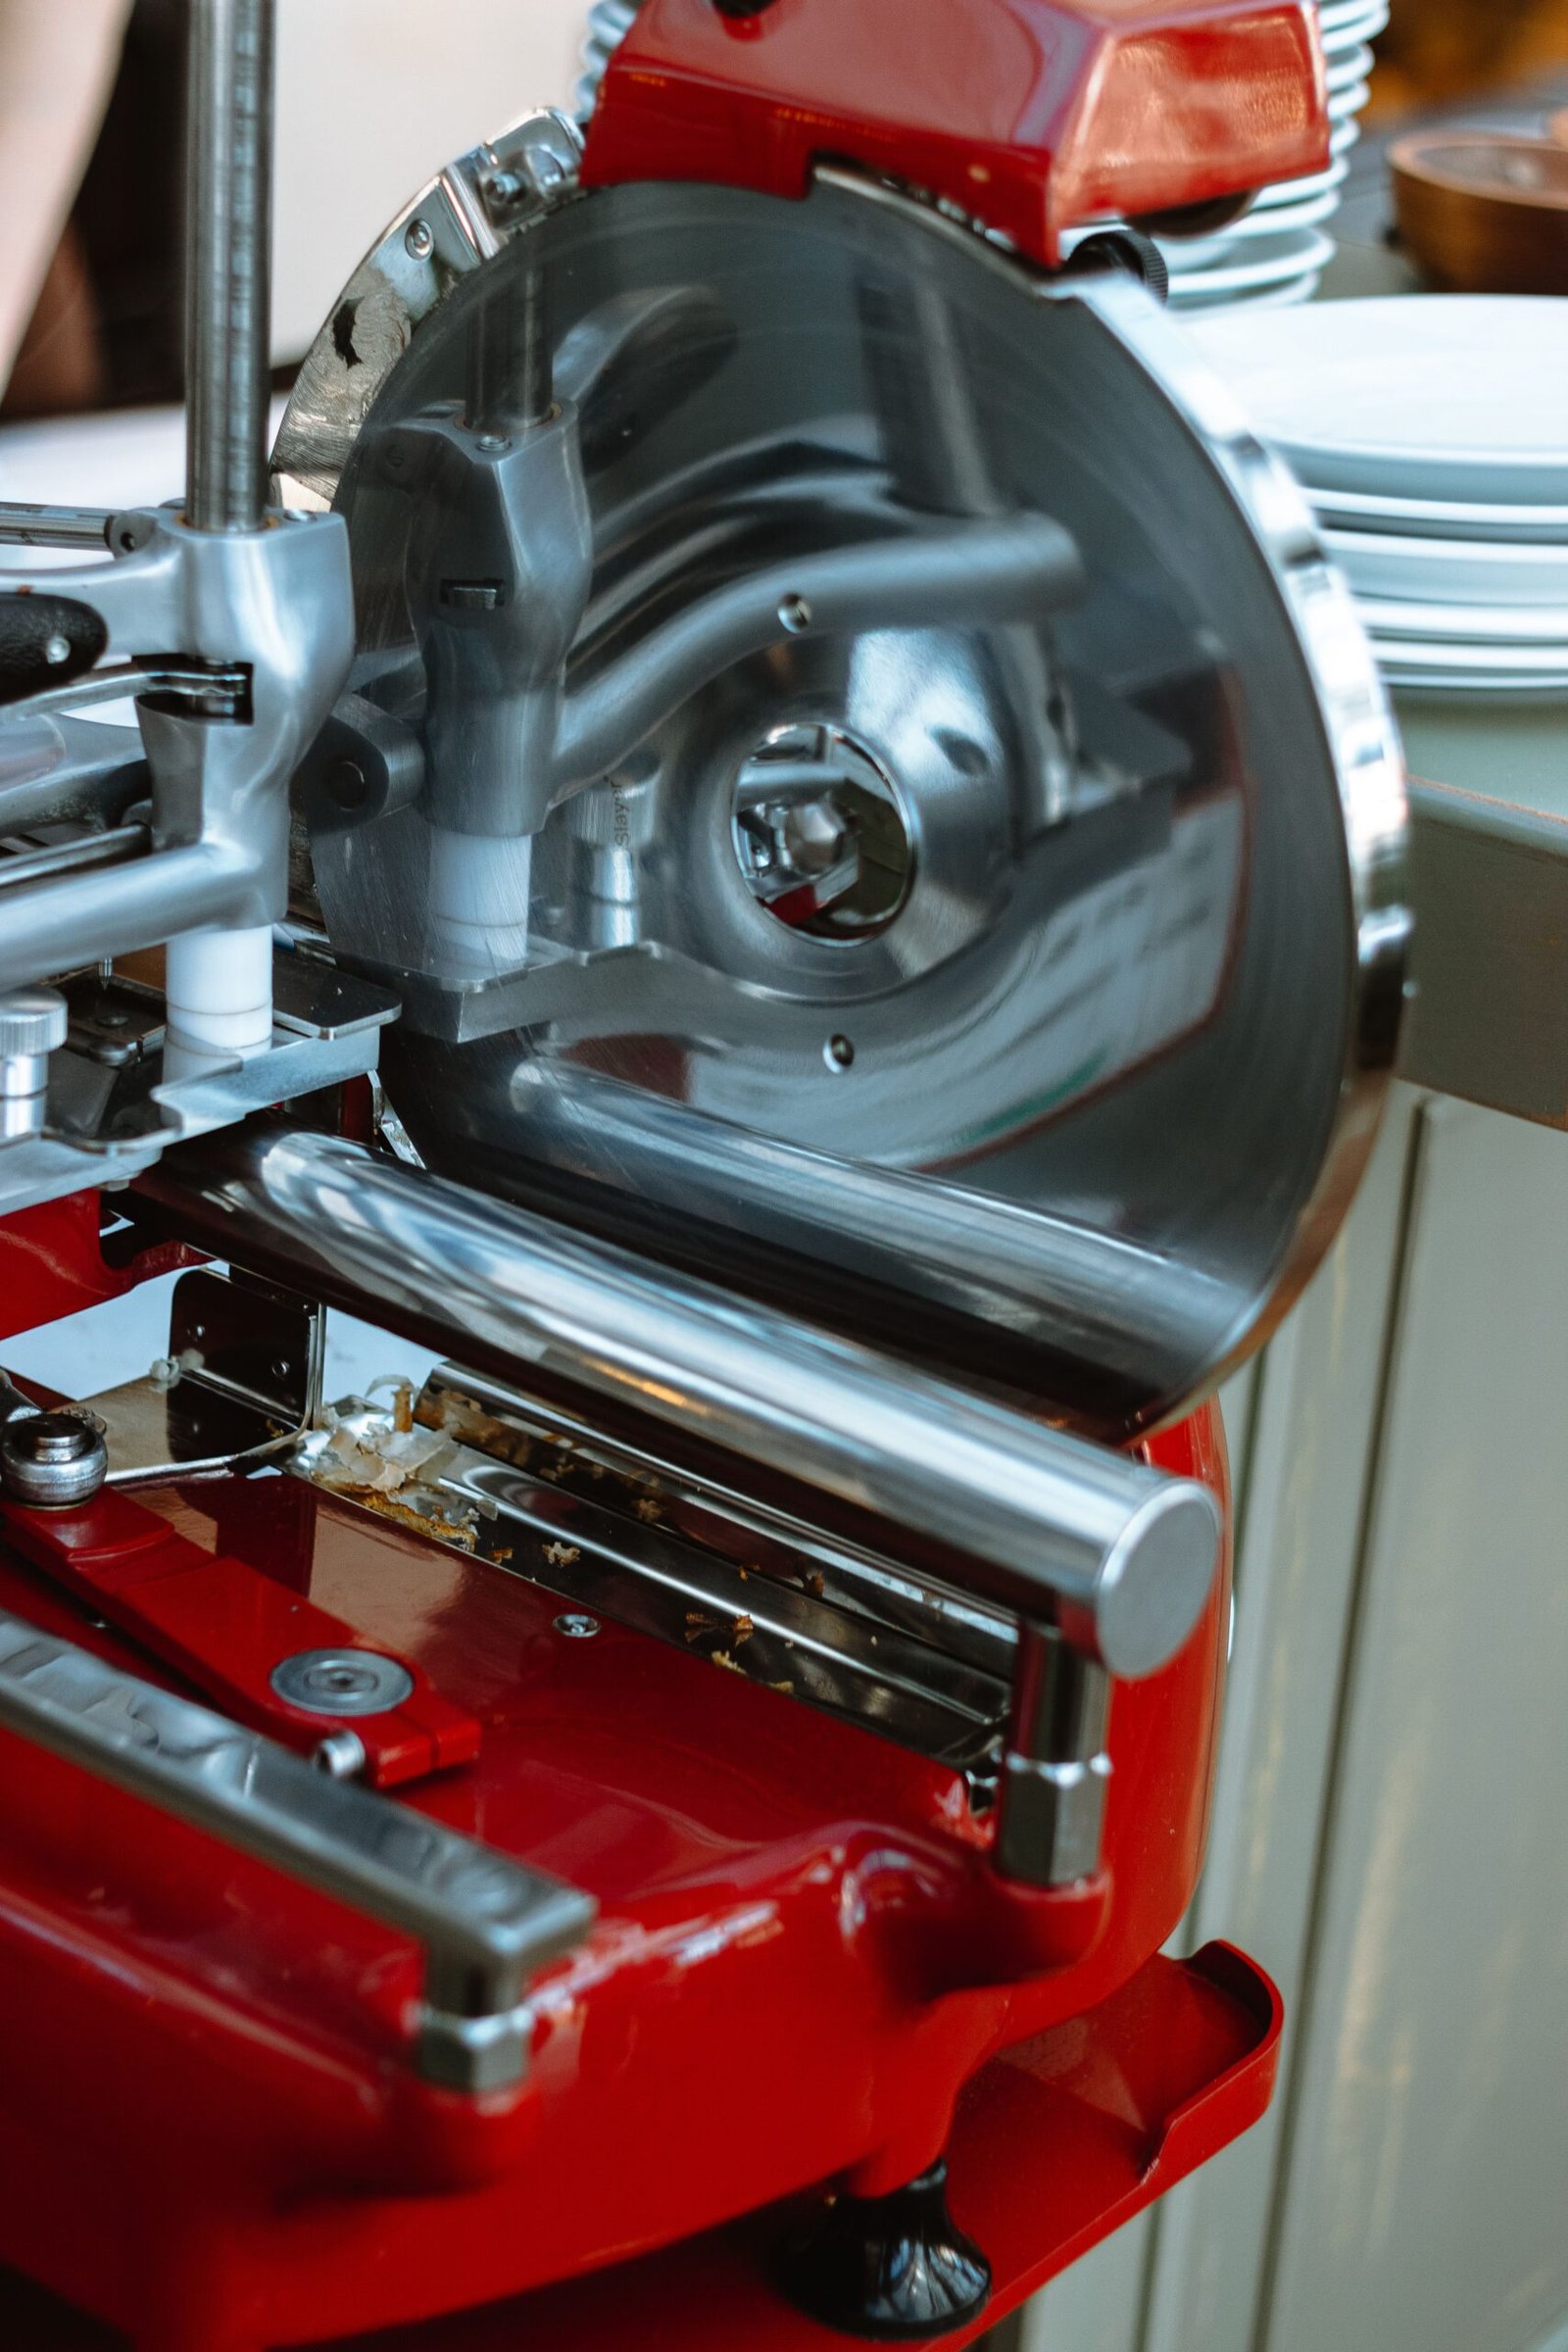
With the blade guard removed, wipe the blade from the center outward toward the edge using a soft scrub pad and warm, soapy water. Never wipe toward the center, since that can push residue into the hub. Rinse and dry the blade fully before moving on.
Clean the Carriage, Tray, and Guards
Wash the removable parts in warm water with a mild detergent. Pay close attention to the seams on the blade guard and ring guard mount, since fat and juice tend to collect there. Cotton swabs help here more than a sponge does.
Sanitize All Surfaces
Once every part is rinsed and free of visible residue, apply your sanitizing solution to the blade, carriage, tray, and any surface that touched food. Let it sit for the contact time listed on the product label. Then let everything air-dry rather than wiping it with a cloth, since a cloth could reintroduce bacteria.
Reassemble and Lubricate
Once every part is completely dry, reassemble the slicer in reverse order. Add a few drops of food-grade silicone lubricant to the slide rods so the carriage continues moving smoothly, then plug the unit back in.
Deep Cleaning at the End of Each Shift
Exterior and Housing
Beyond the parts that touch food, wipe down the base, power switch, and control panel with a sanitizing cloth. Avoid spraying liquid directly into the switch or motor housing.
Mixing a Sanitizing Solution
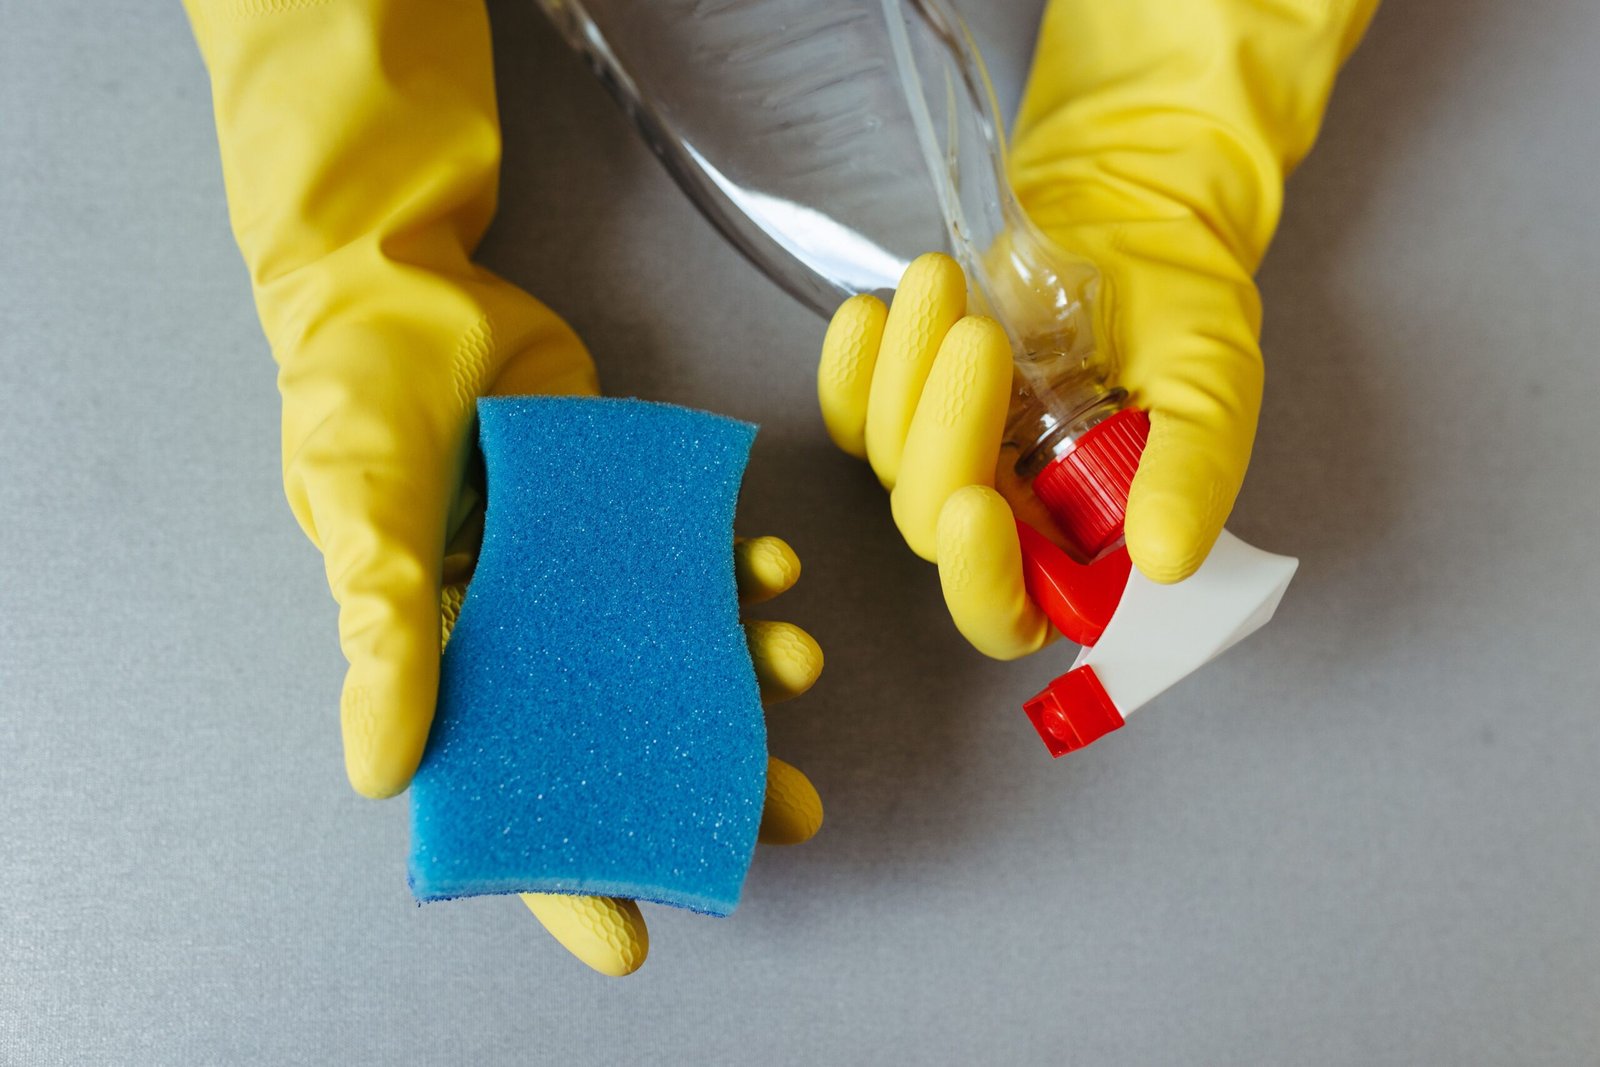
A simple, effective sanitizer is 1 tablespoon of unscented bleach per gallon of water. Never submerge the entire unit, since water in the motor housing can cause a short or accelerate corrosion. If your slicer has a specific manufacturer-approved sanitizer, follow that instead.
Signs Your Slicer Needs Cleaning Right Now
Even on a set schedule, watch for signs that your slicer needs attention sooner rather than later. A change in slice consistency, visible residue building up on the blade guard, or a faint odor near the base are all cues to stop and clean rather than wait for a scheduled break. Learning how to clean a meat slicer on this kind of as-needed basis, on top of your regular routine, catches problems before they turn into a food safety issue or a mechanical one.
How Often Should You Clean a Meat Slicer?
The short version: every 4 hours during continuous commercial use, and fully at the end of every shift, per the FDA Food Code. Home use is more forgiving, but you should still clean it fully after every session involving raw meat.
Common Mistakes to Avoid
- Only wiping the outside. The blade guard, ring guard mount, and carriage seams hide far more residue than the visible surfaces do.
- Using steel wool or abrasive pads. These scratch the blade and housing, creating microscopic grooves where bacteria can hide.
- Submerging the whole unit. Water in the motor housing is a safety hazard and can ruin the machine.
- Skipping the sanitizing step. Washing with soap removes visible debris, but sanitizing is what actually kills bacteria.
- Reassembling before parts are dry. Trapped moisture encourages rust and bacterial growth even after a thorough clean.
Maintenance Tips for a Longer-Lasting Slicer
Regular Inspections
Check the blade guard, ring guard mount, and slide rods for wear or damage weekly. A blade that’s lost its edge doesn’t just slice poorly, it also requires more pressure to use, which raises the risk of an accident. Our guide on sharpening a meat slicer blade safely covers when and how to do this yourself versus calling a professional.
Scheduling Professional Service
Even with a solid cleaning routine, a slicer benefits from a professional service every few months, especially in commercial settings with heavy daily use. A technician can true the blade, check the motor, and replace worn components before they fail. See our full meat slicer maintenance guide for a complete schedule.
| Maintenance Task | Frequency | Why It Matters |
|---|---|---|
| Full cleaning and sanitizing | Every 4 hours of use, and end of shift | Prevents bacterial growth and cross-contamination |
| Inspect blade guard and seams | Weekly | Catches hidden residue and early wear |
| Lubricate slide rods | Monthly, or per manufacturer guidance | Keeps the carriage moving smoothly and reduces motor strain |
| Professional inspection and blade sharpening | Every 3-6 months | Addresses wear that routine cleaning can’t fix |
Troubleshooting Common Cleaning Problems
Stubborn, Dried-On Residue
If food has dried onto the blade or carriage, don’t scrape at it with a metal tool. Apply a food-grade degreaser, let it sit for a few minutes to loosen the residue, then wipe with a soft pad. Repeat rather than pressing harder.
Lingering Odors
A persistent smell after cleaning usually means bacteria are still present somewhere in a seam or gasket you missed. Rewash the affected parts, then sanitize again with a fresh solution, and make sure everything dries completely before you reassemble the unit.
Rust Spots or Discoloration
Small rust spots usually mean a part wasn’t fully dried before storage, or a cleaning solution sat on stainless steel too long. Buff light surface rust off with a food-safe stainless steel cleaner and a soft cloth. If the pitting is deep, the blade may need replacing rather than just cleaning. Preventing this is simpler than fixing it: dry every part completely, every time, before it goes back together.
Frequently Asked Questions
How often does the FDA require a meat slicer to be cleaned?
At least every 4 hours during continuous use, and fully disassembled and cleaned at the end of each shift, per the FDA Food Code.
Can I put meat slicer parts in the dishwasher?
Some removable parts are dishwasher-safe, but check your manual first. The blade itself should always be cleaned by hand for safety.
What’s the best way to clean a meat slicer blade?
Wipe from the center of the blade outward with a soft pad and warm, soapy water, then sanitize and dry it fully before reassembly. Never wipe toward the center.
Is bleach safe to use on a meat slicer?
Yes, diluted correctly: 1 tablespoon of unscented bleach per gallon of water is a standard food-safe sanitizing ratio. Rinse and let surfaces air-dry afterward.
Why does my meat slicer smell bad even after cleaning?
Trapped residue in the blade guard, ring guard mount, or carriage seams is the usual cause. Disassemble those parts specifically and clean them by hand rather than relying on a quick wipe-down.
How do I know if my meat slicer blade needs sharpening instead of just cleaning?
If slices are ragged or the machine needs more pressure to cut than it used to, the blade likely needs sharpening, not just cleaning. See our blade sharpening guide above for the full process.
Do I need to clean a home meat slicer as often as a commercial one?
Not on the same 4-hour schedule, but you should still fully clean and sanitize it after every use involving raw meat, not just wipe it down.
Is cleaning a meat slicer different at home versus in a restaurant?
The technique is the same either way, but commercial kitchens follow stricter FDA-mandated frequency rules. At home, focus on cleaning thoroughly every time you slice raw meat rather than sticking to a fixed schedule.
What’s the most common mistake people make when learning how to clean a meat slicer for the first time?
Rushing the disassembly step and skipping the sanitizing stage are the two biggest ones. Most safety incidents happen when someone tries to wipe down a blade without fully removing the guard first.
Final Thoughts
Learning how to clean a meat slicer properly comes down to a short list of habits. Disassemble it fully, clean every part that touches food, sanitize before drying and reassembling, and stick to a consistent schedule. None of it takes long once it’s routine. It’s the difference between a slicer that stays safe and sharp for years, and one that becomes a health risk hiding in plain sight.
If you’re shopping for a new one, our meat slicer buying guide covers current options for home and commercial use. Once it’s clean and back together, our guide on using a meat slicer safely covers proper technique for the cuts you’re making next.

Hey, My name is MAMON. I am a SEO content creator and affiliate marketer with over 8 years of experience. I create honest product reviews, in-depth buying guides, and practical how-to articles to help readers make informed decisions. My mission is to provide trustworthy, research-backed content that delivers real value.
Leave a Reply