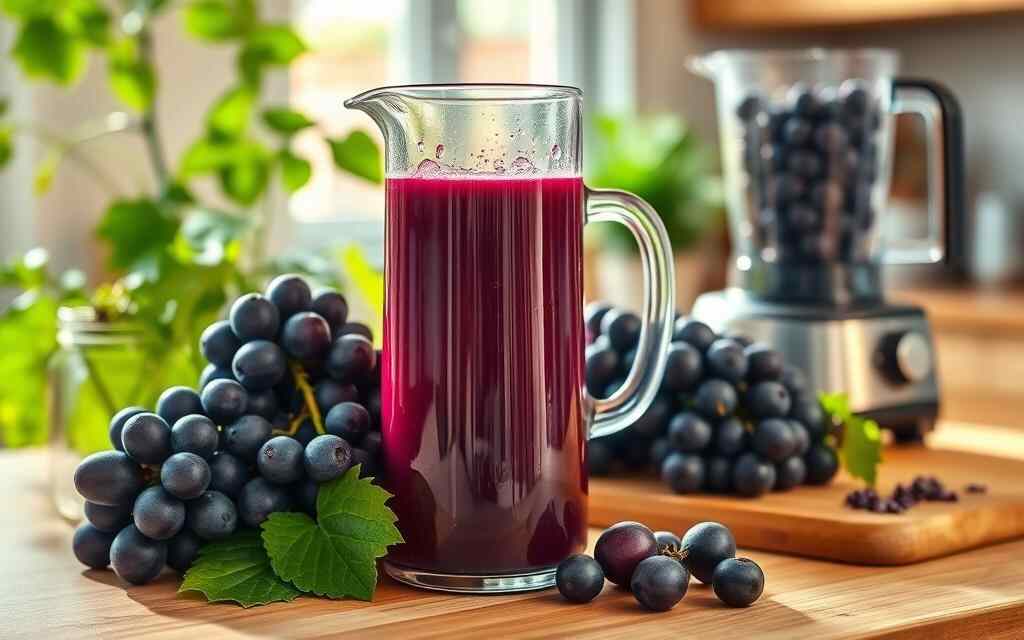
If you’ve got a bowl of grapes going soft on the counter, or a grapevine producing more than you can eat, knowing how to make grape juice with a blender turns that surplus into something genuinely worth drinking. No juicer required, just grapes, a blender, and a strainer. This guide covers the full process, the health research behind grape juice’s reputation, and a food safety note that’s easy to overlook with any homemade juice.
Key Takeaways
- A blender and a fine mesh strainer are the only equipment you need; no juicer required.
- About 1 pound of grapes yields roughly 1 cup of juice, so plan quantities accordingly.
- Homemade grape juice is unpasteurized. The FDA advises pregnant women, young children, older adults, and anyone immunocompromised to use extra caution with any unpasteurized juice.
- Fresh grape juice keeps 5 to 7 days refrigerated, or up to 6 months frozen.
Blender vs. Juicer: Which Should You Use?
A dedicated juicer extracts liquid more directly and produces a slightly clearer result right out of the machine, but not everyone has one sitting around. Learning how to make grape juice with a blender instead means using equipment most kitchens already have, with one extra step: straining. The tradeoff is worth it for most people, since a blender also lets you use the whole grape, skins included, which is where much of the flavor and polyphenol content actually lives. If you’re deciding between the two methods, a high-powered blender makes quick work of even a large batch of grapes, while a standard blender still handles smaller quantities just fine with a bit more blending time.
Choosing Grapes for Juicing
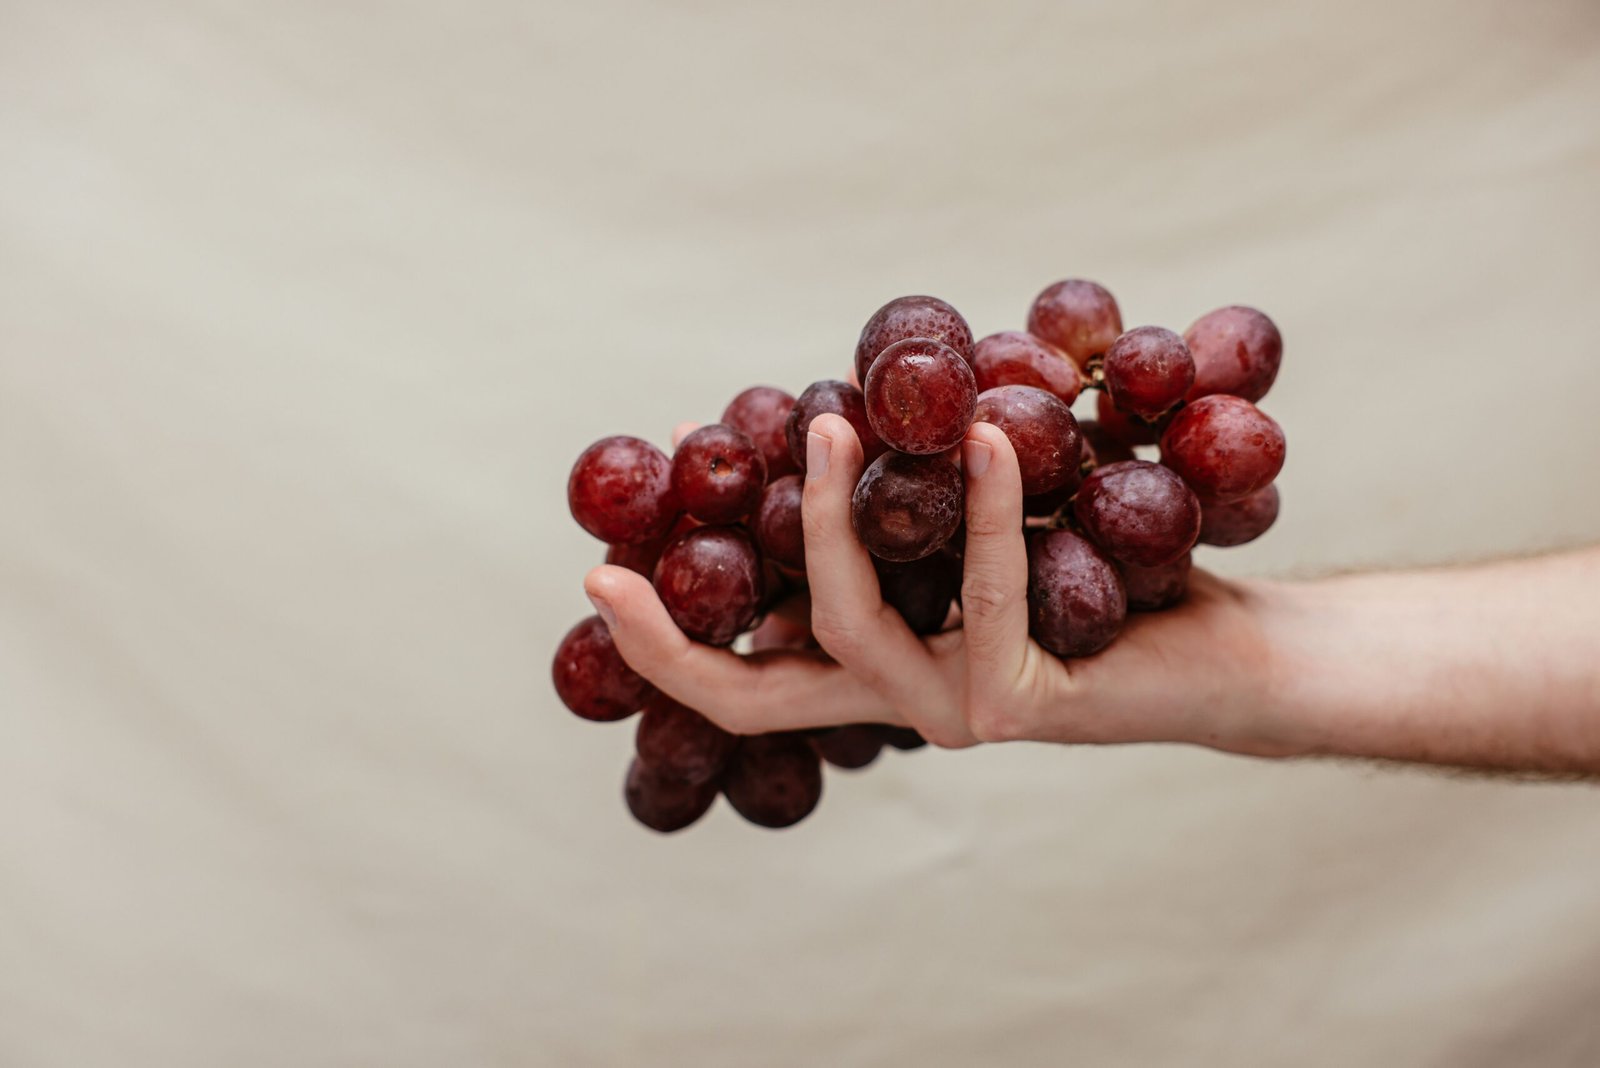
Any sweet grape variety can be juiced, but some work better than others. Concord grapes are the classic choice for a reason: bold flavor, deep color, and a thick skin packed with the same polyphenols that give grape juice its health reputation. Niagara grapes offer a milder, sweeter alternative with a green-gold color. Thompson seedless and red globe grapes work too, producing a lighter, more delicate juice.
| Grape variety | Flavor and color | Best for |
|---|---|---|
| Concord | Bold, rich, deep purple | Classic, full-bodied grape juice |
| Niagara | Sweet, mild, green-gold | Lighter, milder juice |
| Thompson Seedless | Delicate, light green | Subtle flavor, easy to find year-round |
| Red Globe | Juicy, sweet, red | Large batches, widely available |
Ingredients and Equipment
- 4 to 8 pounds of fresh grapes
- Water (optional, to thin the juice)
- Sugar, honey, or maple syrup (optional, to sweeten)
- A blender
- A fine mesh strainer, cheesecloth, or nut milk bag
- A jar or pitcher for storage
As a rough guide, 1 pound of grapes produces about 1 cup of juice, so 6 pounds gets you close to a half-gallon. Once you’ve gathered everything, the process for how to make grape juice with a blender is quick enough to fit into a weeknight if you’re working through a batch of grapes before they turn.
How to Make Grape Juice With a Blender: Step-by-Step
1. Wash the grapes thoroughly
Rinse grapes under cool running water, rubbing gently to remove dirt and any pesticide residue. If you’re not using organic grapes, a short soak in water with a splash of vinegar helps remove more residue before rinsing again.
2. Remove the stems
Pull the grapes off their stems and discard any that are shriveled, bruised, or underripe. You don’t need to remove skins or seeds; the blender handles those, and straining removes them afterward.
3. Blend until smooth
Add the grapes to the blender and blend on high for up to 2 minutes, until you have a smooth, uniform puree. If the mixture is too thick to blend evenly, add a splash of water, about 1/2 cup at a time, and continue blending.
4. Blend in batches if needed
For larger quantities, blend in batches rather than overfilling the pitcher. This gets a more even puree and is easier on the motor than forcing a packed blender to work through several pounds at once.
5. Strain the juice
Pour the puree through a fine mesh strainer, cheesecloth, or nut milk bag set over a bowl or pitcher. Press the pulp with the back of a spoon to extract as much liquid as possible. For a clearer juice, strain a second time.
6. Taste and adjust
Taste the strained juice before adding anything else. Ripe, sweet grapes often need no sweetener at all. If yours are tart, add sugar, honey, or maple syrup a small amount at a time until it tastes right.
Getting a Clearer Juice
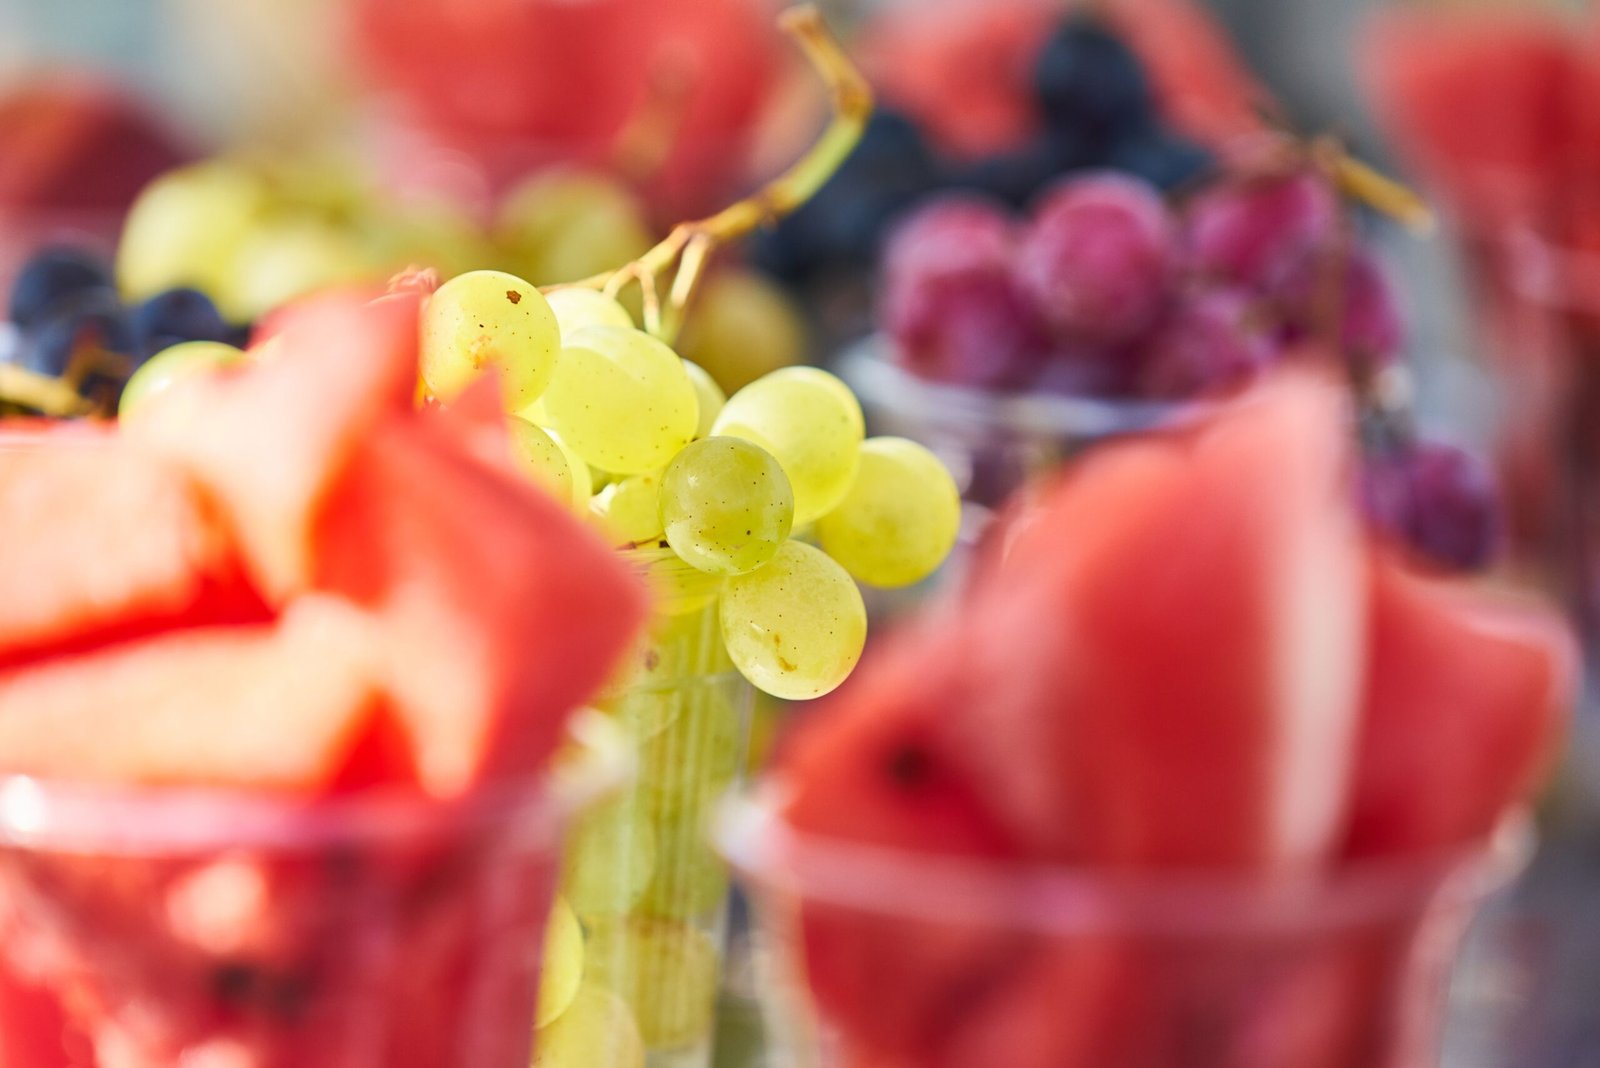
Straining once removes the bulk of the pulp, but if you want a juice closer to what you’d buy in a bottle, a second pass through the strainer helps. Another option is refrigerating the strained juice for several hours or overnight, which lets any remaining fine sediment settle to the bottom, then carefully pouring off the clear juice on top. Neither method is required, plenty of people prefer the fuller texture of once-strained juice, but both are worth trying if a clearer result matters to you.
The Research Behind Grape Juice’s Reputation
Grape juice’s health reputation isn’t just marketing. A peer-reviewed review published in Nutrients examined multiple clinical studies on Concord grape juice specifically, finding that its polyphenol content is associated with increased antioxidant activity, reduced LDL oxidation, and improved vascular function in several trials. The effect comes primarily from grape skins, which is why whole-grape blending, rather than juicing methods that discard the skin, tends to retain more of these compounds. That said, the research notes effects vary by dose and study design, so treat grape juice as a beneficial addition to a varied diet rather than a guaranteed fix for any specific health concern.
A Food Safety Note Worth Knowing
Homemade grape juice, like any fresh-blended juice, is unpasteurized. According to the FDA’s guidance on juice safety, unpasteurized juice can carry harmful bacteria like E. coli or Salmonella if produce isn’t handled carefully, and the agency specifically recommends caution for pregnant women, young children, older adults, and anyone with a weakened immune system. This isn’t a reason to avoid making grape juice at home, but it is a reason to wash your grapes thoroughly, keep your equipment clean, refrigerate the juice promptly, and drink it within the timeframe recommended below rather than letting it sit out. If you’re juicing for someone in a higher-risk group, it’s worth keeping this in mind.
Sweetening and Flavor Adjustments
Ripe grapes are often sweet enough on their own, so taste before reaching for a sweetener. If your batch needs a boost, granulated sugar gives a clean, classic sweetness, honey adds a floral note that pairs well with grapes, and maple syrup brings a slightly earthy edge. Add sweeteners a teaspoon or two at a time, tasting as you go, since it’s easy to overdo it and mask the grape flavor entirely. If the juice tastes too intense or concentrated rather than too tart, diluting with a little water is usually the better fix than adding more sugar.
Storage
Store fresh grape juice in an airtight container in the refrigerator for 5 to 7 days. For longer storage, freeze it in freezer-safe bags or containers, leaving room for expansion, or pour it into ice cube trays for easy single-serving portions later. Frozen grape juice keeps for up to 6 months without major loss of flavor. Thaw refrigerated overnight before drinking. Watch for signs of spoilage before drinking older juice: a slightly fizzy or sour taste (a sign of fermentation), an off smell, or visible mold all mean it’s time to toss it.
Creative Ways to Use Grape Juice
- Popsicles and granitas: Pour into molds and freeze, or freeze in a shallow pan and scrape into a granita once it’s icy.
- Jams and jellies: Grape juice’s natural sweetness and color make it a solid base for homemade preserves.
- Cocktails and mocktails: Mix with sparkling water, a spirit, or citrus for a quick homemade drink.
- Baking and marinades: Use it in place of some of the liquid in a marinade, glaze, or baked good for a subtle fruity note.
Don’t toss the leftover pulp either; it works blended into smoothies or added to compost. If you enjoy making fresh juices at home regularly, our guide to making ginger juice with a blender uses a very similar blend-and-strain technique for a completely different flavor.
Common Mistakes to Avoid
- Using reactive cookware. Aluminum or copper containers can give grape juice a metallic taste; stick to glass, stainless steel, or food-safe plastic.
- Letting pulp sit out too long. The juice-pulp mixture can start fermenting at room temperature, so refrigerate promptly.
- Adding too much water upfront. It’s easier to thin juice that’s too strong than to concentrate juice that’s already diluted, so start with less water than you think you need.
- Oversweetening. Ripe grapes usually provide plenty of natural sweetness; taste before adding sugar rather than adding it by default.
- Skipping the strain. Even if you don’t mind pulp, unstrained juice separates and settles quickly, which some people find unappealing after a day or two in the fridge.
Frequently Asked Questions
Do I need to remove the seeds before blending?
No. The blender breaks everything down, seeds included, and straining afterward removes them along with the skins and pulp. Using seedless grapes just saves you a step of picking seeds out if you plan to eat any grapes whole beforehand.
Can I use a food processor instead of a blender?
Yes, a food processor works for this recipe just as well, producing a similar puree that strains the same way.
Why does my homemade grape juice taste different from store-bought?
Store-bought grape juice is often made from concentrate and standardized for consistent sweetness and color. Homemade juice reflects the specific grapes you used, so flavor and sweetness will vary batch to batch depending on ripeness and variety.
Can I make grape juice without a strainer?
You’ll need something to separate the pulp from the liquid. A clean, thin kitchen towel or an old, clean t-shirt works in a pinch if you don’t have cheesecloth or a fine mesh strainer on hand.
Is it normal for homemade grape juice to separate in the fridge?
Yes, some settling is normal, especially if you didn’t strain twice. Give it a shake or stir before serving.
Can I use frozen grapes to make juice?
Yes, frozen grapes work fine and can even make blending easier since they’ve already broken down somewhat during freezing and thawing. Let them thaw slightly first so the blender doesn’t have to work against fully solid fruit.
How long does the whole process of making grape juice with a blender take?
For a standard batch, expect about 20 to 30 minutes total, most of which is washing and destemming the grapes. The blending and straining itself takes just a few minutes.
Final Thoughts
Once you’ve learned how to make grape juice with a blender, the whole process comes down to a short list of steps: wash, destem, blend, strain, and taste before sweetening. It’s a genuinely useful way to use up an abundant grape harvest or a bag that’s about to turn, and the flavor is noticeably fresher than anything from a bottle. Keep it refrigerated, use it within the week, and take the same basic food-safety care you would with any unpasteurized juice, and you’ll have a simple, homemade drink worth making again.

Hey, My name is MAMON. I am a SEO content creator and affiliate marketer with over 8 years of experience. I create honest product reviews, in-depth buying guides, and practical how-to articles to help readers make informed decisions. My mission is to provide trustworthy, research-backed content that delivers real value.
Leave a Reply