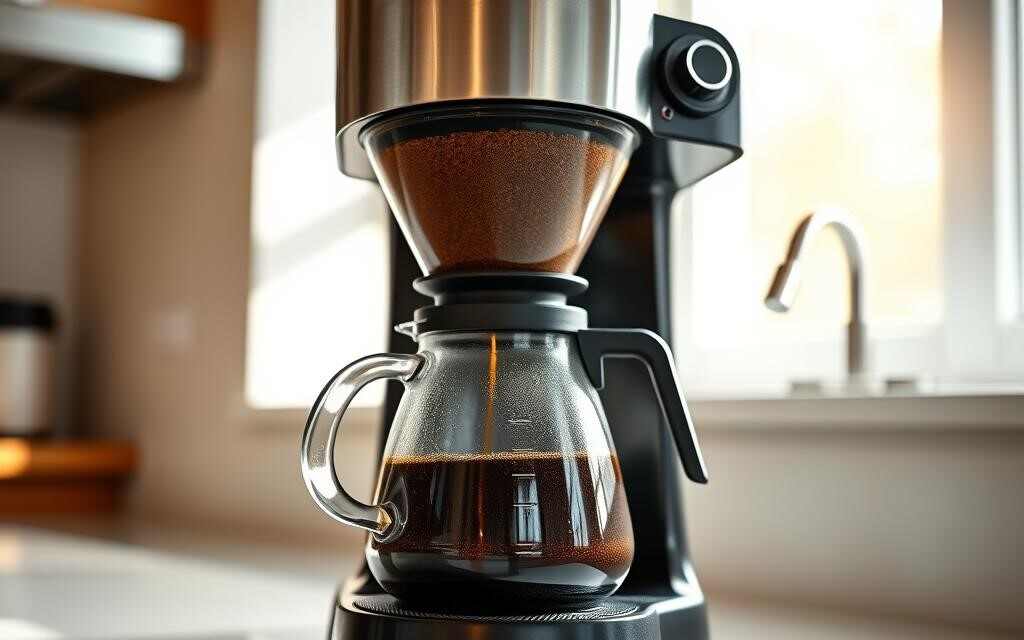
The sun rose, and the kitchen filled with the smell of coffee. For many, making coffee is a special morning ritual, a quiet moment before the day gets busy. Whether you love coffee or are just starting out, learning how to brew coffee in a coffee maker can make your morning better.
This guide walks through exactly how to brew coffee in a coffee maker, covering the right equipment, ingredients, and technique. You’ll learn about water, temperature, coffee, and filters, so brewing becomes easy and consistent. By the end, you’ll know how to get the most flavor from your drip coffee maker and make your mornings even better.
Key Takeaways
- Drip coffee makers offer a simple and reliable way to brew a consistent cup of coffee at home.
- Properly selecting and preparing the right equipment, water, and coffee grounds are crucial for achieving the best flavor profile.
- Understanding the optimal water temperature, coffee-to-water ratio, and brewing time can help you brew a balanced and flavorful cup of coffee.
- Regular cleaning and maintenance of your coffee maker are essential to maintain the quality and taste of your brewed coffee.
- Experimenting with different coffee grounds and brewing techniques can help you find your perfect cup of coffee.
Essential Equipment for Brewing Coffee in a Coffee Maker
Making a great cup of coffee at home starts with the right tools and ingredients. Here’s what you need before you brew coffee in a coffee maker.
Basic Equipment Needed
A good drip coffee maker is at the center of your coffee setup, along with a coffee filter, a mug, and a spoon for measuring coffee.
Coffee and Water Requirements
The main ingredients for coffee are coffee and water, and the quality of both affects the taste. Use fresh, filtered water for the best flavor, since coffee is mostly water, and the roast, grind, and ratio you choose all shape the result.
Types of Filters
Coffee filters come in different shapes and sizes. You can choose from cone-shaped, flat-bottom, or even reusable stainless steel filters. The filter you pick can change the taste and feel of your coffee.
| Coffee Maker Essentials | Description |
|---|---|
| Drip Coffee Maker | The heart of any home coffee setup, a reliable drip coffee maker is essential for brewing a consistent cup of coffee. |
| Coffee Filters | Filters come in various shapes and materials, including disposable paper and reusable stainless steel options. |
| Measuring Spoon | A simple tablespoon is all you need to measure the perfect amount of ground coffee for your brew. |
| Mug or Cup | The vessel that holds your freshly brewed coffee, whether it’s a classic mug, travel tumbler, or specialized espresso cup. |
| Fresh, Filtered Water | Using clean, filtered water is crucial for ensuring the best possible flavor in your brewed coffee. |
Understanding Your Coffee Maker’s Components
Before you brew coffee in a coffee maker, it helps to know its parts: the water reservoir, filter basket, carafe, and warming plate.
The water reservoir holds the water for brewing, which gets heated and flows over the grounds in the filter basket, extracting flavor and oils. The carafe then collects the brewed coffee, and some machines add a warming plate, programmable settings, or automatic shut-off for convenience. If you’re curious what happens inside the machine, our guide on how a coffee maker works breaks the whole process down.
| Coffee Maker Component | Function |
|---|---|
| Water Reservoir | Holds the water for brewing |
| Filter Basket | Holds the ground coffee |
| Carafe | Collects the brewed coffee |
| Warming Plate | Keeps the coffee hot |
Knowing the coffee maker parts, drip brewer components, and coffee machine anatomy makes using your coffee maker easier, and it helps ensure a great cup every time.
Water Quality and Temperature Guidelines for Brewing Coffee
Making a great cup of coffee starts with the right water and temperature, since the water you use can change how your coffee tastes. For the best flavor, use fresh, filtered water or bottled water, and avoid distilled water because it lacks the minerals that help extraction.
Choosing the Right Water
The water you use is key to your coffee’s taste. Tap water can carry impurities and minerals that affect flavor, so filtered water or bottled spring water are generally best for a great cup of coffee. If your tap water tastes off, our guide to the best countertop water filters can help you find a simple fix.
Optimal Temperature Settings
According to the Specialty Coffee Association’s Gold Cup Standard, as summarized by Seattle Coffee Gear, water temperature should sit between 195°F and 205°F at contact with the grounds for balanced extraction. Water that’s too cold under-extracts and tastes sour or weak; too hot, and it over-extracts into harsh, bitter compounds, according to Breville’s brewing temperature guide.
Water-to-Coffee Ratios
- For a good coffee-to-water ratio, use 2 tablespoons (10g) of ground coffee per 6 fl oz (180ml) of water, close to the SCA’s recommended 55g of coffee per liter, or roughly 1:18.
- You can adjust this ratio to make your coffee stronger or milder.
- Measuring coffee and water the same way every time helps you make the perfect cup.
| Water Temperature | Result | What Happens |
|---|---|---|
| Below 195°F | Too Cold | Under-extraction, resulting in a sour or weak-tasting coffee |
| 195°F to 205°F | Ideal | Optimal extraction, leading to a balanced and flavorful brew |
| Above 205°F | Too Hot | Over-extraction, producing a bitter and unpleasant flavor |
How to Brew Coffee in a Coffee Maker
Making the perfect cup of coffee is easy and sets the tone for a great start to the day. Whether you have a basic drip coffee maker or a fully automatic machine, the steps are similar, and they ensure your coffee is flavorful and consistent. Here’s how to brew coffee in a coffee maker, step by step.
Preparing the Coffee Maker
- Start by filling the coffee maker’s reservoir with water. For a 10-cup maker, use about 45 oz / 1250 ml.
- Put a clean paper filter in the filter basket. Don’t reuse filters, since that can add off flavors.
- Measure 2.75 oz / 65 g of medium-ground coffee. Use 1 to 2 tablespoons for every 6 oz of water.
Starting the Brew Cycle
With water and coffee grounds ready, press the “brew” button. The machine heats the water and drips it through the grounds, which usually takes 3 to 5 minutes.
Try not to stop the brew cycle partway through, since that affects the coffee’s taste. For iced coffee, use less water and add ice to the carafe for the right strength once it’s done.
Enjoying Your Freshly Brewed Coffee
Once brewing is done, your coffee is ready to drink. Clean your coffee maker often for the best taste and performance over time. By following these steps, you’ll know how to brew coffee in a coffee maker that tastes great at home every time.
Selecting the Perfect Coffee Grounds for Your Coffee Maker
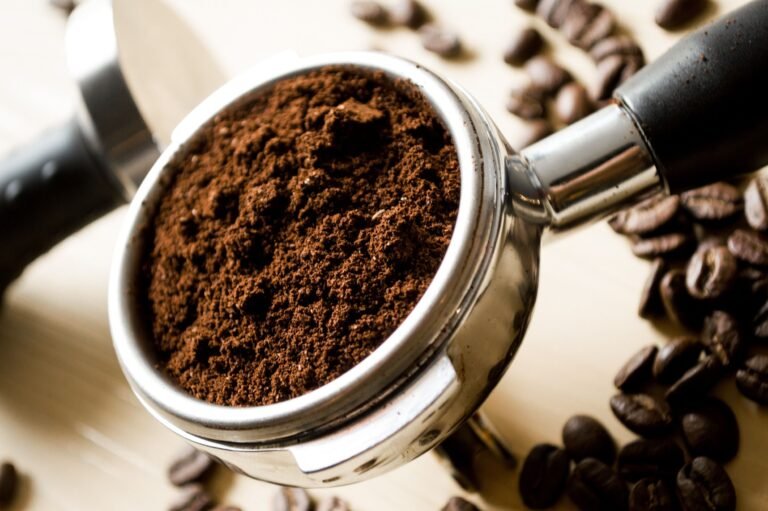
The grind size of your coffee beans is key to a great cup. For flat-bottom filters, a medium grind about the texture of sea salt works best; cone filters do better with a finer, sugar-like grind.
Grind Size Guidelines
- For flat-bottom filter coffee makers, use a medium grind size, similar to the texture of sea salt.
- For cone-shaped filters, opt for a grind size that resembles granulated sugar.
- Avoid a fine grind, since it can lead to over-extraction and a bitter, unpleasant taste.
- Coarse grinds, on the other hand, may cause under-extraction and a weak, watered-down flavor.
Pre-Ground vs. Whole Bean Options
Freshness matters in coffee. Whole bean coffee is more vibrant when ground fresh, while pre-ground coffee, though convenient, loses aroma over time.
To keep your coffee fresh, store whole beans in an airtight container, away from sunlight, heat, and moisture. A clean grinder also matters here; our guide on cleaning a Cuisinart coffee grinder covers the basics.
| Feature | Whole Bean Coffee | Pre-Ground Coffee |
|---|---|---|
| Freshness | Retains more aroma and flavor when ground just before brewing | May lose some aroma and flavor over time |
| Customization | Allows for adjusting grind size to suit your preferences | Limited control over grind size |
| Convenience | Requires an additional step of grinding the beans | Saves time by being pre-ground |
Coffee Filter Placement and Preparation
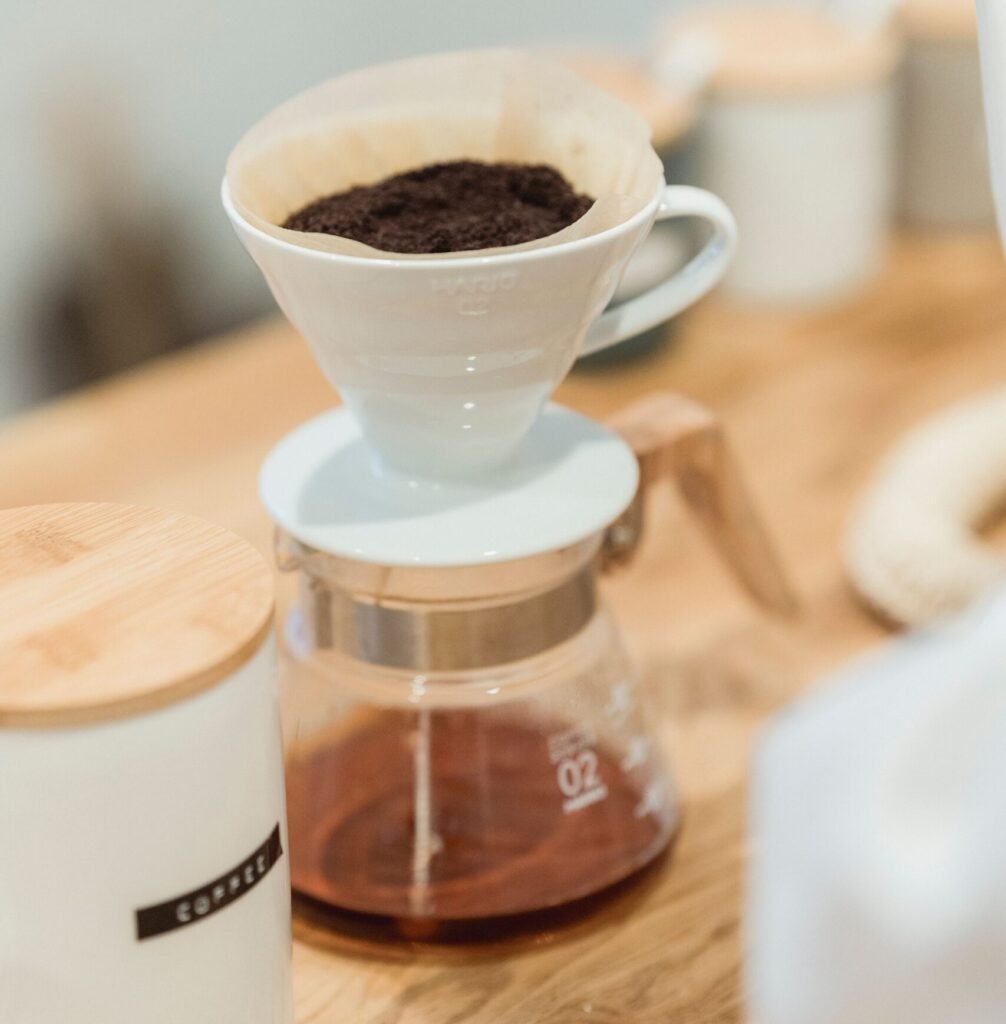
Getting your coffee filter right is just as important for a good cup. Whether it’s cone-shaped or flat-bottom, proper setup affects how your coffee tastes.
Cone-Shaped Filters
For cone-shaped filters, fold the crimped edges in opposite directions. This makes the filter fit well and keeps grounds out, so your coffee stays clean and free of sediment.
Flat-Bottom Filters
Flat-bottom filters go straight into the basket without any prep. Just make sure it fits well, and you’re ready to brew.
Some drip coffee filter brewers use reusable filters instead, which don’t need the same prep as disposable ones. Still, cleaning these drip brewer filters regularly is important, since it keeps them working well and your coffee tasting great.
| Filter Type | Preparation Steps |
|---|---|
| Cone-Shaped | Fold the crimped edges in opposite directions before placing in the filter basket. |
| Flat-Bottom | Place the filter directly in the basket, ensuring a secure fit. |
| Reusable | Clean regularly to maintain performance and flavor quality. |
Getting the filter right this way improves your results from any drip machine.
Measuring Coffee Grounds for Your Coffee Maker
To make the perfect cup, you need the coffee-to-water ratio right. The usual amount is 2 tablespoons (10g) of coffee for every 6 fl oz (180ml) of water, though you can adjust this to make your coffee stronger or weaker.
Standard Measurements
For a 10-cup coffee maker, you’ll need about 2.75 oz (65g) of medium-ground coffee, making roughly 45 oz (1250ml). Since cup sizes vary between machines, check your maker’s actual capacity first.
Adjusting for Strength Preferences
- For stronger coffee, add more grounds.
- For weaker coffee, use fewer grounds.
- Start with the standard ratio and adjust a little at a time until it’s just right.
Trying different coffee measurements and coffee-to-water ratios is key to finding your perfect coffee strength, so listen to what you like and adjust from there.
| Coffee Maker Size | Coffee Grounds | Water |
|---|---|---|
| 4-cup | 1-2 tablespoons (5-10g) | 16-24 oz (475-710ml) |
| 8-cup | 2-4 tablespoons (10-20g) | 32-48 oz (950-1420ml) |
| 10-cup | 2.75 oz (65g) | 45 oz (1250ml) |
| 12-cup | 3.5 oz (100g) | 60 oz (1775ml) |
These are general guidelines. The best coffee measurements and coffee-to-water ratio ultimately depend on your taste and the coffee maker you use.
Brewing Time: How Long to Brew Coffee in a Coffee Maker
Mastering how to brew coffee in a coffee maker is about more than the ratio; brewing time matters too. Drip coffee makers usually take 3 to 5 minutes, and letting the cycle finish fully matters, since stopping it early changes the taste.
Some machines include a “strength” selector, but adjusting the grounds themselves is generally more effective. Trying different grind sizes and ratios lets you dial in the flavor you want.
| Brewing Method | Typical Brewing Time | Key Considerations |
|---|---|---|
| Drip Coffee Maker | 3-5 minutes | Allow full brew cycle, avoid interruptions |
| French Press | 4-6 minutes | Steep time affects strength and body |
| Pour Over | 3-4 minutes | Bloom time and pour rate impact extraction |
| Espresso | 20-30 seconds | Pressure and grind size are critical |
| Cold Brew | 12-24 hours | Steep time affects strength and acidity |
Overall, consistency matters most: a repeatable process gets you a balanced cup every time.
Storage and Serving Tips After You Brew Coffee
Serve your coffee within 20 minutes of brewing for the best taste and aroma, and use an insulated carafe or thermos to keep it hot, since warming plates can eventually make coffee taste bitter.
Keeping Coffee Hot
An insulated carafe or thermos traps heat without continuing to cook the coffee. Avoid leaving coffee on the warming plate too long, since it can turn bitter.
Storage Solutions
Store leftover coffee in an airtight container in the fridge to keep it fresh. That said, reheating dulls the flavor, so drink it soon after brewing. For iced coffee, brew directly over ice instead.
Conclusion: How to Brew Coffee in a Coffee Maker Every Time
Learning how to brew coffee in a coffee maker comes down to a few details done consistently: filtered water at 195°F to 205°F, a coffee-to-water ratio you measure the same way each time, the right grind for your filter, and a full, uninterrupted brew cycle.
None of this requires special equipment, just attention. Once your ratio and grind are dialed in, brewing becomes second nature.
With a little practice, you’ll have a reliable, flavorful cup of coffee waiting for you every morning, no barista required.

Hey, My name is MAMON. I am a SEO content creator and affiliate marketer with over 8 years of experience. I create honest product reviews, in-depth buying guides, and practical how-to articles to help readers make informed decisions. My mission is to provide trustworthy, research-backed content that delivers real value.
Finally a place that handles crypto transactions properly. Deposits are instant and the privacy is top notch. For any crypto enthusiast pkcryptocasinos is a must visit.