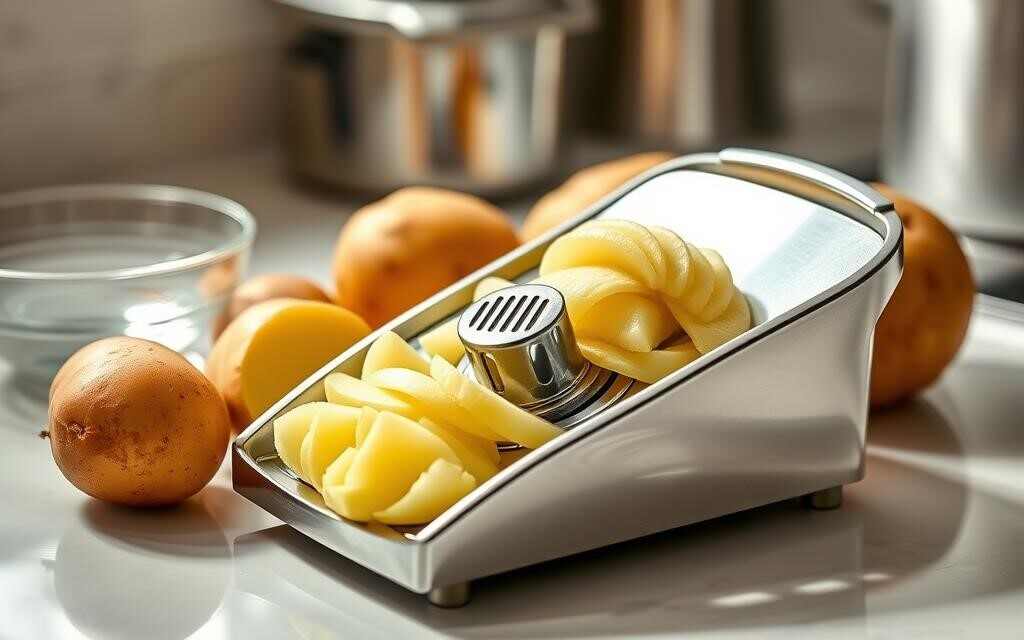
Knowing how to clean a potato slicer safely protects two things at once: your food and your fingers. These tools carry sharp, exposed blades, and food residue left on them can harbor bacteria like E. coli and Salmonella between uses.
Learning how to clean a potato slicer safely doesn’t take long once you know the routine. This guide covers disassembly, washing the blades, sanitizing, drying, and the maintenance habits that keep a slicer sharp and safe for years.
Most people skip a real cleaning routine because their slicer looks clean after a quick rinse. Starch residue and trapped moisture are often invisible, though, and that’s exactly the combination bacteria need to multiply. A few extra minutes of proper cleaning after each use closes that gap.
Key Takeaways
- Always unplug electric models and wear cut-resistant gloves before you start cleaning
- Disassemble the slicer fully so water and soap reach every blade and crevice
- Hand-wash blades with a soft sponge; avoid abrasive scrubbers that dull or scratch them
- Sanitize after washing with a food-safe sanitizer, then air-dry completely before storing
- Regular blade inspection and light lubrication extend the tool’s working life
What Counts as a “Potato Slicer”?
“Potato slicer” covers a few different tools, and the cleaning steps below apply to all of them with small adjustments. A push-block french fry cutter presses a whole potato through a fixed blade grid. Mandolines use a flat bed and an adjustable blade for thin slices. A spiralizer cranks a potato against a spiral blade for curly cuts. If you’re cutting fries by hand with a knife instead, our guide to cutting french fries by hand covers blade and board care for that method.
Why the Tool Type Matters for Cleaning
A push-block cutter has a fixed blade grid that’s easy to rinse under a faucet. A spiralizer’s crank mechanism and suction base need more attention, since food residue can hide in the gears. Mandoline blades sit in an adjustable carriage that has its own thin gap where slivers of potato can get wedged and dry out. Keep all of this in mind as you work through the steps below, and adjust for whichever type sits on your counter.
None of that changes the core routine much. Every one of these tools still needs disassembly, a real wash, sanitizing, and full drying. The differences are mostly about which crevices deserve extra attention.
How to Clean a Potato Slicer Safely: Why It Matters
Food safety is the biggest reason to stay on top of this. According to the USDA’s Food Safety and Inspection Service, cross-contamination from unwashed tools and surfaces is one of the most common paths for foodborne bacteria to spread in a home kitchen. A slicer that touches raw potatoes today and salad vegetables tomorrow needs a real wash in between, not just a rinse.
Blade safety matters just as much. A dull, gunked-up blade needs more force to cut through a potato, and extra force is exactly what causes slips and cuts. Keeping the blade clean and sharp is a safety habit, not just a hygiene one.
Residue left in blade grooves doesn’t need refrigeration to become a problem. At room temperature, starch and moisture support bacterial growth within a couple of hours, similar to the two-hour window the USDA recommends for perishable food left out on a counter. That’s part of why cleaning right after use matters more than a once-a-week deep clean.
How Long Should Cleaning Take?
For a typical push-block cutter or mandoline, expect 5-10 minutes for the wash and another 15-20 minutes of soak time if you’re also sanitizing and letting parts air dry. A spiralizer’s extra gears and crank housing can add a few more minutes to the wash step. None of this needs to feel like a chore once it’s part of your after-cooking routine.
Safety Precautions Before You Start
- Unplug any electric spiralizer or slicer before you touch the blade
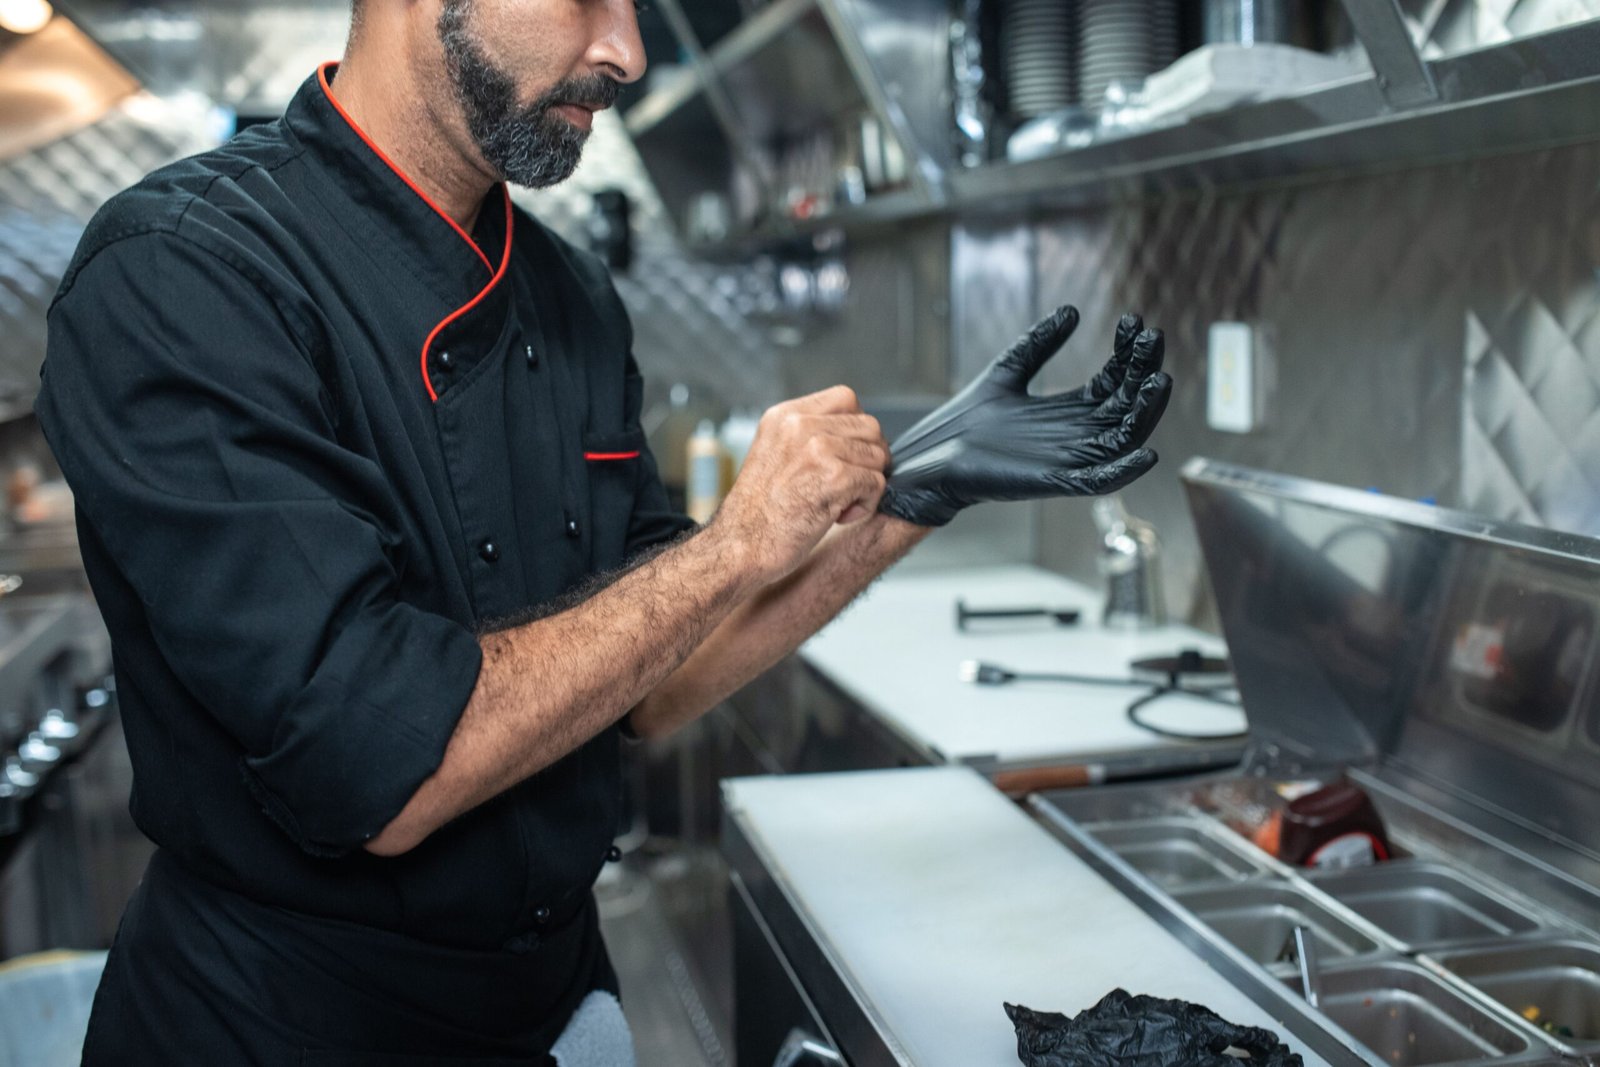
- Wear cut-resistant gloves, often made of Kevlar, while handling exposed blades
- Keep your fingers clear of the blade’s edge at every step, including during drying
Taking thirty seconds for these steps before you start is what keeps a routine cleaning job from turning into a trip to urgent care.
What You’ll Need
- Warm water and mild dish soap
- A soft sponge or cloth (nothing abrasive)
- Small brush for stubborn residue in blade grooves
- A food-safe sanitizer
- Cut-resistant gloves
Skip steel wool and scouring pads. They scratch blades and plastic housings, and those scratches become places for bacteria to collect.
Step-by-Step Cleaning Process
Disassembling the Slicer
Take the slicer apart following the manufacturer’s instructions, removing the blade, blade guard, and any hopper or crank pieces. Working with the parts separated gets soap and water into every corner. It also makes it far easier to reassemble correctly afterward, since you can see exactly how each piece fits.
Cleaning the Blades
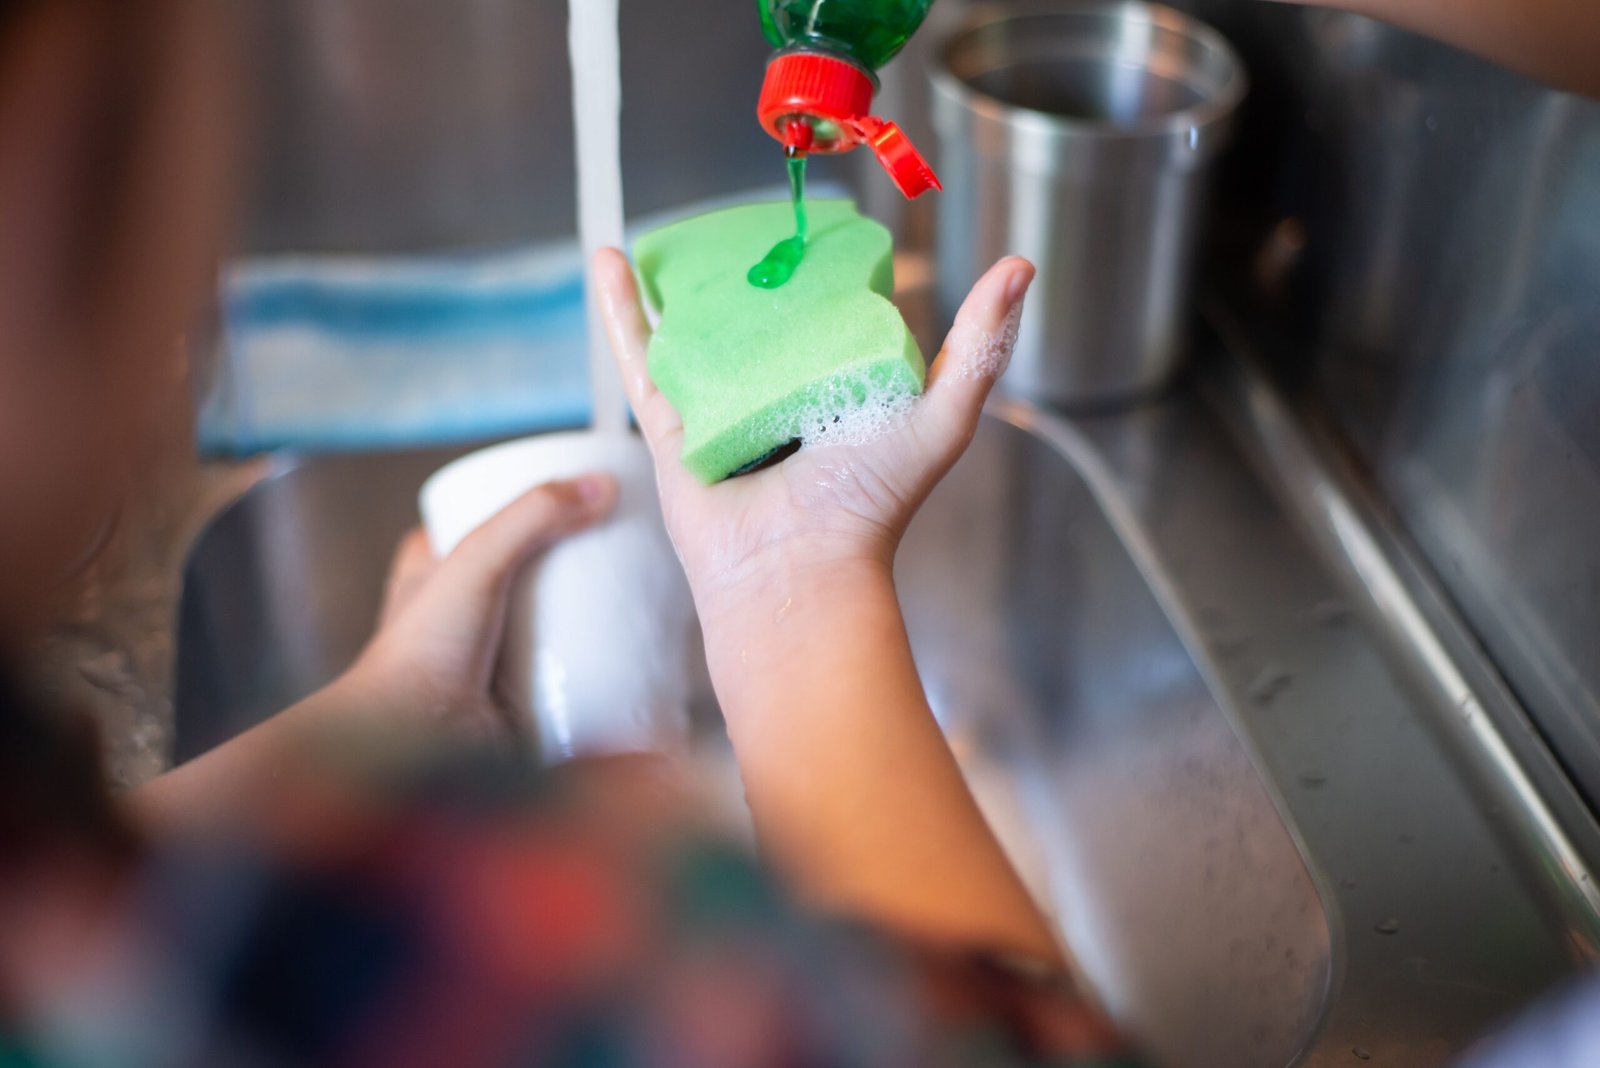
Wipe the blade edge in one direction only, away from the sharp side, using a soft sponge. Wiping back and forth increases your chance of a cut for no real cleaning benefit. A short rinse under hot water loosens most starch and residue before you even reach for soap.
Wiping Down the Base and Components
Wash the base, hopper, and any plastic housing with warm, soapy water. Pay attention to seams, hinges, and the area right around the blade slot, since starchy residue collects there fastest. Rinse everything thoroughly so no soap film is left behind.
Removing Stubborn Residue
Soaking in Warm Water
For dried-on starch or burnt bits, soak the disassembled parts in warm water for 15-20 minutes before scrubbing. This softens residue enough that a soft sponge can lift it without any real effort.
Using Baking Soda for Tough Stains
- Mix baking soda with a little water into a thick paste
- Spread the paste over stained or discolored areas
- Let it sit for a few minutes, then scrub gently with a soft brush
- Rinse thoroughly to remove every trace of the paste
Skip bleach and harsh chemical cleaners on the blade itself; they can pit the metal over time and are unnecessary next to a proper sanitizing step.
Sanitizing Your Slicer
Washing removes visible residue, but sanitizing is the step that actually kills bacteria left on the surface. Look for a food-contact sanitizer with NSF International certification, and follow the label’s dilution ratio and contact time exactly. The FDA Food Code treats cleaning and sanitizing as two separate, required steps for food-contact equipment, not one combined rinse.
Rinse every sanitized surface with clean water afterward unless the product label specifically says it’s a no-rinse formula. Leftover sanitizer residue can affect the taste of your next batch of fries and isn’t something you want on food.
Common Cleaning Mistakes to Avoid
Most people who skip a step in how to clean a potato slicer safely aren’t being careless, they just don’t realize which shortcuts matter. A few show up again and again.
- Cleaning it fully assembled. Water and soap can’t reach the gaps around the blade if you never take the slicer apart, so residue keeps building up in the same hidden spots.
- Letting it air dry with water pooled in a crevice. Standing water is what actually causes rust, not brief exposure during washing.
- Using the dishwasher for parts the manual says to hand-wash. High heat and harsh detergent can warp plastic housings and dull blade edges faster than normal use would.
- Storing it while still slightly damp. Even a small amount of trapped moisture is enough to start rust on an exposed steel blade within days.
Drying and Storing It Properly
Shake off excess water, then lay the parts on a dish rack or clean towel to air dry completely. Skip cloth towels for the actual drying; they can redeposit bacteria onto a surface you just sanitized. Moisture left on a blade invites rust, and rust pits weaken the edge and make it harder to keep sharp.
Once everything is fully dry, reassemble the slicer and store it somewhere it won’t rattle against other utensils. A drawer with a blade guard or a dedicated slot in a knife block both work well. Avoid tossing it loose into a drawer with other metal tools, since the blade edge can chip against them and the exposed edge becomes a hazard the next time you reach in.
Maintenance Tips for Longevity
Regular Inspections
Check the blade every few uses for dullness, chips, or a loose fit in its housing. A dull blade needs more pressure to cut, which brings back that slip-and-cut risk from earlier. If your current blade is beyond sharpening, our potato slicer buying guide can help you find a replacement.
Lubricating Moving Parts
If your slicer has a crank or gear mechanism, apply a food-grade lubricant every few months, or sooner if it starts turning stiffly. A few drops go a long way, and wiping off any excess keeps it from attracting dust and grit.
Replacing Worn Parts
Rubber feet, suction cups, and blade guards wear out well before the blade itself usually does. A wobbly base or a cracked guard is a safety issue on its own, since it makes the whole tool less stable while you’re feeding a potato through. Most manufacturers sell these as standalone replacement parts, so a worn base doesn’t have to mean replacing the entire slicer.
Storing It for the Off-Season
If you only pull out the spiralizer around the holidays or use a mandoline seasonally, don’t just shelve it dirty and forget it. Clean and fully dry it before long-term storage, and check it again before the next use, since even a well-dried blade can pick up a light film of dust or rust over several months in a drawer.
Frequently Asked Questions
Can I put potato slicer parts in the dishwasher?
Check the manufacturer’s manual first. Many plastic housings and blade guards are dishwasher-safe, but detachable steel blades often hold their edge longer with hand-washing, since dishwasher detergent and high heat can dull an edge faster than gentle hand cleaning.
How often should I clean my potato slicer?
Clean it after every use, and add a full sanitizing pass whenever you switch between different foods or haven’t used it in a while.
Is bleach safe to use on a potato slicer?
A very diluted bleach solution can sanitize plastic parts, but avoid it on the blade itself since it can pit stainless steel over time. A food-safe sanitizer is the better default choice.
What’s the fastest way to clean a potato slicer safely between batches?
A quick hot-water rinse and wipe with a soapy sponge covers you between batches of the same food. Save the full soak-and-sanitize routine for the end of your cooking session.
Why does my slicer smell even after washing?
Trapped moisture and hidden residue in seams or crank housings are the usual cause. A longer soak followed by thorough air-drying almost always clears it up.
Do I need cut-resistant gloves for every cleaning session?
It’s a good habit any time you’re handling an exposed blade by hand, especially during drying and reassembly when the blade guard may be off.
Does the routine change between a mandoline and a spiralizer?
The core steps for how to clean a potato slicer safely stay the same across both. A spiralizer just needs more attention around its crank and suction base, where a mandoline’s main risk area is the thin gap around its adjustable blade.
Can I sharpen the blade myself instead of replacing it?
Some flat mandoline and cutter blades can be professionally sharpened, but many home tools use thin stamped steel that isn’t designed for resharpening. Check your manual before attempting it yourself.
Final Thoughts
Now that you know how to clean a potato slicer safely, the routine comes down to a handful of habits: disassemble it, wash with a soft sponge, sanitize with a real food-safe product, and dry it completely before it goes back together. Do that consistently and the slicer stays both safer to use and sharp for years longer than one that only gets a quick rinse.

Hey, My name is MAMON. I am a SEO content creator and affiliate marketer with over 8 years of experience. I create honest product reviews, in-depth buying guides, and practical how-to articles to help readers make informed decisions. My mission is to provide trustworthy, research-backed content that delivers real value.
Leave a Reply