
Burnt popcorn, an exploded potato, cheese that boiled over: it happens to almost everyone with a microwave. One minute you’re reheating leftovers, the next your kitchen smells like a campfire and the interior looks like it survived a small fire. Here’s how to clean a burnt microwave the right way, without damaging the interior or leaving the smell behind.
The good news: in the vast majority of cases, a burnt microwave is completely fixable. This guide covers removing burnt-on food, killing stubborn smells for good, and knowing exactly when a burnt microwave is no longer safe to use.
Key Takeaways
- Most burnt microwaves are fixable with a vinegar or lemon steam-clean, a baking soda scrub, and an overnight deodorizing step.
- Repeated sparking with no metal inside, or charring that’s burned through the interior paint, means stop using it and get it inspected.
- Never use steel wool, bleach, or ammonia inside the cavity. All three damage the coating or leave fumes that can transfer to food.
- A five-minute weekly wipe-down prevents most burnt-microwave situations before they start.
What Causes a Microwave to Burn?
Microwaves cook by exciting water molecules inside food. Foods that are naturally low in moisture, like popcorn, bread, and pastries, or anything left in too long, dry out fast and can scorch before the microwave shuts off. A few common causes:
- Overheating dry or starchy foods with little moisture left to absorb the microwave energy
- Incorrect timer settings, usually a mix-up between minutes and seconds
- Metal, foil, or metallic-rim dishes left inside, which cause arcing and scorch marks
- A dirty waveguide cover, the small panel inside the cavity where built-up grease can burn and spark
- Chipped interior paint, which exposes bare metal and can trigger repeated arcing
Knowing the cause tells you whether you’re dealing with a simple cleaning job or a safety issue worth a closer look first.
Is It Safe to Use a Burnt Microwave?
In most cases, yes. A microwave with burnt food or a lingering smell is safe once it’s properly cleaned. A few warning signs mean you should stop and have it inspected first:
| Situation | Safe to keep using? |
|---|---|
| Burnt food smell, no visible damage | Yes, clean and deodorize |
| Light scorch marks on the cavity wall | Usually yes, once cleaned |
| Sparking that stops after removing metal/foil | Yes, once the item is removed |
| Repeated sparking with no metal present | No, stop and inspect |
| Deep charring through the interior paint | No, have it inspected |
| Smoke, a burning electrical smell, or exposed metal | No, unplug immediately |
| Turntable won’t rotate or door won’t seal | No, stop use until repaired |
If char has burned through the paint into the metal underneath, the microwave can arc every time it’s used. That’s a repair-or-replace situation, not a cleaning one.
Safety First: Before You Start Cleaning
- Unplug the microwave or switch off the breaker. Don’t just power it off.
- Skip steel wool and metal scrapers on the interior. They scratch the coating and expose metal underneath.
- Skip bleach and ammonia-based cleaners inside the cavity. The fumes can linger and transfer into food.
- Let the unit cool completely before touching any recently used surface, and ventilate the kitchen while you work.
How to Clean a Burnt Microwave: Step by Step
This is the most common version of the problem: bits of burnt food fused to the cavity walls, ceiling, or floor. Here’s how to clean a burnt microwave with basic pantry supplies.
- Unplug the microwave and remove the turntable and any racks.
- Scrape off loose debris with a plastic scraper or old credit card, never metal.
- Soak a soft sponge in warm water with a few drops of dish soap.
- Wipe down the walls, ceiling, and floor, applying light pressure on stuck-on spots.
- For stubborn residue, sprinkle baking soda onto the damp sponge and scrub gently. It’s abrasive enough to lift char without scratching the coating.
- For burnt-on grease or cheese, apply a paste of 3 parts white vinegar to 1 part water, let it sit for 5-10 minutes, then wipe clean.
- Rinse with a clean, damp cloth and dry thoroughly with a lint-free towel.
Vinegar Steam-Clean (Best for Loosening Baked-On Grime)
- Mix 1 cup of water with 2 tablespoons of white vinegar in a microwave-safe bowl.
- Microwave on high for 4-5 minutes, until the window fogs with steam.
- Leave the door closed for 5 more minutes so the steam keeps working, then wipe the interior clean.
Lemon Steam-Clean (Best for Smells and Residue Together)
- Slice one lemon into a microwave-safe bowl with 1 cup of water, or use a tablespoon of bottled lemon juice.
- Microwave on high for 3-5 minutes, then let it sit unopened for 5 more minutes.
- Wipe down the interior. The citrus oils cut through grease and neutralize odor at the same time.
Dish Soap and Baking Soda for Everyday Grime
For light, regular upkeep, warm water and a few drops of dish soap on a microfiber cloth handle most spots. For anything more stubborn, mix 2 tablespoons of baking soda with just enough water to form a paste, let it sit on the stain for 10 minutes, then scrub gently.
Commercial Microwave Cleaners
Steam-based silicone cleaners work fine for routine maintenance, but skip anything with bleach, ammonia, or harsh solvents inside the cavity. Check that a cleaner is labeled food-safe before using it in the microwave.
How to Remove Burnt Smell From a Microwave Permanently
Cleaning removes residue, but odor molecules linger in porous interior surfaces long after the mess is gone, according to KitchenAid’s own cleaning guidance. To get rid of the smell for good, pair cleaning with a deodorizing step.
Deep clean first with the vinegar or lemon steam method above; you can’t fully deodorize a microwave with grease still trapped inside. Once it’s clean and dry, leave one of these inside overnight with the door shut:
- Baking soda, an open box or a small bowl with ½ cup inside
- Activated charcoal, especially effective for smoke smells
- Dried coffee grounds, which absorb odor and leave a mild scent
- Vanilla extract on a cotton ball, best as a finishing touch since it masks scent rather than absorbing odor
Stubborn smells like burnt fish or melted plastic sometimes need two or three rounds before they’re fully gone.
Cleaning Specific Microwave Parts
Door and Seal
Wipe both sides of the glass with a 50/50 vinegar-water solution. Pay close attention to the rubber door seal and the crevices around the latch, since food splatter collects there and can cause odor even after the cavity is spotless.
Turntable, Vents, and Grease Filters
Wash the glass turntable and roller ring in warm, soapy water, then dry completely before replacing since trapped moisture causes mildew. Clear exterior vents with a vacuum brush attachment. On over-the-range models, soak the metal mesh grease filter in hot water with degreaser for 10-15 minutes and scrub monthly.
Smoke Stains and Discoloration
For stains that remain after residue is gone, dampen a cloth with a small amount of acetone-based nail polish remover and gently rub the spot, then immediately wipe with a clean, damp cloth. Test on a hidden spot first.
Common Mistakes That Make Burnt Microwaves Worse
- Scrubbing with steel wool or abrasive pads, which scratches the coating and raises the risk of arcing
- Using bleach or ammonia inside the cavity, since fumes can be absorbed by food later
- Skipping the dry-completely step, which invites mildew and new odors
- Masking odor with air fresheners instead of cleaning, since sprays don’t remove the grease causing the smell
- Ignoring repeated sparking instead of checking for metal or damaged interior paint
Watch: How to Clean a Burnt Microwave
This walkthrough covers the vinegar and baking soda method in real time, useful if you’d rather watch each step than read it.
Preventing Future Burns: Maintenance Checklist
Wipe the interior after any spill while it’s fresh. Never run the microwave empty, since it can damage the magnetron. Double-check the timer for popcorn, skip metal and foil, and inspect the interior paint periodically for chips.
Suggested Weekly Cleaning Routine
| Day | Task |
|---|---|
| Daily | Quick wipe-down with a damp cloth after use |
| Weekly | Vinegar or lemon steam-clean, plus wipe interior |
| Weekly | Wash the turntable and roller ring |
| Monthly | Deep-clean door seal, vents, and grease filter |
| Monthly | Inspect interior for chips, scorch marks, or exposed metal |
When to Replace the Microwave Instead of Cleaning It
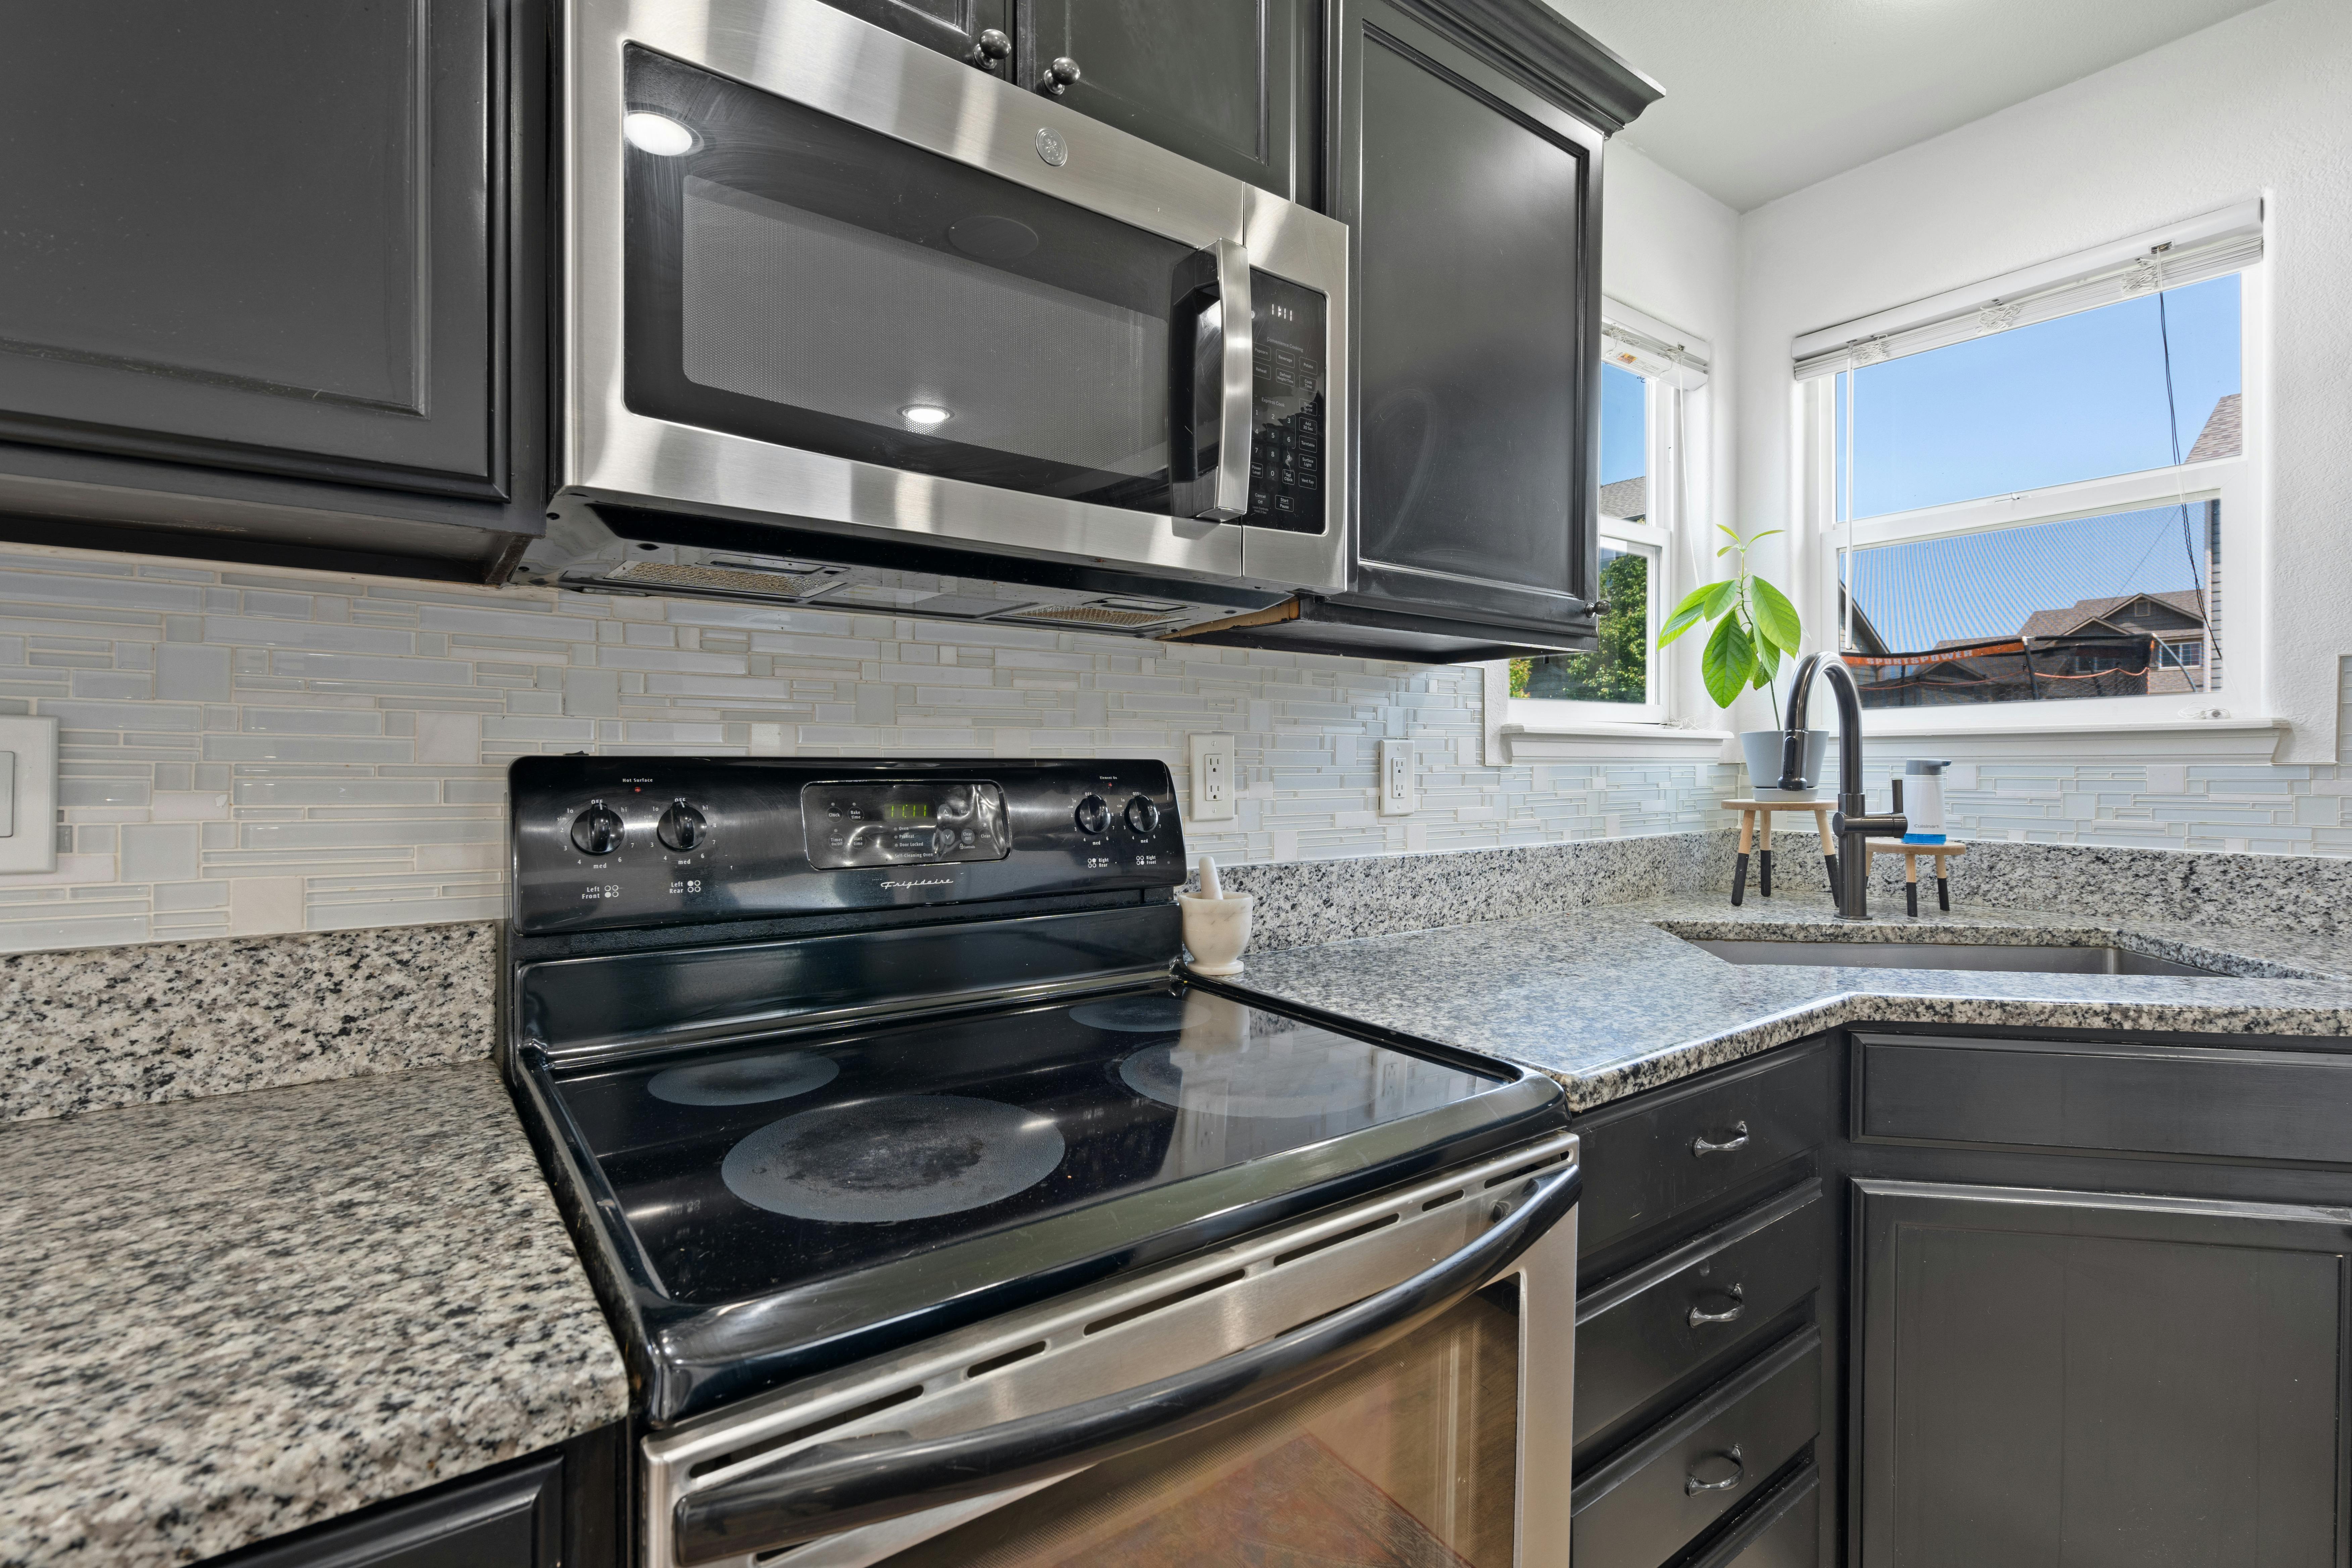
Cleaning won’t fix everything. Consider replacing the microwave if you notice char burned through the interior paint, repeated sparking with no debris present, a burning electrical smell, or a turntable and door that won’t work properly even after cleaning. A damaged door seal is also a radiation-leakage concern the FDA addresses directly, and that’s a repair-or-replace issue, not a cleaning one.
If you’re unsure, unplug the unit and have a technician inspect it first. Replacement is usually cheaper than repairing damaged internal components; our guide to compact microwave ovens is a good starting point if you’re shopping for one.
Expert Tips for a Spotless, Odor-Free Microwave
- Cover food before microwaving. A microwave-safe lid or paper towel prevents most splatter-related burns in the first place.
- Keep a dedicated “microwave bowl” for steam cleaning so you’re not hunting for a container every time.
- Address odors and stains immediately. The longer burnt residue sits, the harder it bonds to the interior.
- Don’t overload the vinegar ratio. Too strong a mix leaves a lingering vinegar smell of its own.
Frequently Asked Questions
What’s the fastest way to clean a burnt microwave?
Heat a bowl of water with a tablespoon of lemon juice or vinegar on high for 3-5 minutes, then let the steam sit for 5 more minutes before wiping the interior. This loosens residue and neutralizes odor in one step.
Does vinegar remove burnt smell from a microwave?
Yes. White vinegar’s acidity breaks down grease and neutralizes many odor compounds. Steam a 1:1 water-vinegar mix for 4-5 minutes, then wipe down the interior once it cools slightly.
Is it safe to eat food heated in a microwave with burnt residue inside?
It’s not recommended. Residue can transfer trace odors, or in some cases burnt particles, to food during heating. Clean the microwave fully before using it again.
Why does my microwave still smell burnt after cleaning?
Odor molecules soak into porous surfaces beyond what a single cleaning removes. Follow up with an overnight deodorizing step using baking soda, activated charcoal, or coffee grounds.
Can I use bleach to clean a burnt microwave?
No. Bleach and ammonia-based cleaners release fumes that can be absorbed by the interior and later transferred to food. Stick to vinegar, lemon, dish soap, or baking soda.
Is it normal for a microwave to spark after burning food?
Occasional brief sparks from food residue or a scrap of foil are common and stop once the item is removed. Repeated or ongoing sparking with nothing metallic inside needs inspection.
Conclusion
A burnt microwave almost always looks worse than it is. If you’ve been searching for how to clean a burnt microwave, the short version is: a steam-clean with vinegar or lemon, a scrub with baking soda, and an overnight deodorizing session will usually have it looking and smelling like new. The exception is when charring has burned through the interior paint or sparking continues with no obvious cause. That’s when it’s time to call a technician rather than keep cleaning. Build a quick weekly wipe-down into your routine, and you likely won’t be dealing with a burnt microwave again anytime soon.

Hey, My name is MAMON. I am a SEO content creator and affiliate marketer with over 8 years of experience. I create honest product reviews, in-depth buying guides, and practical how-to articles to help readers make informed decisions. My mission is to provide trustworthy, research-backed content that delivers real value.
Leave a Reply