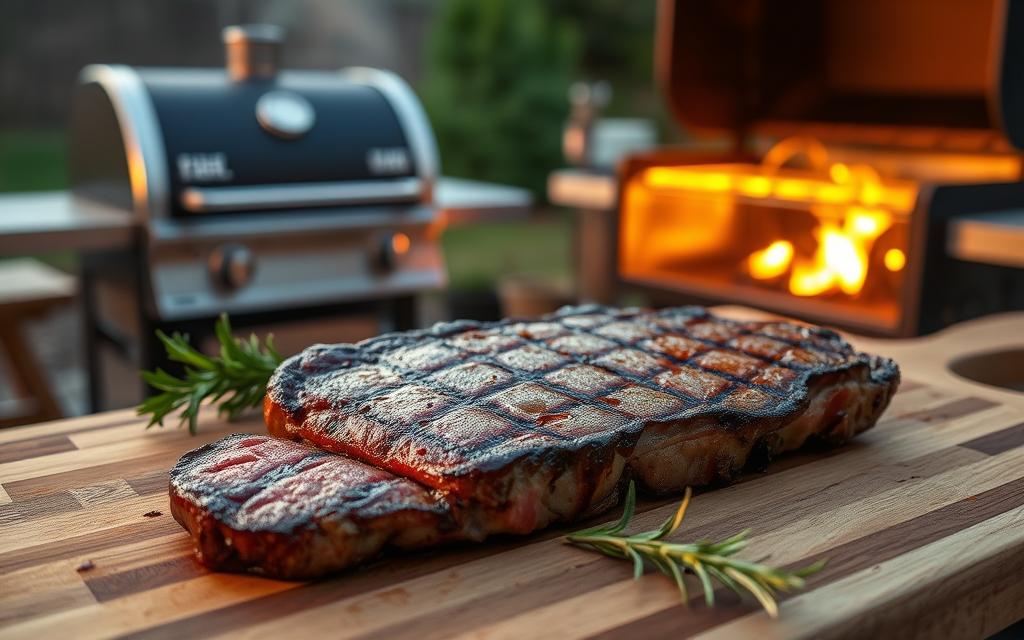
Reverse searing is a grilling technique built for consistency. Getting how to reverse sear on a pellet grill right starts with a simple sequence: low and slow first, then a hot, fast sear. The result is a juicy interior with a crisp, caramelized crust every time.
Pellet grills are especially good at this because of their precise temperature control. Start low, around 225°F. Finish with a hot, fast sear, and you get steakhouse-quality results at home.
Key Takeaways
- Reverse searing is a two-step method: slow-cook first, then sear over high heat for a crust.
- Pellet grills are well suited to it, thanks to steady, precise temperature control.
- It takes longer than a traditional sear, but delivers more consistent, edge-to-edge doneness.
- Picking a thick, well-marbled cut and seasoning it simply makes the biggest difference in the result.
- A meat thermometer, not guesswork, is what actually gets you the doneness you want.
Understanding the Reverse Sear Technique
The reverse sear technique cooks meat slowly first. It finishes over high heat for a great crust and a juicy interior.
What Is Reverse Searing?
Reverse searing cooks the steak at a low temperature, around 225°F, until it’s about 15°F below your target doneness. That slow start cooks the meat evenly from edge to edge. A traditional sear-first method struggles with this. Cooking hot from the start tends to leave a thick gray band of overcooked meat under the crust. Reverse searing avoids that almost entirely. The interior comes up to temperature gradually, before the crust ever forms. Then it gets a hot, fast sear to build that crust in the final minutes.
Benefits of Reverse Searing
- Consistent doneness: Slow cooking gives you tighter control over the internal temperature, so the steak cooks evenly throughout.
- Better moisture retention: Cooking low and slow keeps more juice in the meat, for a more tender bite.
- A superior crust: The high-heat sear at the end builds a deep, crackly crust without overcooking the interior.
Temperature Control in Reverse Searing
Start low, around 225°F, and let the steak climb slowly toward its target. This is the same low-and-slow approach used for smoking, and it’s what cooks the steak evenly. Once the steak is about 10-15°F below your target doneness, it’s time to crank up the heat and sear.
Getting reverse searing right really is about temperature control and patience. Once you’ve done it a couple of times, the payoff makes it worth the extra planning.
Choosing the Right Cut of Meat
The right cut matters as much as the technique itself. Look for steaks at least 1.5 inches thick. Top sirloin, ribeye, New York strip, tenderloin, and T-bone are all good choices. Each offers a solid mix of flavor and texture for this method.
Best Cuts for Reverse Searing
- Top Sirloin
- Ribeye
- New York Strip
- Tenderloin
- T-Bone
Grade matters too. USDA Prime offers the most marbling and flavor, while USDA Choice is a solid balance of quality and price. Either way, look for good marbling for a tender, juicy result.
Factors to Consider When Selecting Meat
- Meat grade (Prime, Choice, Select)
- Marbling
- Thickness (at least 1.5 inches)
Thickness matters most. Thinner steaks are more likely to overcook during the sear. Stick to at least 1.5 inches for a cut that cooks evenly from start to finish.
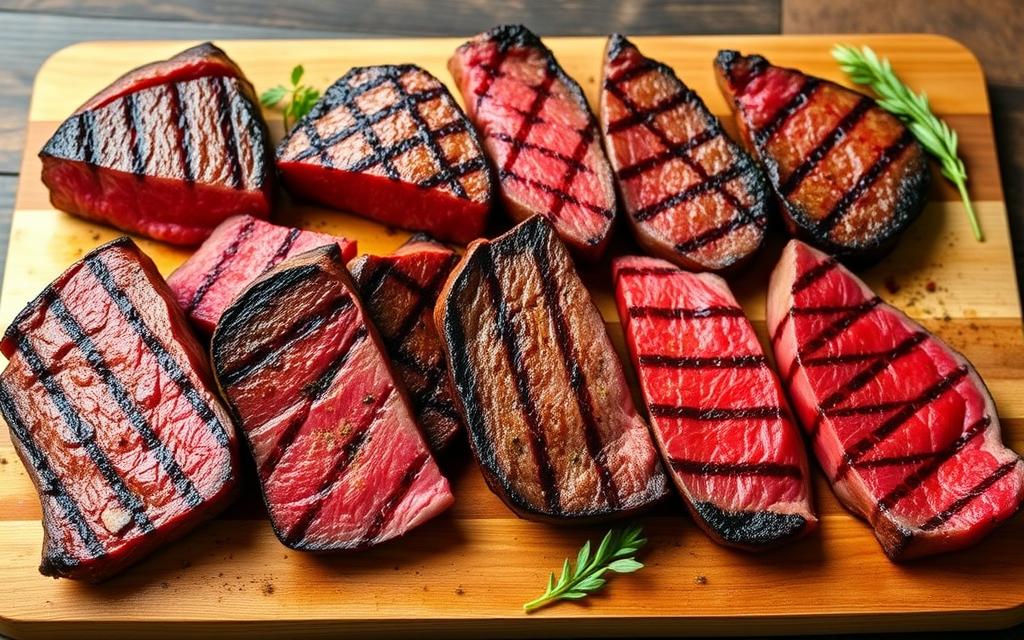
| Doneness Level | Pull Temp Before Searing | Final Temp After Searing/Resting |
|---|---|---|
| Rare | 105°F | 125°F |
| Medium-Rare | 115°F | 135°F |
| Medium | 125°F | 145°F |
| Medium-Well | 135°F | 150°F |
| Well-Done | 145°F | 160°F |
Worth noting: the USDA’s recommended safe minimum for whole cuts of beef is 145°F, with at least a 3-minute rest. Rare and medium-rare fall below that guideline. That’s a personal choice many steak lovers make, but it’s worth knowing where the official safety line sits.
Preparing Your Pellet Grill
Part of how to reverse sear on a pellet grill successfully is having the right setup ready before the meat ever touches the grate. It takes a bit of prep, but nothing complicated, on a wood pellet grill.
Essential Equipment for Reverse Searing
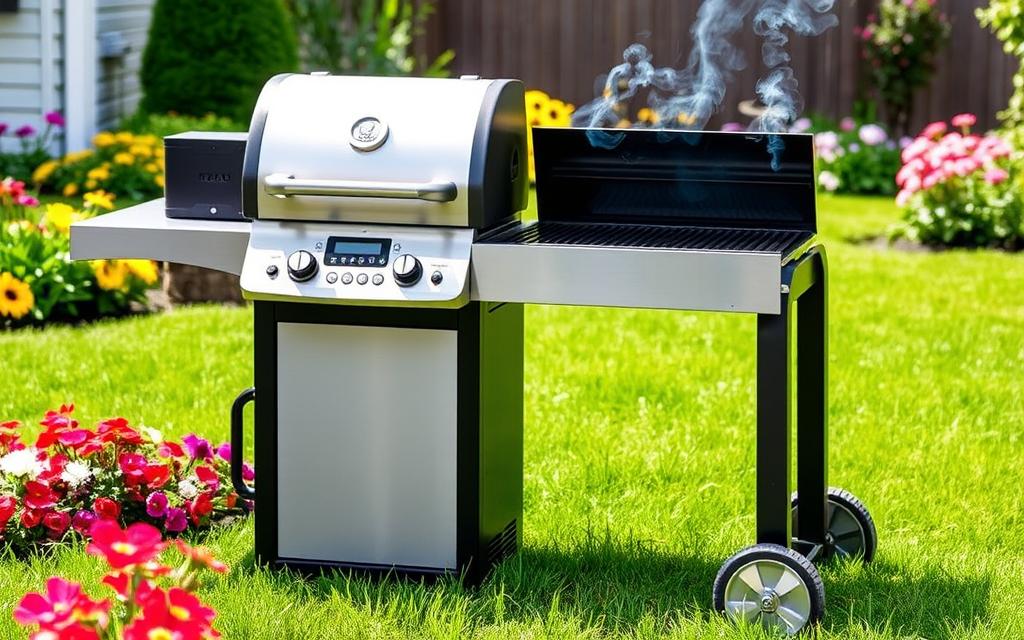
- A capable pellet grill or smoker. Higher-end models like the Yoder Smokers YS640S or YS480S hold temperature especially well, which helps for this method.
- A reliable probe thermometer that can stay in the meat throughout the cook. It lets you track internal temperature without opening the lid.
- Tongs and a basting brush for handling the meat during the sear.
- A cast-iron skillet or searing grate for the high-heat finishing phase.
Setting Up Your Grill for Success
Clean the grill and make sure the hopper has enough pellets for the full cook. Preheat to a low temperature, around 225°F, or use the “smoke” setting if your grill has one. Give the grill a full 10-15 minutes to stabilize at temperature before adding the meat. A grill that’s still climbing to temp can throw off your timing. Set up the grates for indirect heat so the meat cooks slowly without direct flame underneath it.
Seasoning Your Meat
Good seasoning is simple. Start with salt and pepper, then add garlic powder or your favorite blend if you want more depth. Season right before cooking so the salt doesn’t pull moisture out ahead of time.
Best Seasoning Practices
Choose cuts at least 1.5 to 2 inches thick. Pat the meat dry before seasoning, so the rub sticks and the surface sears well later.
Marinades vs. Dry Rubs
Dry rubs generally work better than marinades for this method. A wet marinade can leave the surface too damp, which fights against getting a good crust. If you do marinate, pat the meat fully dry before it goes on the grill.
Either way, the combination of smoky flavor and a well-built crust is what makes reverse searing worth the extra time.
The Initial Slow Cook Phase
The slow cook phase is where the wood-fired flavor builds and the meat cooks through evenly.
How to Set Temperature on a Pellet Grill
Set the grill to about 225°F for this phase. That’s low enough to cook the meat through gently without scorching the outside before the interior catches up.
Time and Temperature Guidelines
- Pull the steak when it’s about 10-15°F below your target doneness.
- For medium-rare, that means pulling around 115°F-120°F.
- Depending on thickness, this phase usually runs 20 to 60 minutes or more.
Keep a probe in the meat and watch it closely. That’s what turns this phase into a smoky, evenly cooked foundation for the sear that follows.
Searing Your Meat
Once the slow cook phase is done, it’s time to build the crust.
Techniques for Achieving a Perfect Sear
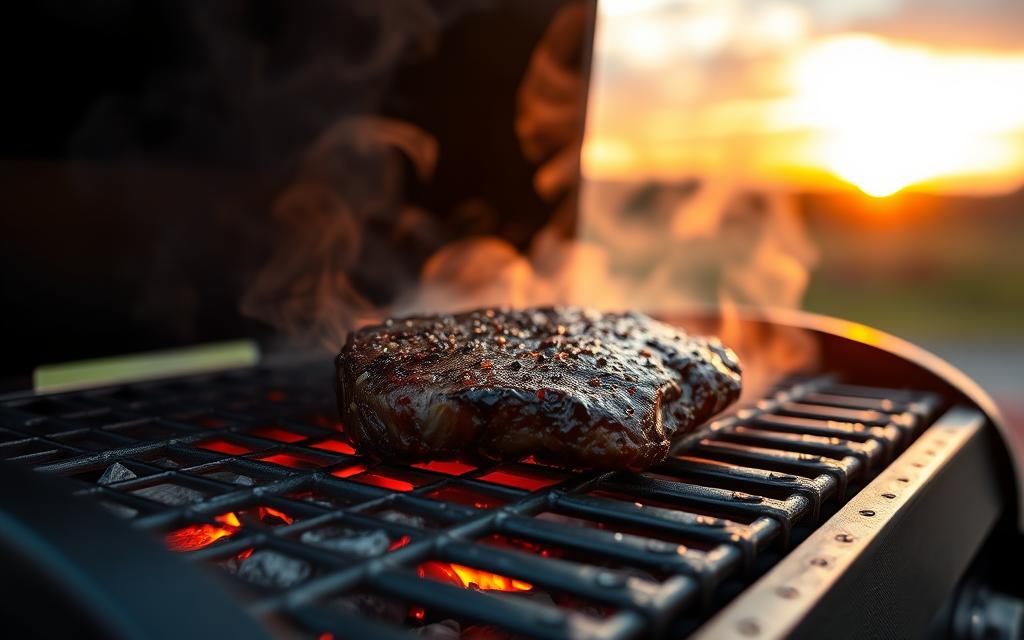
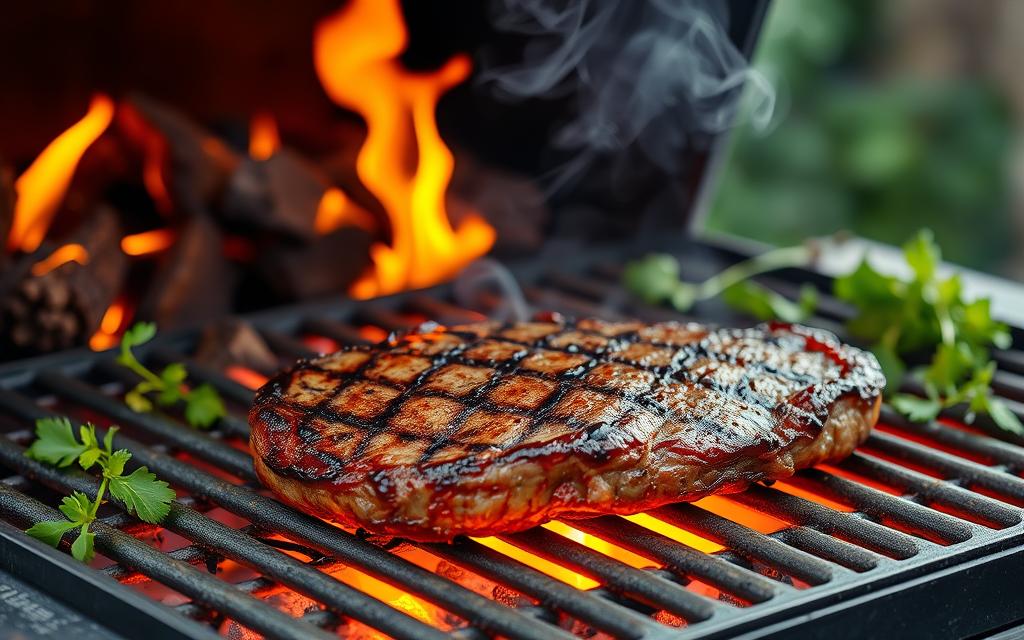
Crank the grill up to 450°F-500°F. Once it’s hot, place the meat directly over the heat and sear for 45-90 seconds per side. Rotating the meat 45 degrees halfway through each side gives you those crosshatch grill marks if you want them.
Using Cast Iron on a Pellet Grill
For an even more consistent sear, preheat a cast-iron skillet or griddle on the grill and finish the steak there instead of directly on the grates. Cast iron holds heat exceptionally well. That gives you a caramelized crust all over, including the edges that grill grates sometimes miss. A pat of butter or a splash of oil in the pan adds richness and extra browning. It’s also an easy way to baste the top of the steak as it finishes.
Monitoring Internal Temperature
If there’s one habit that separates a good result from a guess, it’s this: a meat thermometer is essential to how to reverse sear on a pellet grill consistently.
Importance of Using a Meat Thermometer
Looking at the steak or using the old “poke test” isn’t reliable enough for this method. A probe thermometer, like a MEATER wireless model, takes the guesswork out and gets you the same result every time.
Target Temperatures for Different Cuts
- Rare: 125°F (52°C)
- Medium-Rare: 135°F (57°C)
- Medium: 145°F (63°C)
- Medium-Well: 150°F (66°C)
- Well-Done: 160°F (71°C)
Remember that carryover cooking raises the temperature a few more degrees after the steak leaves the grill. Pull it slightly before your actual target to account for this. Traeger’s own internal temperature guide covers the same carryover effect in more detail.
Resting Your Meat
A short rest after searing helps the juices settle back through the meat. Skip it, and they spill out the moment you cut in.
Why Resting Is Essential
The hard sear pushes juices toward the surface. A short rest lets them redistribute, so each slice stays moist instead of pooling out on the cutting board.
How Long to Let Meat Rest
- For steaks under 1.5 inches thick, rest for 5-10 minutes.
- For thicker cuts, rest for 10-15 minutes.
- Tent it loosely with foil during the rest to keep it warm without steaming the crust soft.
Reverse searing already redistributes juices more evenly during the slow cook. Because of that, the rest here matters a little less than it does with a traditional hard sear from raw. Still, skipping it entirely isn’t worth the risk.
| Steak Thickness | Resting Time |
|---|---|
| Less than 1.5 inches | 5-10 minutes |
| Thicker cuts | 10-15 minutes |
Serving Suggestions
Once your steak is rested, think about how to round out the plate. Grilled vegetables, roasted potatoes, or a fresh salad all pair naturally with the rich flavor of a reverse-seared steak.
Side Dishes That Pair Well
- Grilled asparagus or Brussels sprouts
- Roasted garlic mashed potatoes
- Creamy coleslaw with a tangy dressing
- Herbed quinoa salad with diced tomatoes and cucumbers
- Sautéed mushrooms in a red wine reduction
Plating Techniques for Presentation
Slice against the grain and fan the pieces out on the plate. A few fresh herbs or a pat of compound butter add both flavor and visual appeal. A bold red wine or a rich craft beer rounds out the meal nicely.
| Recommended Pairing | Flavor Profile |
|---|---|
| Cabernet Sauvignon | Full-bodied, with notes of black cherry, cassis, and oak |
| Malbec | Intense, with flavors of plum, blackberry, and spice |
| Craft Stout | Rich, with hints of chocolate, coffee, and roasted malt |
The combination of smoky flavor and a well-built crust is a big part of why this method has such a following among home grillers.
Common Mistakes When Learning How to Reverse Sear on a Pellet Grill
Reverse searing takes some practice, but two mistakes cause most disappointing results: overcooking, and under-seasoning.
Overcooking Your Meat
The method gives you excellent control, but only if you watch the temperature closely. Use a probe thermometer, and pull the meat a few degrees before your target. Carryover cooking will finish the job during the rest.
Inadequate Seasoning
Don’t be shy with seasoning. Apply it generously. If you want a change from salt and pepper, try a pre-made blend like GMG’s Roasted Garlic & Chipotle rub.
A few other common missteps: not preheating the grill fully, opening the lid too often during the slow phase, and skipping the rest before serving.
| Key Consideration | Recommendation |
|---|---|
| Sear temperature | 450°F-500°F for an effective sear; monitor internal temperature closely with a digital thermometer. |
| Doneness targets | Pull the meat a few degrees before your target doneness to account for carryover cooking during the rest. |
Tips for Perfecting Your Technique
As you get more comfortable with the method, experiment with different wood pellets. Hickory and mesquite bring bold, smoky flavor, while apple or cherry add something sweeter and milder. Dialing in more smoke flavor during the slow cook phase is one of the easiest ways to make this technique your own.
Altitude and cold weather can both slow down cook times. Build in extra buffer, and rely on your thermometer rather than the clock. Keeping notes on what worked, pellet type, cook time, final temperature, makes it easier to repeat your best results.
One more detail worth getting right: storing your pellets properly and making sure your grill starts reliably. A stubborn ignition problem is the last thing you want mid-cook on a good steak.
Conclusion
Learning how to reverse sear on a pellet grill really just comes down to sequencing: slow and gentle first, then hot and fast at the end. Pick a thick, well-marbled steak, and keep an eye on internal temperature rather than the clock. Let the grill’s steady heat do the early work for you.
With a probe thermometer, a cast-iron finish, and a little patience, you’ll get consistent, steakhouse-quality results cook after cook. You’ll likely never go back to a single-temperature sear again.

Hey, My name is MAMON. I am a SEO content creator and affiliate marketer with over 8 years of experience. I create honest product reviews, in-depth buying guides, and practical how-to articles to help readers make informed decisions. My mission is to provide trustworthy, research-backed content that delivers real value.
Leave a Reply