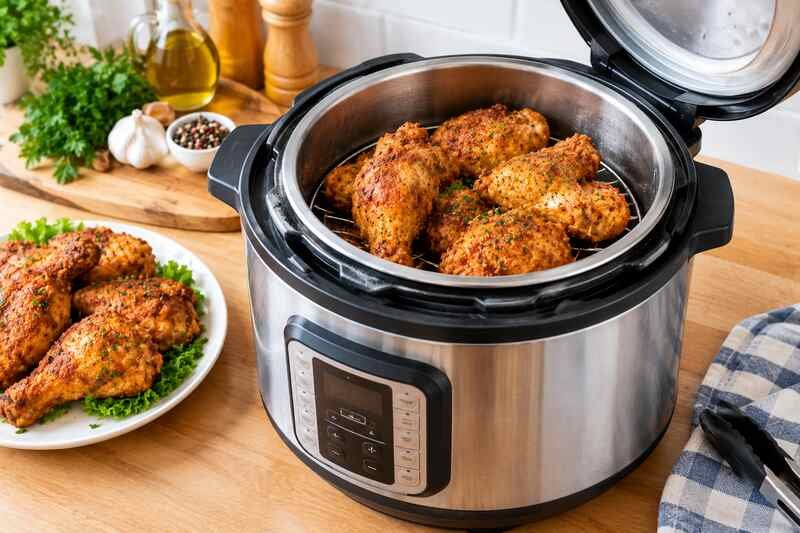
One evening, you rush home after work with good intentions and little time. Somewhere online you’ve probably seen a video or forum post promising that you can learn how to fry chicken in a pressure cooker. The pitch usually involves sealing the lid and bringing hot oil up to pressure. The promise is KFC-style crispy chicken in a fraction of the usual time.
Here’s the important part before anything else: don’t do that. Standard stovetop and electric pressure cookers, including popular models from Presto and Instant Pot, are explicitly not rated for frying with oil. Their manufacturers say so directly in their safety manuals. The good news is you can still get fast, juicy, crispy chicken at home. It just takes a slightly different, genuinely safe method, which this guide walks through.
Key Takeaways
- Never seal a standard pressure cooker with hot oil inside and bring it to pressure. Manufacturers explicitly prohibit this.
- Commercial “pressure fryers,” like the ones used by fast-food chains, are purpose-built industrial equipment, not modified consumer pressure cookers.
- The safe path to fast, juicy chicken: pressure-cook in liquid first, then crisp the exterior separately in a deep fryer or air fryer.
- This two-step method still cuts total cooking time compared with frying raw chicken from scratch. It also skips the explosion or scalding risk that comes with oil under pressure.
- An internal temperature of 165°F is the safety benchmark no matter which method you use.
Why You Shouldn’t Pressure Fry Chicken in a Standard Pressure Cooker
It’s worth spelling out exactly why this popular idea is risky rather than just asserting it. The reasoning comes down to a mismatch between what your pressure cooker is built to handle and what frying oil actually needs.
Presto’s own instruction manual lists it as a numbered safety rule: do not use the pressure cooker for pressure frying with oil. Instant Pot’s manuals carry the same prohibition. They separately cap how much oil you can even add for sautéing, and warn of scalding injury beyond that limit. These aren’t vague suggestions. They’re specific, written safety instructions from the companies that build and test the equipment.
The physics behind the warning is straightforward. A home pressure cooker is generally rated for temperatures around 250°F, the point at which pressurized steam does its work. Frying oil, on the other hand, needs to run well above 320°F to fry chicken properly. Pushing oil that hot inside a sealed vessel built for a lower thermal ceiling stresses gaskets and seals. Those components were never designed for it. If a seal fails, or the lid is opened before pressure has fully released, the result can be scalding hot oil forced out under pressure. That is a serious burn hazard.
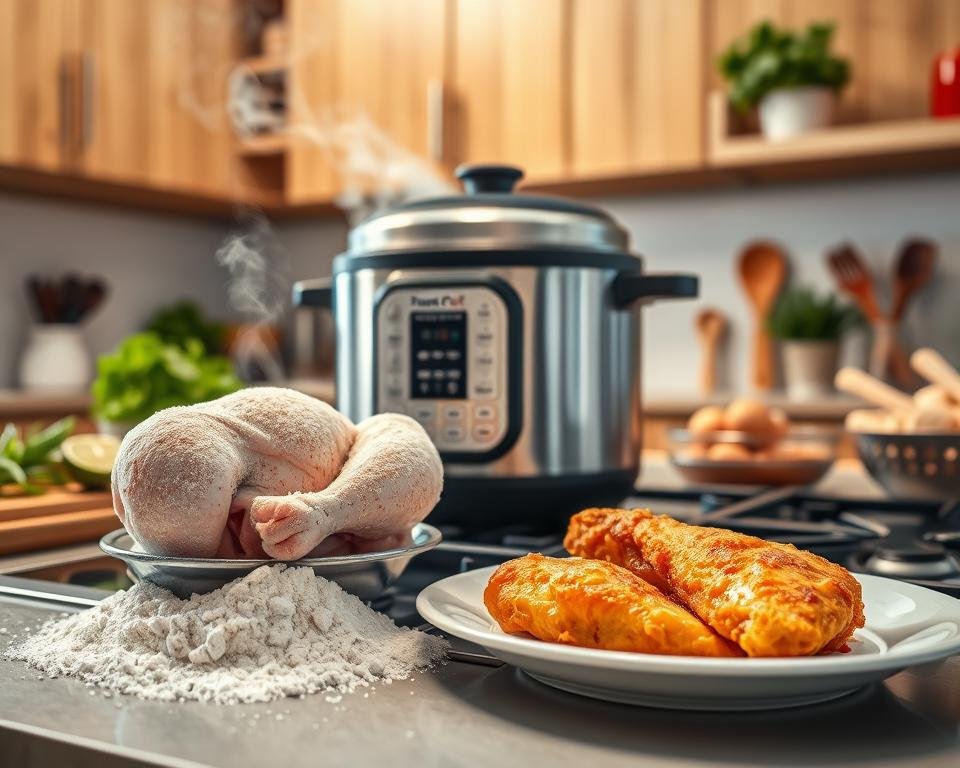
Standard pressure cookers are engineered for steam-based cooking, not for holding oil at frying temperatures under pressure.
How Commercial Pressure Fryers Actually Work
The confusion is understandable, since pressure frying is a real commercial technique. Chains that serve fried chicken often use dedicated pressure fryers made by companies like Broaster. Inside, that equipment looks nothing like a countertop pressure cooker.
Those machines use a purpose-built sealed cooking well, engineered heat distribution, and automated basket lifts. Their venting and pressure-release systems are designed specifically around hot oil rather than steam. They’re sold exclusively as commercial foodservice equipment, priced and built for restaurant kitchens, not home countertops. No mainstream consumer brand sells a home version of this equipment. That gap exists because the engineering required to do it safely is genuinely different from what goes into a household pressure cooker.
How to Fry Chicken in a Pressure Cooker the Safe Way
The good news is that you don’t need a commercial pressure fryer to get most of what people actually want from that method. You can still land on chicken that’s juicy on the inside and crisp on the outside, made faster than starting from raw. You just split the job into two separate, safe steps instead of combining them.
Step 1: Pressure-Cook the Chicken in Liquid, Not Oil
Season your chicken pieces, then place them in the pressure cooker with about a cup of broth, buttermilk, or seasoned water, never oil. Seal the lid according to your model’s instructions, then cook at high pressure for roughly 8 to 10 minutes for bone-in thighs or drumsticks. Boneless breast pieces need slightly less time. Use a natural or quick release exactly as your manufacturer’s manual describes.
This step does the heavy lifting: it cooks the chicken through quickly and keeps it moist, using the pressure cooker for exactly what it’s designed to do.
Step 2: Bread and Crisp the Exterior Separately
Once the chicken is cooked through, pat it dry and bread it. Set up a dredging station with seasoned flour, an egg wash, and a second flour station for a double coat. Add salt, black pepper, onion powder, and garlic powder to the dry mix for balanced flavor.
From there, crisp the breaded chicken using a method actually built for hot oil or hot air. A standard deep fryer at 350–375°F for a few minutes per side works well. An air fryer is a solid alternative, too, producing a crisp crust with far less oil and no sealed-lid risk. Because the chicken is already cooked through from the pressure-cooking step, this stage is only about building color and crunch, so it goes fast.
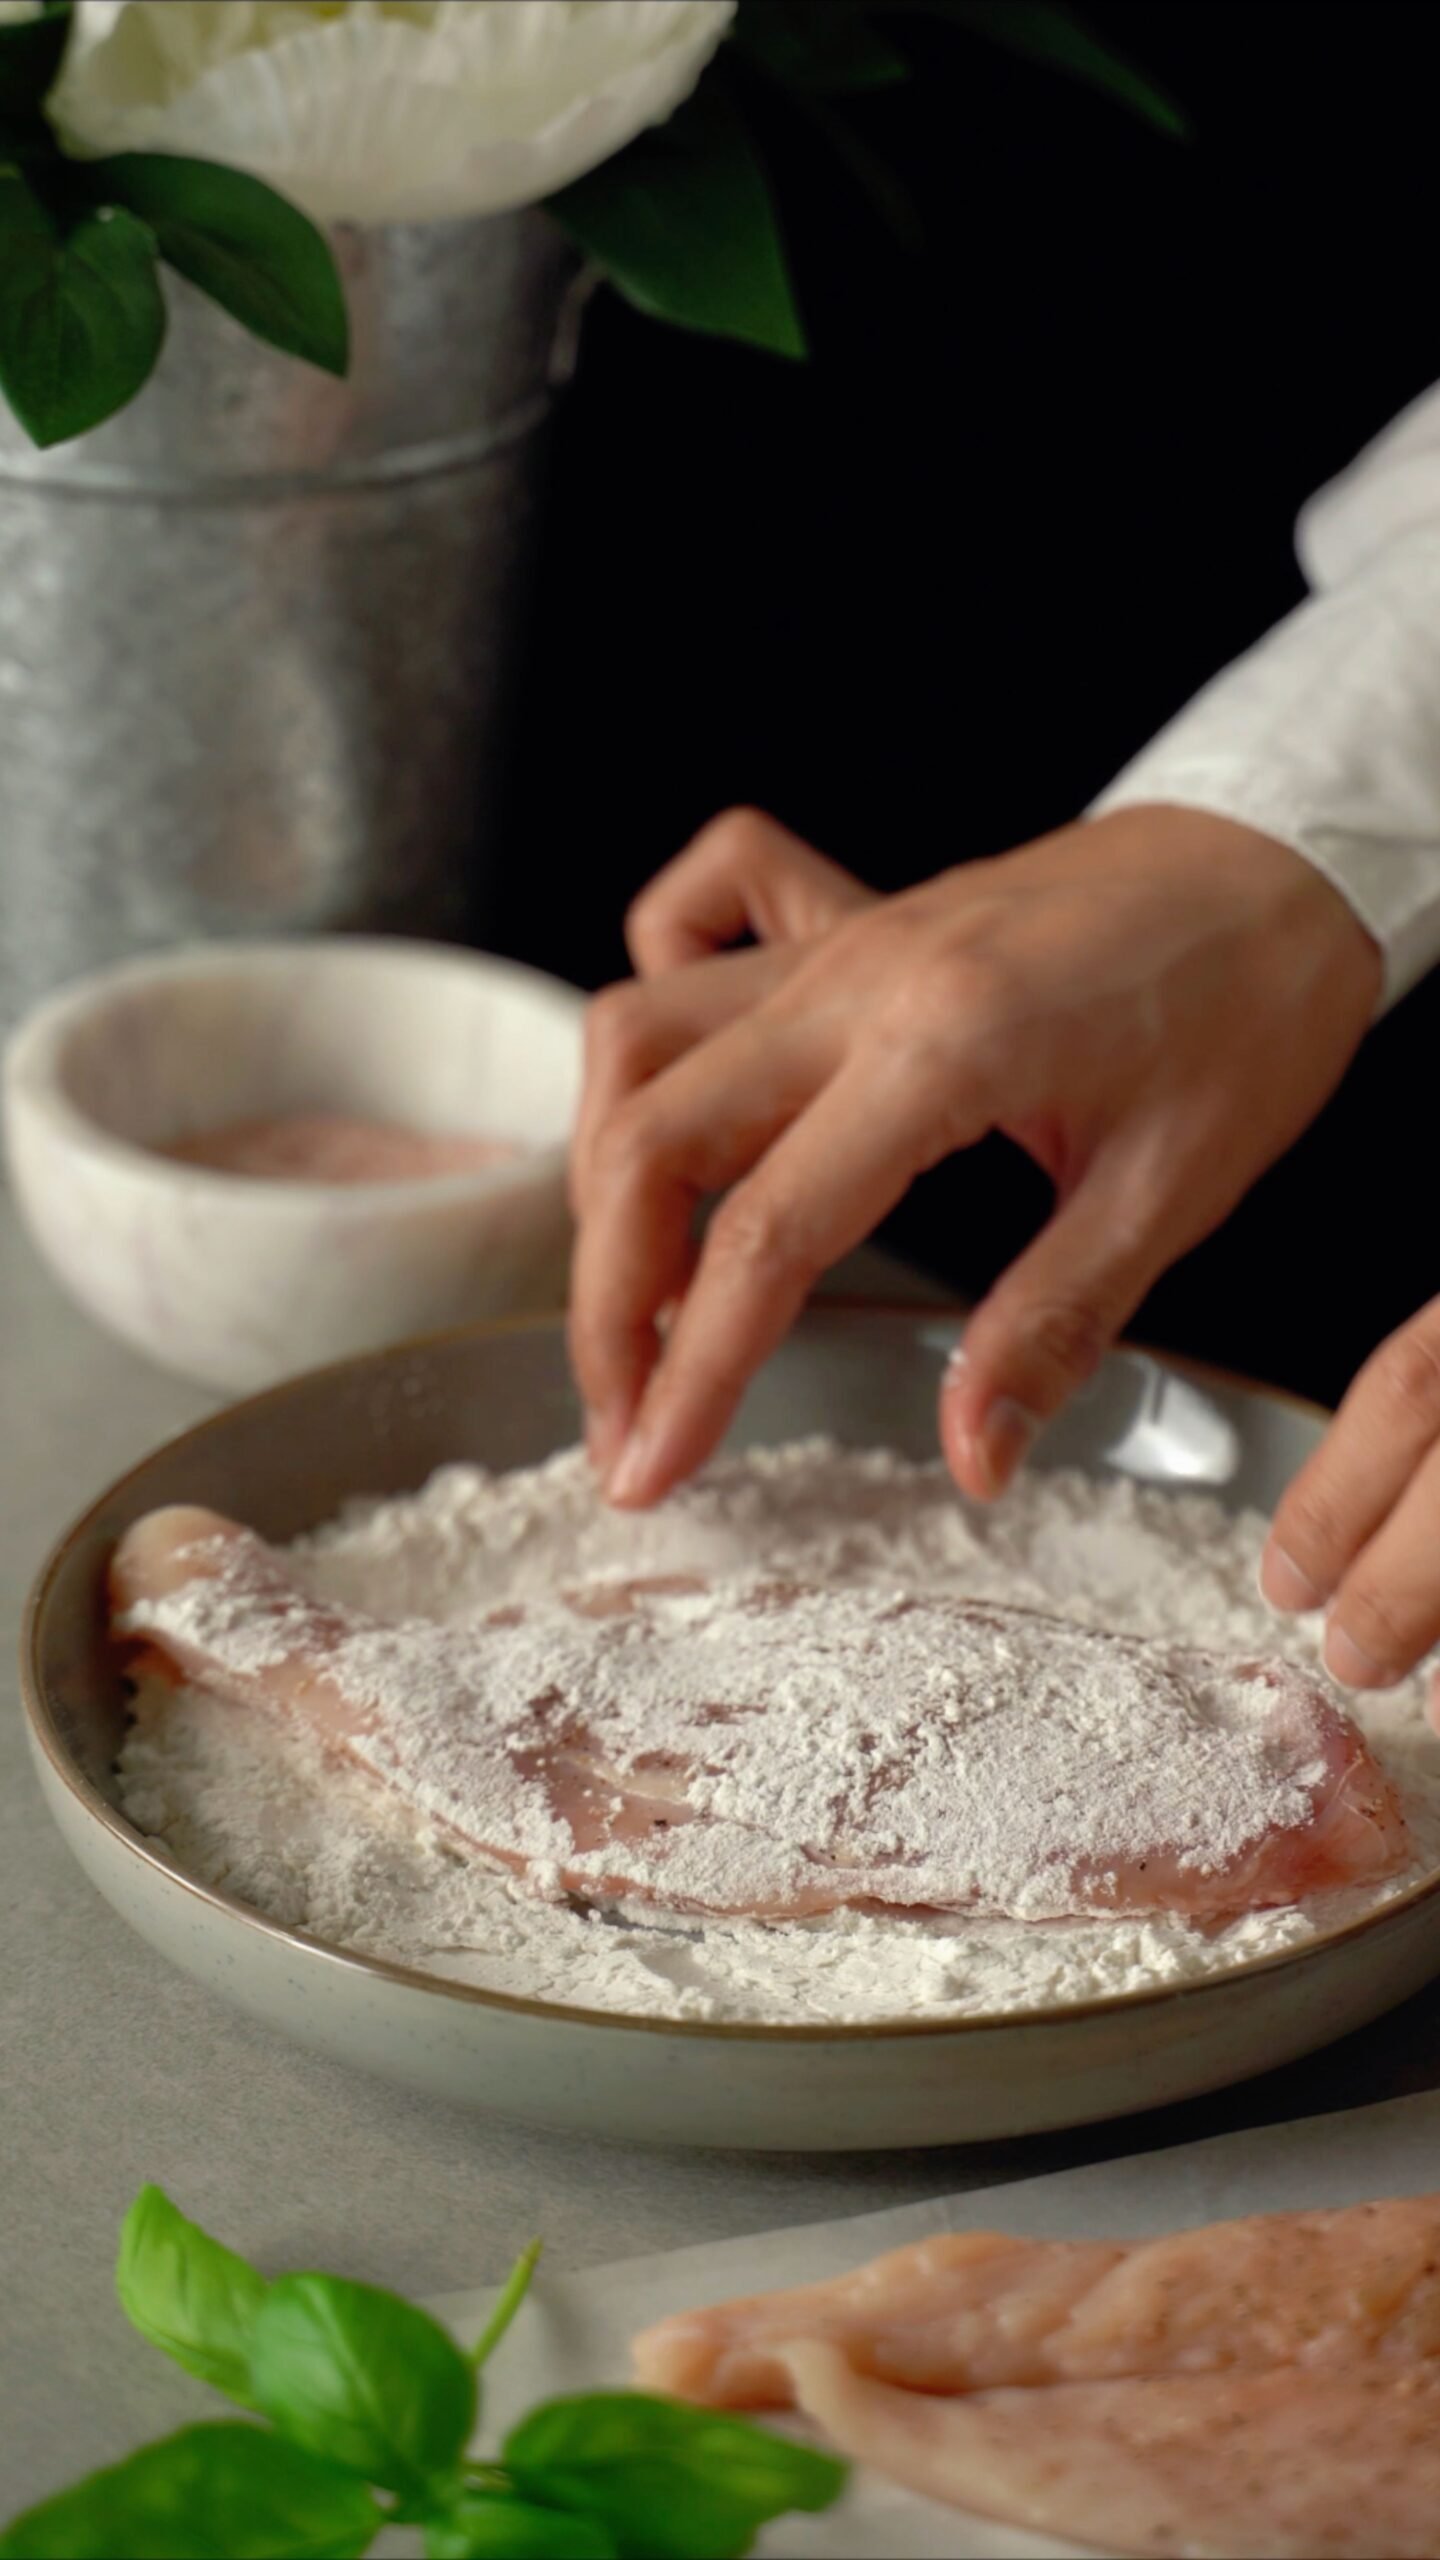
Breading happens after the chicken is pressure-cooked, since this stage is about building a crisp coating, not cooking the meat through.
Timing Reference for Common Cuts
Cook times vary by cut, size, and your specific equipment, but these ranges are a solid starting point for both stages of the method.
| Cut | Pressure-Cook Time (in liquid) | Crisping Time (fryer or air fryer) |
|---|---|---|
| Bone-in thighs | 9–10 minutes | 4–6 minutes |
| Drumsticks | 8–9 minutes | 4–5 minutes |
| Boneless breast (halved) | 6–7 minutes | 3–4 minutes |
| Wings | 5–6 minutes | 3–4 minutes |
Always confirm doneness with a food thermometer rather than relying on these ranges alone, since pressure cooker wattage and altitude both affect actual cook time.
Choosing the Right Equipment for Each Step
You don’t need specialty gear beyond what most kitchens already have, but a few choices make the process smoother.
For the Pressure-Cooking Stage
A reliable stovetop unit like the Presto 01370 8-Quart Stainless Steel Pressure Cooker, or an electric multicooker you already own, works well here. If you’re new to pressure-cooking meat in general, it’s worth reviewing the basics of how to use a pressure cooker for meat before you start. Always check the gasket and rim for a proper seal before starting, and follow your model’s specific guidance for liquid minimums and release methods.
For the Crisping Stage
A dedicated deep fryer keeps oil temperature more consistent than a pot on the stove, which matters for even browning. An air fryer is the lower-mess option. It works well for smaller batches, since you’re only crisping already-cooked chicken rather than cooking it from raw.
Marinating and Breading Techniques
Marinate the chicken in buttermilk or a wet spice mixture for at least 30 minutes before it goes into the pressure cooker. Overnight in the fridge gives deeper flavor and more tender meat, and the acid in buttermilk helps tenderize the meat further during the pressure-cooking step.
Dredge each piece, dip it in egg, then coat it again in the seasoned flour. Let the breaded pieces rest on a baking sheet for a few minutes so the coating adheres properly before it meets hot oil or hot air. This resting step matters more than it seems: a coating that goes straight from the egg wash into the fryer tends to slide off in patches.
- Use flour twice for a thicker, crisper crust.
- Keep a food thermometer handy to confirm 165°F at the thickest point before serving.
- Always follow your specific pressure cooker’s manual for liquid amounts and pressure-release timing.
Troubleshooting Common Mistakes
A few small missteps account for most disappointing batches. Here’s how to fix the ones that come up most often.
Chicken isn’t fully cooked after pressure cooking: check that you used enough liquid and the correct pressure-cook time for the cut and size of your pieces. If the internal temperature isn’t at 165°F yet, return the pieces to the pot for a few more minutes rather than skipping ahead to the frying step.
Breading falls off during frying: this usually means the coating didn’t rest long enough, or the chicken was too wet when it was dredged. Pat pieces dry before breading and let the coated pieces sit for a few minutes before they go into the fryer.
Don’t overcrowd the fryer or air fryer basket. Crowding drops the oil or air temperature and leads to soggy, unevenly browned results. Work in small batches so each piece crisps evenly.
- If skin browns too fast without crisping, lower the frying temperature slightly for the next batch.
- Keep cleanup simple with a baking sheet or wire rack to catch drips and drain excess oil.
- Let fried pieces rest briefly on a rack rather than a paper-towel-lined plate, which can trap steam and soften the crust.
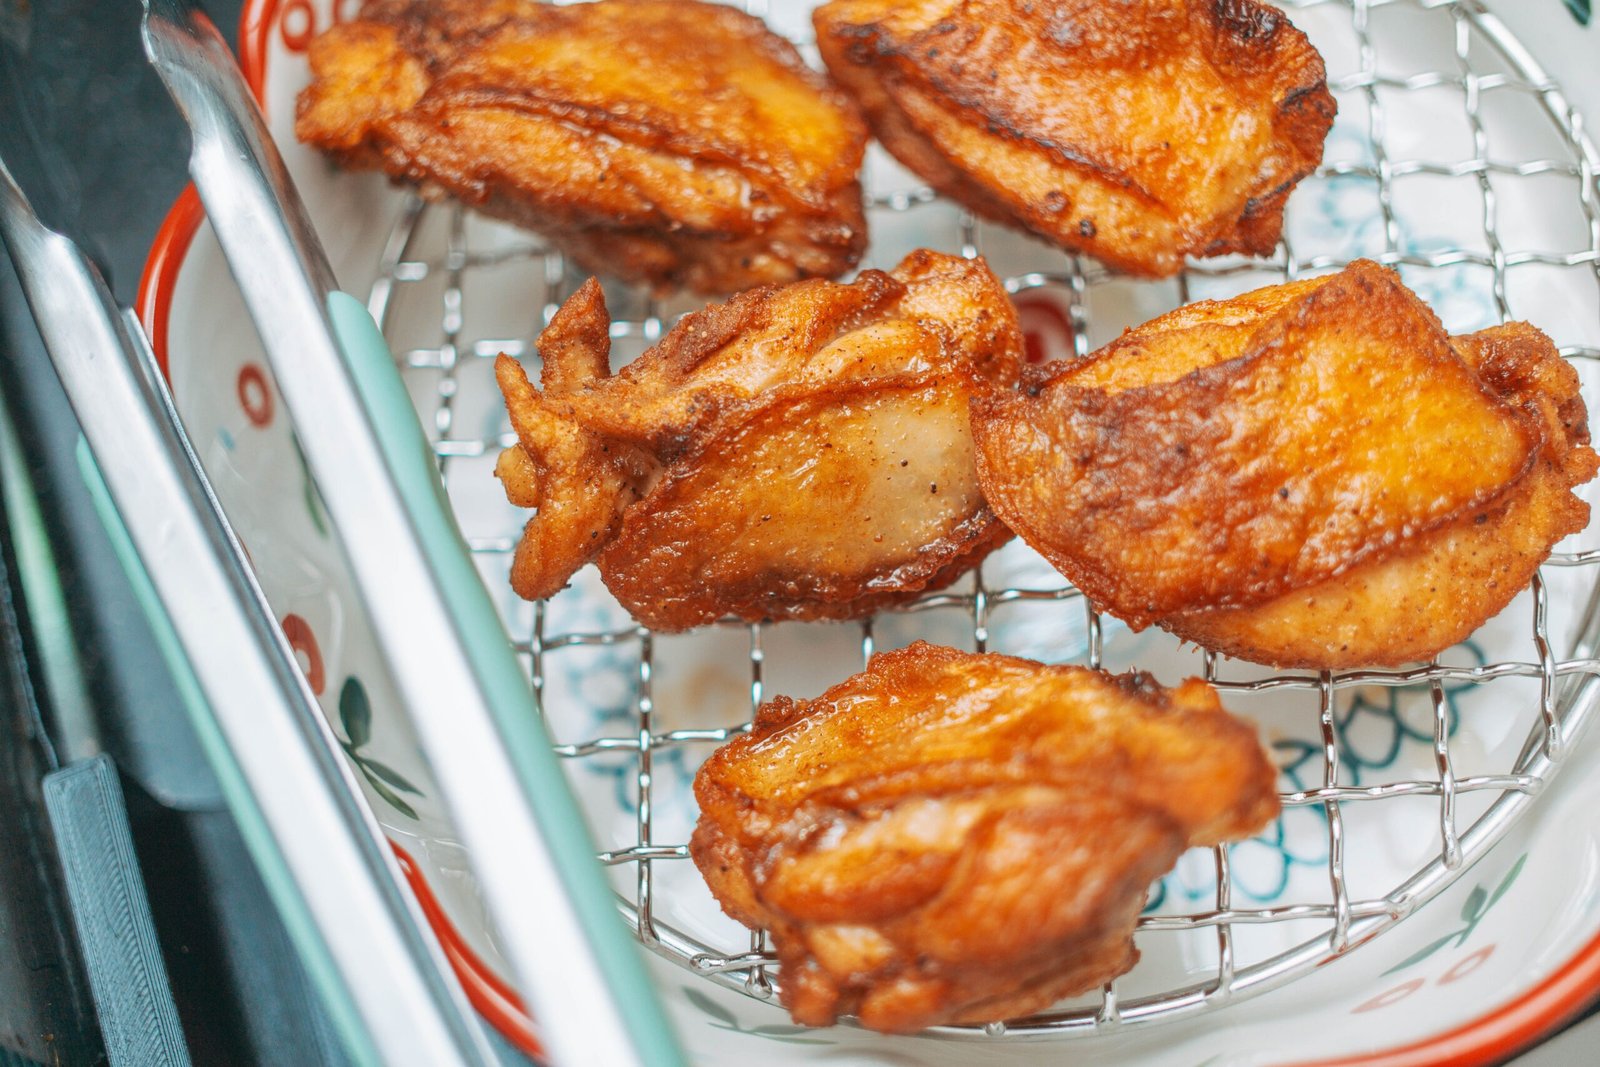
A short rest on a wire rack after frying keeps the crust crisp instead of steaming it soft.
Choosing the Right Chicken Cuts
Not every cut behaves the same way in this two-step method. Bone-in thighs and drumsticks hold up well to pressure-cooking without drying out, since the bone and connective tissue add moisture and forgiveness. Boneless breast is leaner and cooks faster, so it’s easy to overshoot if you use thigh timing by mistake.
Wings are the quickest option overall. They need less time at both stages, which makes them a good choice for a faster weeknight batch or a smaller test run before you commit to a full tray.
If you’re feeding a crowd, mixing cuts in one batch works, but group similar sizes together. A pressure cooker filled with drumsticks and breast halves at once will not treat both cuts fairly, since they need different amounts of time to reach the same result.
Frequently Asked Questions
Is there any way to fry chicken in a pressure cooker directly?
No reputable, safe way to do this exists with a standard consumer stovetop or electric pressure cooker. Manufacturers including Presto and Instant Pot warn against pressure frying with oil directly in their manuals. These units are rated for steam-based cooking, not for holding oil at frying temperatures under a sealed lid. Commercial pressure fryers exist, but they’re specialized industrial equipment, not something sold for home kitchens.
Does pressure-cooking first actually save time compared to frying raw chicken?
Yes. Since the chicken is already fully cooked before it hits the fryer or air fryer, the second step only needs a few minutes to build color and crunch. Raw chicken, by comparison, needs much longer to cook all the way through in hot oil.
Is it safe to add a small amount of oil to a pressure cooker for sautéing before pressure-cooking?
Many electric multicookers support a sauté function with a small, specified amount of oil for browning before you seal the lid and switch to pressure mode. That’s different from frying under pressure. Always follow your specific model’s manual for the maximum oil amount it allows.
What internal temperature should fried chicken reach?
165°F at the thickest part, checked with a food thermometer, regardless of which cooking method you use.
Conclusion
When dinner time is tight, this two-step method gives you golden, crispy chicken without the risks that come with sealing hot oil inside a pressurized pot.
Pressure-cook the chicken in liquid to lock in moisture and cut down on total time. Then finish it in a deep fryer or air fryer to build a crisp, golden crust. Keep your seasoning consistent between batches, and always confirm doneness with a thermometer rather than a clock.
Practice will help you dial in timing for your specific pressure cooker and fryer. With a little care, this approach delivers the fast, juicy, crispy fried chicken people are really after when they search for pressure frying. You get there without the manufacturer warnings and safety risk that come with the shortcut version.

Hey, My name is MAMON. I am a SEO content creator and affiliate marketer with over 8 years of experience. I create honest product reviews, in-depth buying guides, and practical how-to articles to help readers make informed decisions. My mission is to provide trustworthy, research-backed content that delivers real value.
Leave a Reply