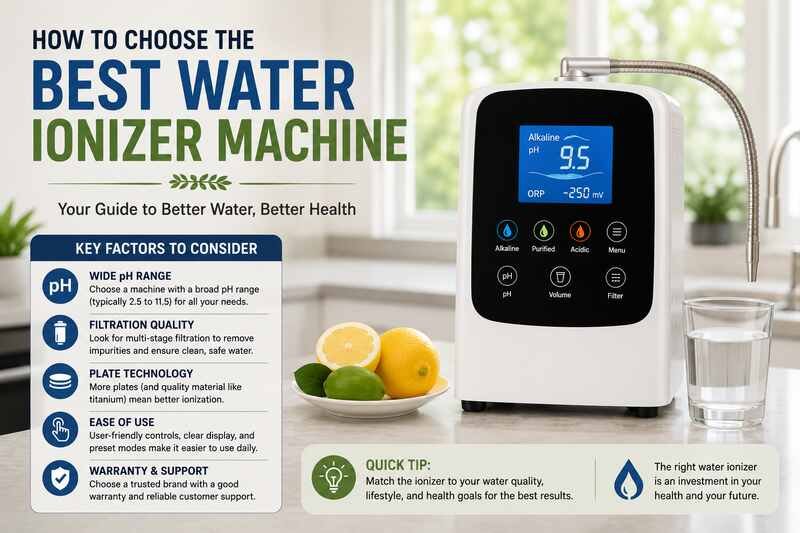
Here’s how to replace water ionizer filters: turn off the water supply, then twist out the old primary and secondary filters counterclockwise. Twist in the new ones clockwise, then run water through the system for about three minutes before you reset the filter counter. Most countertop and under-sink ionizers follow this same basic process, whatever brand you own. This guide covers what the filters actually do and how to tell when they’re due. It also covers the full step-by-step process, plus what to do if something looks off after you finish.
Key Takeaways
- Learning how to replace water ionizer filters takes about 10 minutes once you know where the filter housings are and which way they twist.
- Most ionizers use a dual filter system: a sediment or pre-filter, plus an activated carbon filter for chlorine and taste.
- Replace filters every 6 to 12 months as a general rule, but let flow rate and taste guide the exact timing.
- Always buy filters made or verified for your specific ionizer model. A generic pitcher or under-sink filter brand won’t fit a water ionizer’s housing.
- Run new filters for a few minutes and reset the filter counter after every change, so your ionizer tracks the next replacement accurately.
Why Regular Filter Replacement Matters
A water ionizer filters your tap water before splitting it into alkaline and acidic streams through electrolysis. The filter stage is doing the heavy lifting. It removes chlorine, sediment, and other contaminants before the water ever reaches the ionizing plates.
A filter that’s past its useful life stops catching those contaminants effectively. Worse, a clogged filter can restrict flow and put extra strain on the rest of the machine. Knowing how to replace water ionizer filters on schedule protects both your water quality and the ionizer’s electrodes.
Skipping a filter change doesn’t just mean slightly worse-tasting water. Minerals and sediment that a fresh filter would catch can pass straight through to the ionizing plates instead. Over months, that buildup accelerates scale on the electrodes, which is the same problem hard water causes on its own. A simple filter swap on schedule is one of the cheapest ways to protect the more expensive parts of the machine.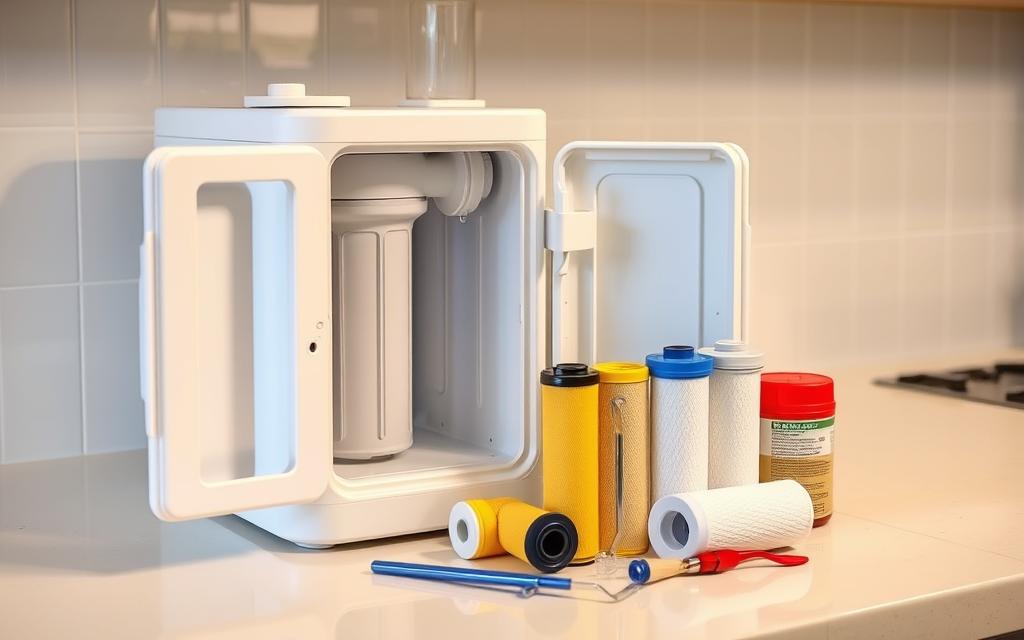
Types of Filters in a Water Ionizer
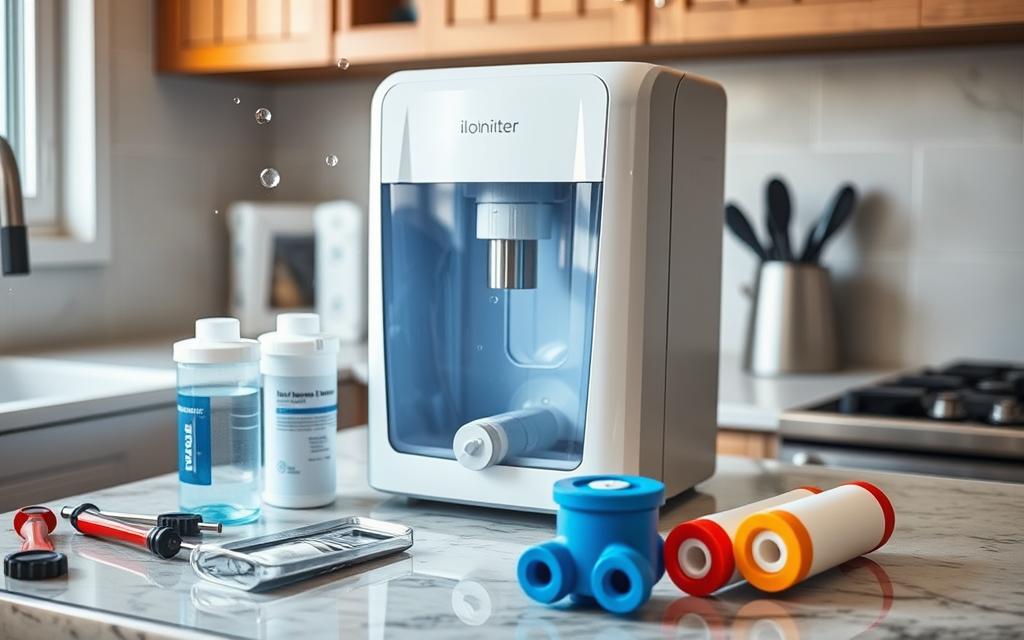
Most water ionizers use a two-stage filter system, and each stage does a different job.
Pre-Filter (Sediment)
The first stage typically uses activated carbon to strip out larger contaminants: organic material, chlorine, and loose sediment. This protects the finer components downstream and improves taste right away.
Activated Carbon and Mineral Filter
The second filter usually balances mineral content and polishes the water further before ionization. Some manufacturers also offer optional reverse osmosis pre-treatment for households with especially hard or contaminated source water, though this isn’t standard on most countertop models.
The two filters work as a team. The first stage protects the second from premature clogging, and the second stage fine-tunes what actually reaches the electrolysis chamber. That’s why manufacturers sell them as matched sets rather than mixing and matching individual cartridges. Replacing only one half of the pair partway through its life can throw off that balance.
Signs It’s Time to Replace Your Filters
Your ionizer usually tells you before you have to guess. Watch for these signs.
- A noticeable drop in water taste or clarity.
- Reduced water flow or pressure at the tap.
- A filter change indicator light or notification on the display.
- Visible sediment or discoloration building up faster than usual.
Don’t wait if you notice any of these before your next scheduled change. Replacing early is cheap. Running contaminated water through your ionizer’s plates is not.
Some models track usage automatically and display a countdown or warning light. Others rely entirely on you keeping track of the calendar. If yours doesn’t have a built-in indicator, a reminder on your phone set to your manufacturer’s recommended interval is a simple way to stay ahead of it.
How Often You Should Replace Water Ionizer Filters
Every 6 to 12 months is the general rule most manufacturers recommend. Your actual timeline depends on your water quality and how much you use the machine. Households on well water or hard municipal water often need to replace filters closer to the 6-month mark.
Tyent’s own filter-replacement guidance walks through the reset process on their countertop models, and most other brands follow a similar counterclockwise-out, clockwise-in mechanism. Check your specific manual for your model’s exact recommended interval, since usage patterns and source water vary a lot from house to house.
Tools You’ll Need
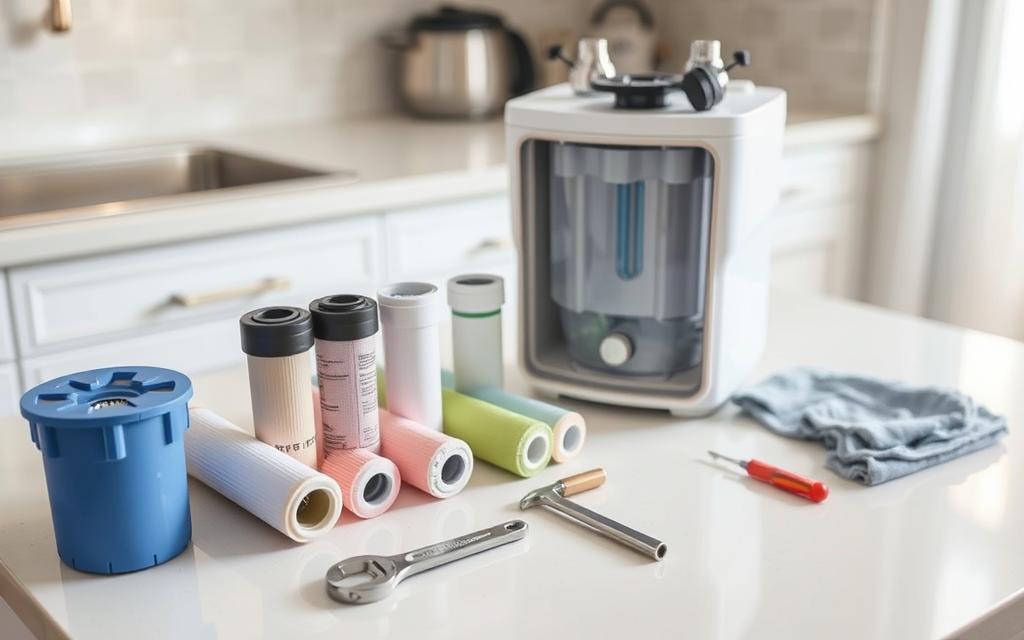
Replacing filters doesn’t call for anything specialized. Gather these before you start.
- Your replacement filter set, matched to your exact ionizer model.
- A clean, damp cloth for wiping the filter housing.
- A small bucket or towel to catch any drips.
Some manufacturers include a small wrench or gripping tool with their replacement kits. This is mainly for models where the housing fits tightly. Check what came in the box before assuming you need to buy anything extra. Most modern countertop units are designed to be hand-tightened, so a wrench is a backup, not a requirement.
How to Replace Water Ionizer Filters: Step-by-Step
Once you have your tools and the correct filters ready, the process itself is quick.
Step 1: Turn Off the Water Supply
Shut off the water supply to your ionizer before you touch the filter housing. This one step prevents a mess and keeps you from wasting water while you work.
Step 2: Remove the Old Filters
Locate the primary and secondary filter housings, usually color-coded blue and green. Twist each one counterclockwise to loosen it, then pull it free. Dispose of the old filters according to your local guidelines.
Step 3: Install the New Filters and Reset the Counter
Insert the new filters into their housings and twist clockwise until snug. Hand-tighten only. Overtightening can crack the housing or damage the seal. Once both filters are in place, reset the filter counter on your control panel so the machine tracks your next replacement correctly.
Step 4: Flush and Check for Leaks
Turn the water supply back on and check every connection for leaks. Run the new filters for about three minutes until the water runs clear. This clears out any air or loose carbon fines left over from installation.
This video shows the filter replacement and counter-reset process on an AlkaViva ionizer. The general steps are similar across most countertop models.
Choosing the Right Replacement Filters
Buy filters made specifically for your ionizer model, or ones the manufacturer has explicitly verified as compatible. A water ionizer’s filter housing is a different design than a standard pitcher or under-sink filter. A generic filter brand that fits a Brita or a basic RO system will not fit an ionizer.
Manufacturer replacement-filter pages, like Tyent’s, are the most reliable place to confirm the right part for your exact model. If your ionizer is older or discontinued, contact the manufacturer directly. They can point you to the correct current filter or a verified compatible alternative.
Don’t judge a filter purely on price. A cheaper filter that doesn’t fit your housing correctly, or isn’t rated for your model’s flow rate, can cause leaks or reduce your water quality more than it saves you.
Troubleshooting After a Filter Change
Leaks After Replacement
Check that both filters are seated correctly and hand-tightened. Inspect the housing and connections for wear or cracks. A leak right after a filter change almost always traces back to a filter that wasn’t fully twisted into place.
Water Quality Still Off
Confirm you installed the correct filters for your model. Let the system run for a few extra minutes to clear any remaining air or carbon residue. If water quality still hasn’t improved, contact the manufacturer’s support line for model-specific troubleshooting.
Filter Counter Won’t Reset
Double-check your model’s specific reset sequence. Some units require you to hold a button for several seconds, while others use a combination of buttons pressed together. Your manufacturer’s manual or support page will have the exact steps for your model, since this varies more between brands than the physical filter swap does.
Reduced Flow Rate After Installation
A new filter that seems to slow your flow rate more than expected sometimes just needs a longer flush. If a reduced flow rate persists well past the initial few minutes, double-check your filter grade. An overly fine filter rated for a different unit can restrict flow more than intended.
Cleaning and Maintenance Between Filter Changes
Filters work best when the rest of the machine is clean too. A citric acid or vinegar cleaning cycle every 6 to 12 months clears mineral scale off the ionizing plates, which keeps your new filters from working overtime. Our full guide on how to maintain a water ionizer machine covers the complete care schedule, and our guide on washing a water ionizer machine covers exterior and pitcher cleaning.
Still shopping for your first machine? Our guide on how to choose the best water ionizer machine covers filter cost and replacement frequency as part of the buying decision.
Environmental and Cost Benefits
Learning how to replace water ionizer filters yourself also saves money over paying for professional service every time. Beyond the cost savings, a well-maintained ionizer cuts down on single-use plastic bottles, since you’re getting filtered water straight from your own tap instead.
The upfront cost of filters is real, but weigh it against what you’d otherwise spend on bottled water or professional filter swaps. Filter prices vary quite a bit by brand and filter type, so it’s worth checking your specific manufacturer’s pricing before you budget for ongoing ownership. Our roundups of water ionizer machine reviews and alkaline water system reviews cover real owner feedback on specific models, filters included, if you’re comparing options.
Curious whether alkaline water lives up to the health claims that often come with it? Our maintenance guide, linked above, covers what the research actually says. If you’d rather test the concept before committing to a full machine, our guide on how to make alkaline water without a machine covers simpler methods worth trying first.
Frequently Asked Questions
How often should I replace my water ionizer filters?
Every 6 to 12 months for most machines, though hard water or heavy daily use can shorten that to closer to 6 months. Watch for a drop in flow or taste as your cue to check sooner.
Can I replace water ionizer filters myself?
Yes. Most ionizers are designed for DIY filter changes with no special tools. Turn off the water, twist out the old filters, twist in the new ones, and reset the counter.
What happens if I don’t replace my ionizer’s filters on time?
Water quality drops as the filters lose their ability to catch contaminants, and flow rate can suffer too. Over time, unfiltered contaminants reaching the ionizing plates can also add to scale buildup and shorten the plates’ effective life.
Can I use a generic water filter brand in my ionizer?
Not reliably. A water ionizer’s filter housing is built for that manufacturer’s specific filter shape and threading. Stick to filters made or explicitly verified for your model.
Why do I need to reset the filter counter after a replacement?
The counter tracks how much water has passed through your current filters so the machine can alert you at the right time. Skipping the reset means the display won’t accurately reflect your new filter’s remaining life.
Is it normal to see a small leak right after changing filters?
A small drip usually means a filter wasn’t fully hand-tightened. Recheck the housing connections before assuming there’s a bigger problem with the unit.
Do all water ionizer brands use the same filter replacement process?
The core steps for how to replace water ionizer filters are similar across most brands: turn off the water, twist out the old filters, twist in new ones, flush, and reset the counter. Exact housing locations, color-coding, and reset button sequences vary by manufacturer, so keep your model’s manual handy the first few times.
Should I replace both filters at the same time?
Yes, in most cases. Manufacturers design the two-stage system to work as a matched pair, and replacing them together keeps your ionizer’s performance and filter counter accurate. Check your manual if you’re unsure whether your specific model differs.

Hey, My name is MAMON. I am a SEO content creator and affiliate marketer with over 8 years of experience. I create honest product reviews, in-depth buying guides, and practical how-to articles to help readers make informed decisions. My mission is to provide trustworthy, research-backed content that delivers real value.
Leave a Reply