Imagine walking into your kitchen, the smell of freshly baked bread filling the air, and wanting the perfect finishing touch. Instead of buying specialty salt, learning how to make coarse salt for grinder use is easier than you’d think, with just a few ingredients and some patience.
This guide shows you how to make your own coarse salt for a gourmet touch in your cooking, and which salts work best for your grinder.
Key Takeaways
- Discover the versatility of homemade coarse salt for seasoning a variety of dishes.
- Learn the simple steps to create your own flaky, gourmet-quality salt at home.
- Explore the range of flavors and textures you can achieve by customizing your coarse salt blends.
- Understand the benefits of making your own coarse salt, from cost-effectiveness to quality control.
- Gain the confidence to experiment with your homemade creations.
Understanding Coarse Salt and Its Uses
Coarse salt, also called “finishing salt,” has larger crystals than table salt. In fact, it’s loved for its texture and how it boosts flavor in dishes.
What Is Coarse Salt?
In short, coarse salt has bigger, irregular crystals than table salt, which makes it a better finishing touch than an everyday seasoning. For example, it comes from different salts, like sea salt, Himalayan pink salt, and kosher salt.
Common Uses of Coarse Salt
- Grilling and roasting: Great for seasoning meats, fish, and veggies before cooking, creating a tasty crust.
- Salad toppers: Sprinkling coarse salt on salads and avocado toast adds texture and taste.
- Cocktail garnishes: Bartenders rim glasses with coarse salt for cocktails; it looks good and tastes great.
- Baked goods: Adds crunch and saltiness to breads, crackers, and other baked items.
Health Benefits of Coarse Salt
Coarse salt may have a slight edge over table salt in trace minerals and fewer additives, but it’s still salt. Even so, talk to a doctor about how much sodium fits your diet.
Overall, coarse salt is a real standout in the kitchen: it adds a delightful crunch and brings out the natural flavors of whatever you’re cooking.
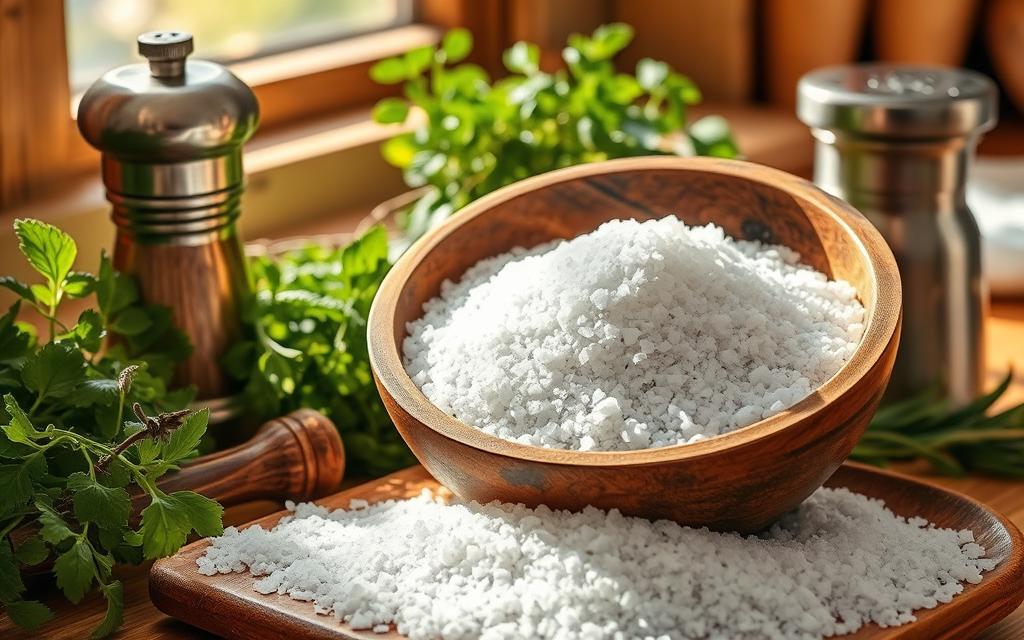
Choosing the Right Type of Salt for Grinding
There are many salts you can use for grinding, and the most popular choices are sea salt, kosher salt, and Himalayan pink salt; our guide on what kind of salt goes in a salt grinder covers each in more depth.
Sea Salt vs. Kosher Salt
Between the two most common picks, sea salt comes from evaporated seawater and tastes more complex than table salt, while kosher salt, with its larger grains, is less processed and has a clean taste that chefs love for its versatility.
Himalayan Pink Salt
Himalayan pink salt comes from ancient sea salt deposits in the Himalayas. Notably, it’s known for its pink color and adds elegance to finished dishes.
Flavored Coarse Salts
You can also make flavored coarse salts by adding herbs, spices, or other ingredients to the salt before grinding, letting you create unique flavor combinations.
| Salt Type | Characteristics | Best Uses |
|---|---|---|
| Sea Salt | Complex flavor profile, often less processed | Grilling, roasting, finishing dishes |
| Kosher Salt | Larger grain size, clean, pure taste | Cooking, seasoning proteins, vegetables |
| Himalayan Pink Salt | Unique mineral content, beautiful pink hue | Finishing dishes, adding visual appeal |
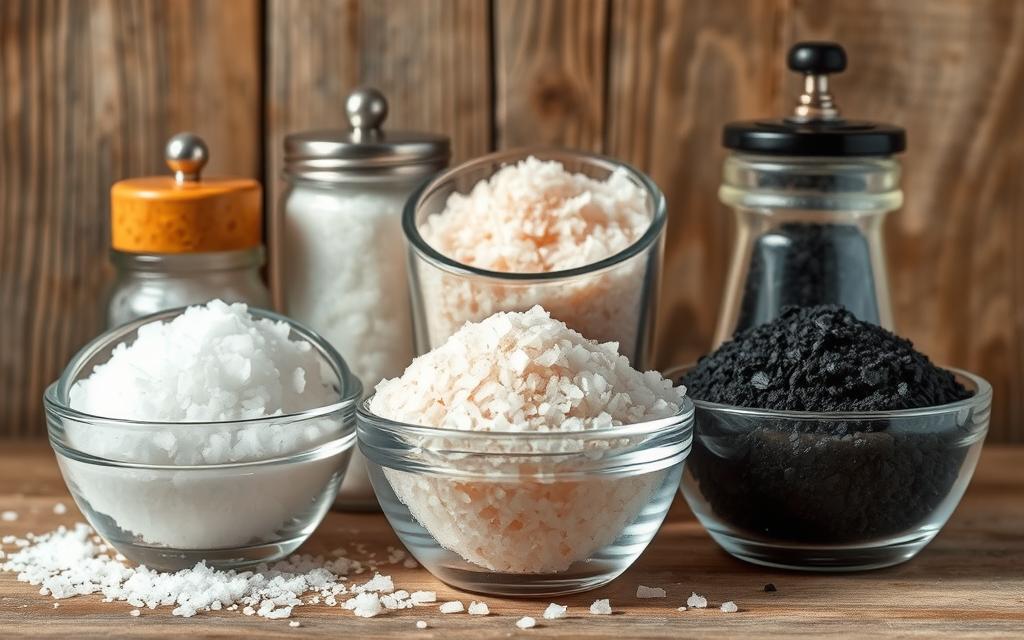
Think about the flavor you want and the dish you’re making when picking salt, and try a few to find the one you like best.
Tools and Equipment Needed
To make coarse salt at home, you need a few key tools. In turn, the right grinder and accessories make the process easier and more fun.
Salt Grinder
First, a good salt grinder is crucial. Choose one with adjustable settings to control texture; if you don’t already have one, our guide on how to choose the right salt and pepper grinder can help. Ceramic or stainless steel grinders are best because they last long and don’t rust.
Mortar and Pestle
If you don’t have a salt grinder, a mortar and pestle works well. Still, this tool lets you grind salt by hand into the right texture, with a bit more effort.
Other Handy Kitchen Tools
- Large saucepan or pot for dissolving the salt
- Wide, shallow dish (glass or ceramic) for evaporating the salt solution
- Food processor for mixing flavored salts
- Dehydrator or oven for drying the salt flakes
- Airtight containers for storing the finished coarse salt
With these tools on hand, you can make your own premium coarse salt at home.
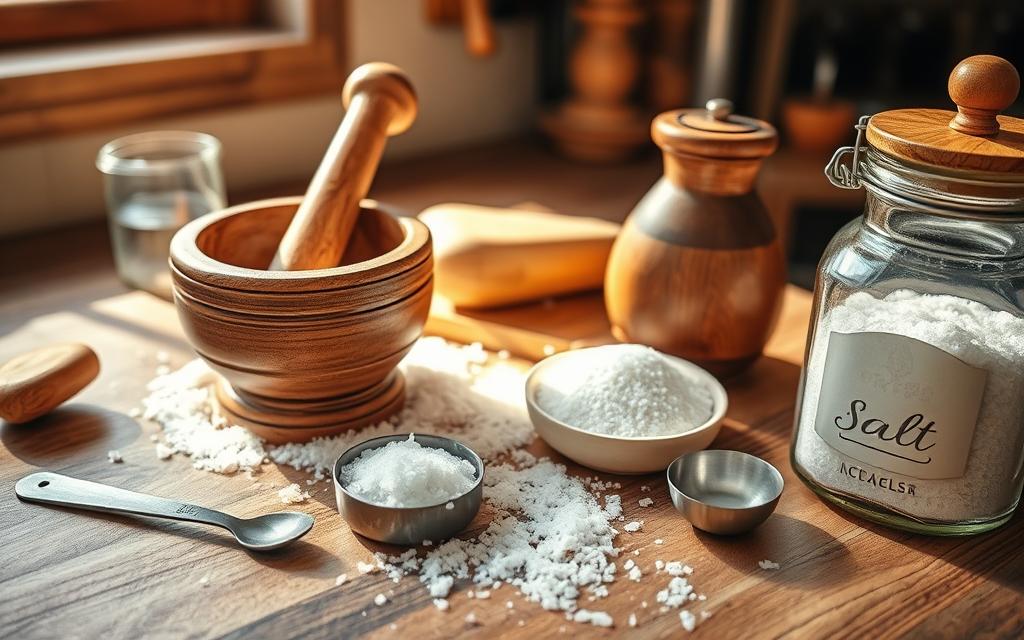
How to Make Coarse Salt for Grinder: Step-by-Step
Making your own coarse salt is a fun, rewarding process that lets you control the quality and flavor from start to finish.
Step 1: Gather Your Ingredients
- Sea salt, kosher salt, or Himalayan pink salt
- Water (in a 1:4 salt-to-water ratio)
- A heat-safe container or saucepan
- A wide, shallow baking dish or tray
Step 2: Dissolve and Evaporate
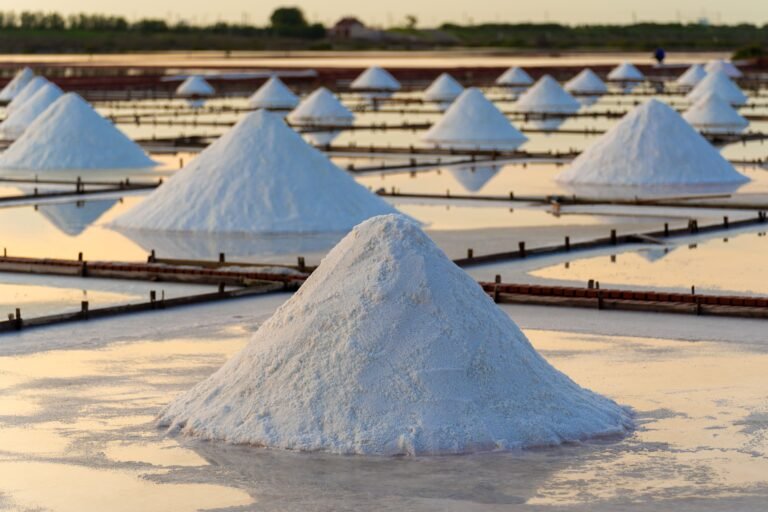
Dissolve your salt fully in warm water over low heat, then pour the solution into the wide, shallow dish for maximum surface area. Set it somewhere warm and well-ventilated, or in a low oven around 170-200°F, and let the water evaporate. Slow evaporation produces larger, flakier crystals, so resist the urge to rush it with high heat. This can take several hours in a low oven, or a few days at room temperature.
Step 3: Grind to Your Desired Coarseness
Once your salt crystals have formed and dried completely, grind them to the texture you want using a salt grinder, mortar and pestle, or food processor. Then, try different methods to find the grain size you like.
| Grinding Method | Time to Grind | Texture |
|---|---|---|
| Salt Grinder | 1-2 minutes | Coarse to medium |
| Mortar and Pestle | 3-5 minutes | Coarse to fine |
| Food Processor | 30 seconds to 1 minute | Medium to fine |
The more you grind, the finer the salt gets, so experiment to find the perfect coarseness for your cooking.
Tips for Customizing Your Coarse Salt
Make your cooking better by customizing your coarse salt with flavors, herbs, and spices, and by trying different textures.
Infusing Flavors
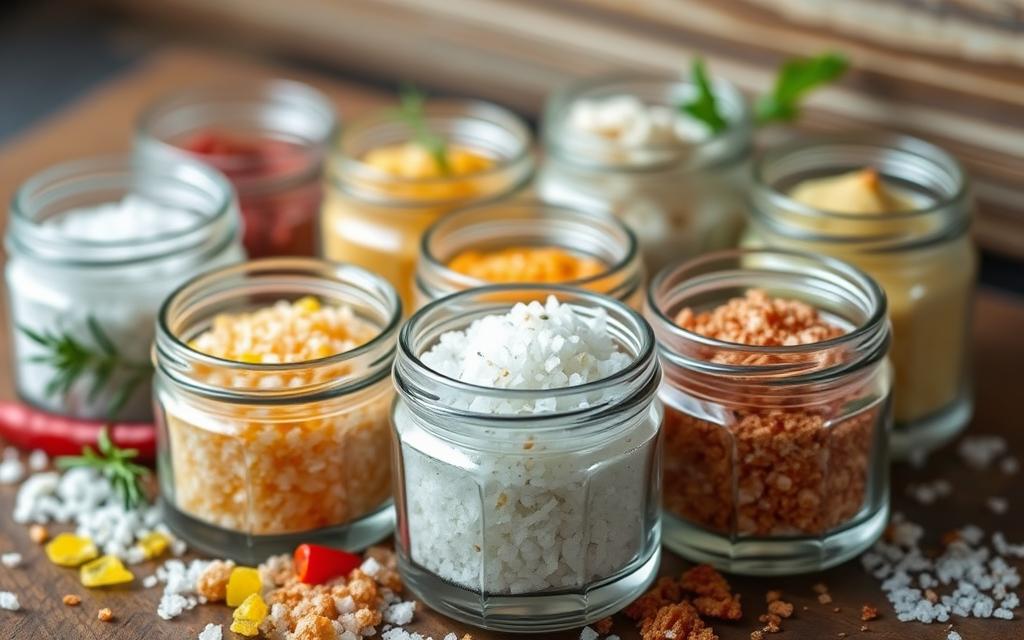
For instance, adding natural flavors to your coarse salt is easy. Use citrus zest for a bright taste, or try vanilla bean, rosemary, or smoked paprika for something different.
Adding Herbs and Spices
- Make herb-infused salt by mixing in dried herbs like thyme, oregano, or basil.
- For a stronger taste, mix in ground spices like black pepper, cumin, or chili powder.
- Combine different herbs and spices to make your own gourmet salt blends.
If you’re using fresh herbs instead of dried, drying them out fully matters for safety, not just flavor. Clemson Cooperative Extension recommends baking fresh herb-and-salt mixtures at around 175°F until the herbs are crisp and crumble easily between your fingers, since any leftover moisture can lead to mold during storage.
Experimenting with Textures
Meanwhile, changing how you grind your salt creates different textures for different jobs.
| Texture | Culinary Applications |
|---|---|
| Coarse Grind | Ideal for seasoning grilled meats, roasted vegetables, and finishing dishes. |
| Medium Grind | Suitable for baking, sauces, and general seasoning. |
| Fine Grind | Perfect for more delicate applications, such as garnishing salads or delicate seafood. |
In the end, customizing your coarse salt is a great way to make your dishes stand out, so explore and enjoy the process.
Storing Your Coarse Salt
Storing your homemade coarse salt right keeps its quality and taste intact.
Choosing the Right Container
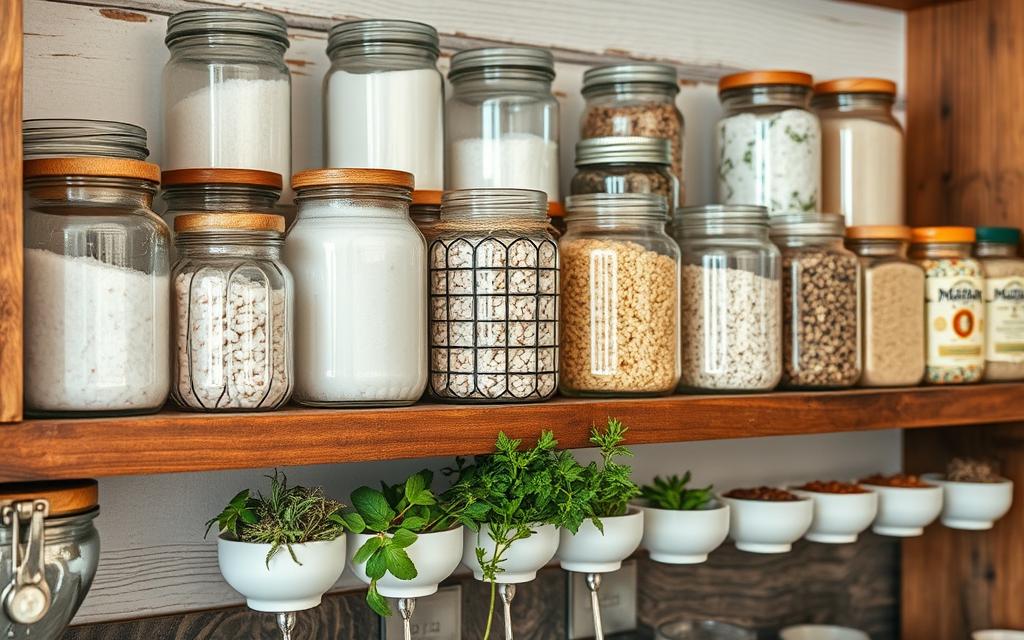
Choose airtight containers made of glass or ceramic, which won’t corrode or affect flavor. Instead, avoid plastic, which can let the salt pick up unwanted smells or tastes.
Best Storage Conditions
- Store your coarse salt in a cool, dark spot like a cabinet or pantry; light and heat can dull its flavor and texture.
- Keep the container tightly sealed so the salt doesn’t get damp and clumpy.
- Store flavored coarse salts apart from plain ones to avoid mixing smells and tastes.
Shelf Life of Coarse Salt
Unflavored coarse salt can last indefinitely if stored right, but flavored or infused salts are best used within 12 months. Watch for changes in appearance or smell, and toss it if something seems off. Once it’s ground and ready, our guide on how to refill a salt and pepper grinder walks you through loading it into your mill.
Popular Recipes Using Coarse Salt
Coarse salt adds unique texture and flavor to many dishes, from grilled meats to roasted veggies to baked breads.
Grilled Meats
For example, use coarse salt for perfectly seasoned grilled meats. Its big crystals add a nice crunch and enhance the meat’s flavor.
Roasted Vegetables
Sprinkling coarse salt on roasted veggies brings out their natural sweetness and adds a salty crust. Try it on potatoes, Brussels sprouts, or cauliflower.
Baking Bread
Likewise, coarse salt is a staple for artisanal bread. Sprinkle it on top before baking for a beautiful crust and a crunchy bite that also boosts flavor.
Common Mistakes to Avoid
Learning how to make coarse salt for grinder use is simple, but a few common mistakes can throw off your results.
Over-Grinding the Salt
Grinding too long makes salt fine and powdery instead of coarse. Watch your grinding time and method to get the right texture.
Using Incorrect Tools
Don’t use metal tools, since they can make your salt taste metallic; ceramic, wood, or high-quality stainless steel work better. Make sure your grinder is set for a coarse grind, too.
Ignoring Flavor Combinations
When trying flavored coarse salts, pick combinations carefully, since some flavors clash. Test different herb and spice blends to find what works.
Enhancing Flavors with Coarse Salt
Coarse salt adds a delightful textural contrast and enhances the natural flavors of your food, from grilled meats to baked goods.
How to Use Coarse Salt in Cooking
Coarse salt shines as a finishing salt, letting you season dishes with precision. Sprinkle it over grilled steaks or chops for a flavorful crust, or use it on roasted vegetables and baked goods. However, one catch is that flaky salt dissolves almost instantly on moist food. America’s Test Kitchen found that lightly coating the crystals in vegetable oil before sprinkling keeps them crunchy for several minutes instead of dissolving right away.
Pairing Coarse Salt with Foods
- Pair citrus-infused coarse salt with seafood or poultry for a bright, zesty touch.
- Rosemary-infused coarse salt complements roasted meats and vegetables beautifully.
- Experiment with garlic, chili, or even honey-lavender coarse salt to find your favorite pairing.
| Dish | Recommended Coarse Salt Pairing |
|---|---|
| Grilled Steak | Smoked Paprika Coarse Salt |
| Roasted Vegetables | Rosemary-Infused Coarse Salt |
| Baked Goods | Honey-Lavender Coarse Salt |
| Seafood | Citrus-Infused Coarse Salt |
Ultimately, mastering the use of salt like this is a foundational skill for any home cook looking to level up their cooking.
Benefits of Making Your Own Coarse Salt
Making your own coarse salt at home is cheaper, gives you more control over quality, and lets you get creative.
Cost-Effectiveness
Homemade coarse salt is much cheaper than store-bought gourmet salts, which can easily run $20 to $30 plus shipping for a commercial herb blend. As a result, making your own saves real money over time.
Quality Control
When you make your own coarse salt, you choose every ingredient, so you can skip additives and preservatives and tailor the flavor and texture to your liking.
Creative Freedom
Making your own coarse salt lets you mix different salts with herbs, spices, and other flavorings to create blends that make your dishes stand out.
Frequently Asked Questions
How to make coarse salt for grinder?
Dissolve fine salt in warm water at a 1:4 salt-to-water ratio, pour it into a wide, shallow dish, and let it evaporate slowly in a low oven or a warm spot until crystals form. Once fully dry, grind the crystals to your preferred coarseness with a salt grinder, mortar and pestle, or food processor.
Can I just crush regular salt to make it coarse?
You can lightly crush larger rock salt or sea salt with a mortar and pestle, but very fine table salt won’t turn into good flaky coarse salt just by crushing; the evaporation method produces better crystal structure and texture.
Why is my homemade coarse salt not coarse enough?
Typically, it’s over-grinding. Pulse briefly and check the texture often, since a few extra seconds in a food processor can turn coarse salt into fine salt fast.
How long does homemade coarse salt last?
Plain, unflavored coarse salt lasts indefinitely if kept dry and sealed. In contrast, flavored or herb-infused versions are best used within about 12 months.
What’s the best salt to start with for making coarse salt?
Sea salt, kosher salt, or Himalayan pink salt all work well. Avoid iodized table salt, since its fine, uniform grains and additives don’t dissolve and re-crystallize the same way.
Final Thoughts on Making Coarse Salt
Now that you know how to make coarse salt for grinder use, you can get creative in the kitchen and shape the texture, taste, and color of your salt to your liking.
Recap of the Process
Choose your salt, dissolve and evaporate it, then grind it to the coarseness you want. Sea salt, kosher salt, or a mix of the two all work well.
Encouragement to Experiment
Don’t be shy about adding herbs, spices, or dried fruit to make your salt your own. So, let your creativity run wild with DIY salt-making.
Connecting with the Culinary Community
Once you’ve mastered making coarse salt, share your creations, and if you need a new mill to put it in, our salt and pepper grinder reviews can help you find one.

Hey, My name is MAMON. I am a SEO content creator and affiliate marketer with over 8 years of experience. I create honest product reviews, in-depth buying guides, and practical how-to articles to help readers make informed decisions. My mission is to provide trustworthy, research-backed content that delivers real value.
Leave a Reply