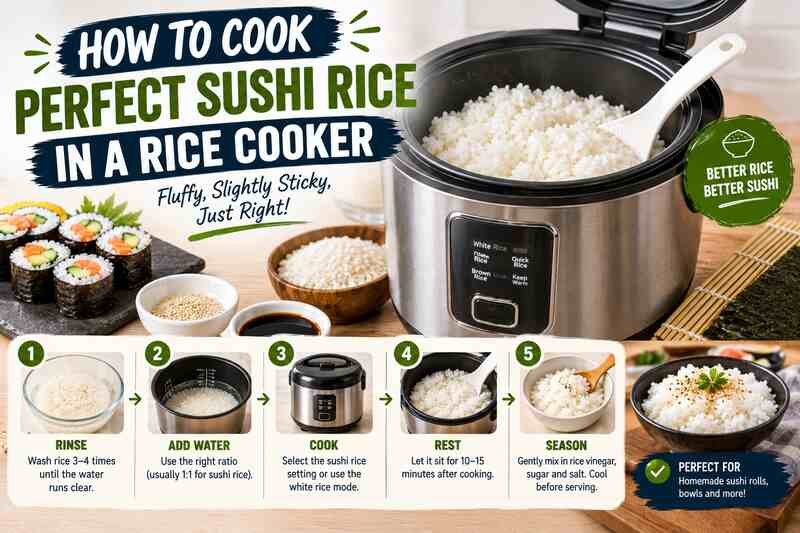
Learning how to cook perfect sushi rice in a rice cooker is one of the biggest shortcuts to making genuinely good sushi at home. With a simple rice cooker, you can turn out sticky, well-seasoned rice every time, no stovetop babysitting required. This method makes sushi rice easy, consistent, and foolproof, even if you’ve never made it before.
If you love sushi or just want to get better at cooking Japanese food, learning how to cook perfect sushi rice in a rice cooker is a genuinely useful skill. With the right rice, a handful of ingredients, and the right steps, you can turn out sushi rice that rivals what you’d get at a restaurant, all from your own kitchen.
Key Takeaways
- A rice cooker makes foolproof, perfectly cooked sushi rice every time, with very little guesswork.
- Choose short-grain or medium-grain Japanese rice varieties like CalRose or Kokuho Rose.
- Season the cooked rice with a mixture of rice vinegar, sugar, and salt for authentic sushi flavor.
- Stick to a 1:1 rice-to-water ratio in the rice cooker for the best texture.
- Mixing the seasoned rice properly matters just as much as the ratio, since it coats every grain evenly.
Understanding Sushi Rice
Sushi rice is the foundation of great sushi. It has a special sticky texture that comes from the rice’s high amylopectin content, a type of starch. Once you understand how to cook perfect sushi rice in a rice cooker, that quality is what lets the rice hold its shape and stick together in rolls and nigiri.
What Makes Sushi Rice Special?
Sushi rice is different from the long-grain rice most American kitchens keep on hand. It’s short-grained or medium-grained, and that size, combined with specific cooking and seasoning, is what makes it sticky and lightly sweet.
Types of Sushi Rice You Can Use
- Nishiki: A popular Japanese short-grain rice with a soft, sticky texture and a subtle sweetness.
- Tamaki Gold: A premium short-grain rice with a pure white color and a slightly nutty flavor.
- Koshihikari: A renowned short-grain variety known for its texture and flavor, often considered the gold standard for sushi rice.
These Japanese rice varieties are grown and processed specifically for sushi. Paired with rice vinegar and a few other ingredients, they form the base of your homemade sushi.
Essential Ingredients for Sushi Rice
Making great sushi rice comes down to a short ingredient list. It might sound intimidating, but once you know what you actually need, it’s straightforward.
The Best Rice Varieties
The heart of sushi rice is the rice itself. Choose short-grain or medium-grain Japanese rice like Nishiki, Tamaki Gold, or Koshihikari. These varieties turn out sticky and glossy because they carry more starch than long-grain rice.
Other Necessary Ingredients
- Rice Vinegar: This gives sushi rice its unique tangy, slightly sweet taste.
- Sugar: A small amount balances the vinegar’s acidity.
- Salt: A pinch boosts the rice’s overall flavor.
- Filtered Water: Clean water helps the rice’s taste and texture come through.
A few basic tools make the process easier too. A rice cooker, a large mixing bowl (traditionally a wooden hangiri), and a rice paddle are about all you need.
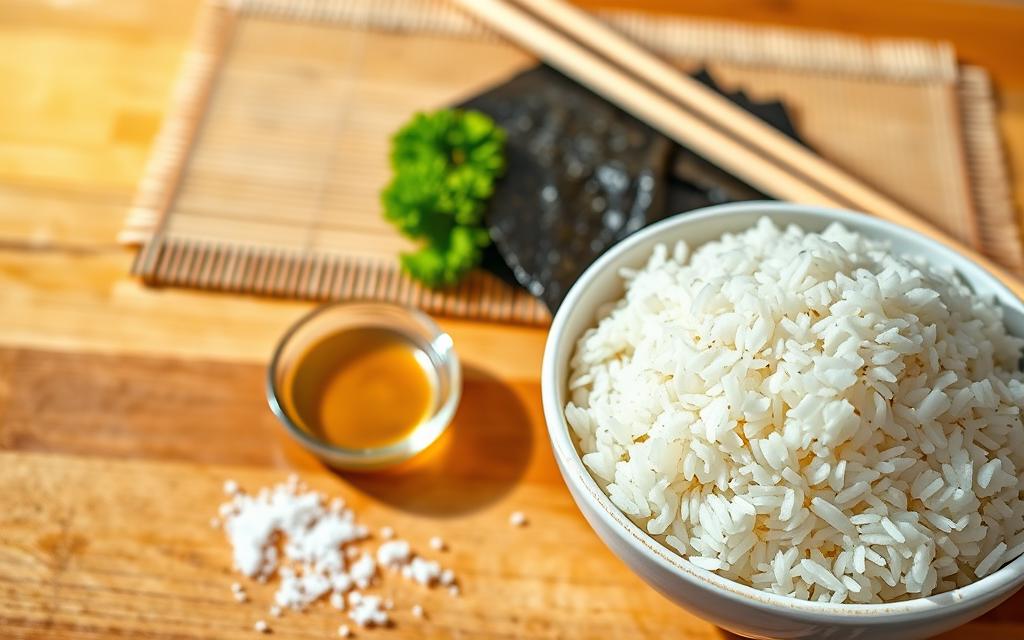
Getting the rice and seasonings right is most of the battle. From there, technique does the rest.
Preparing Sushi Rice
Preparation matters just as much as cooking when you’re aiming for the right texture and taste. Here are the steps worth taking before the rice ever hits the cooker.
Washing the Rice Properly
Start by rinsing the sushi rice well under running water. Rinse it several times until the water runs mostly clear. This removes surface starch and debris, which keeps the finished rice from turning gummy.
Soaking: Why It Matters
Soaking is optional but genuinely helpful. Letting the rinsed rice soak for 30 minutes to an hour lets it absorb water evenly, which makes the final texture softer and more cohesive once it’s cooked.
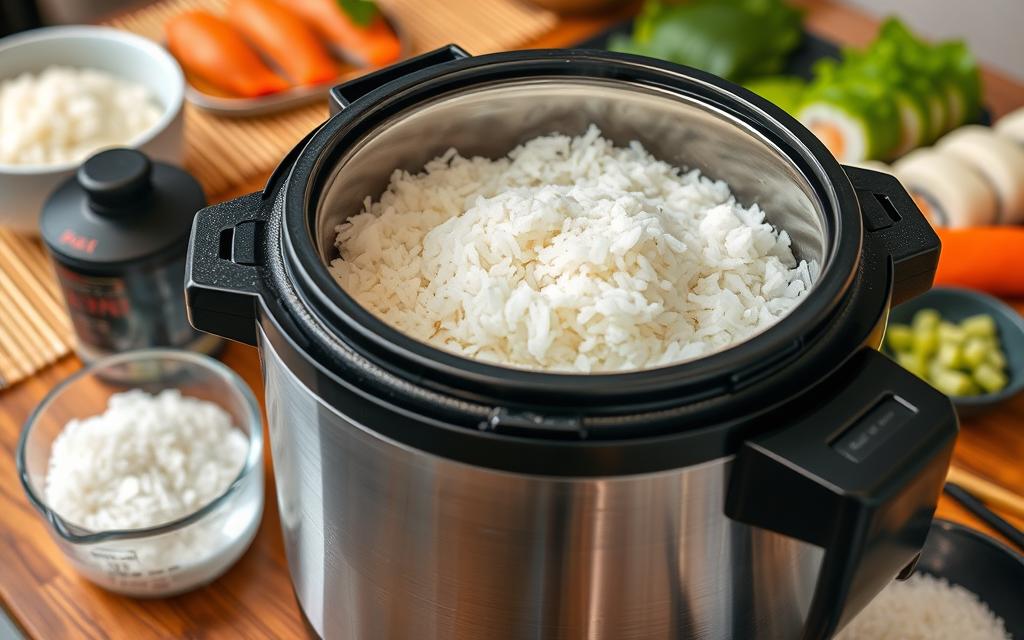
Taking the time to properly rinse and soak the rice sets up everything that follows. Skipping this step is one of the most common reasons sushi rice comes out wrong.
How to Cook Perfect Sushi Rice in a Rice Cooker
Making sushi rice at home is easier than most people expect. A rice cooker takes care of the hard part. The key is using the right setting and the correct rice-to-water ratio, according to Japanese-cooking authority Just One Cookbook.
Finding the Right Settings
Use the “white rice” or standard setting on your rice cooker for sushi rice. If your machine has a dedicated sushi or “sticky rice” setting, use that instead. Either one helps produce fluffy, sticky rice that holds together well.
Water to Rice Ratio
The ratio that works best is 1:1, rice to water. That means one cup of rice to one cup of water, measured after rinsing. A kitchen scale gives the most accurate results, though standard measuring cups work fine too. This ratio keeps the rice sticky yet tender, rather than mushy or undercooked.
| Ingredient | Quantity |
|---|---|
| Sushi Rice | 1 ½ cups |
| Water | 1 ½ cups |
| Rice Vinegar | ¼ cup |
| Sugar | 1 tablespoon |
| Kosher Salt | ½ teaspoon |
Stick to this ratio and you’ll get consistently good results, batch after batch.
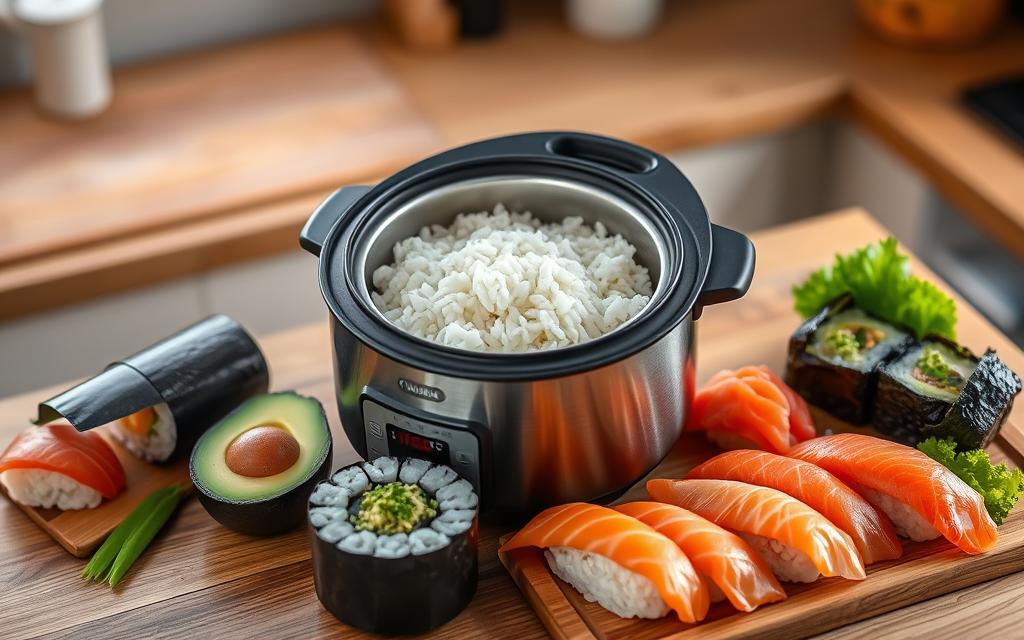
Getting the water ratio right is the single biggest factor in whether your rice cooker turns out sushi-quality rice or something closer to plain steamed rice.
Seasoning Sushi Rice
Seasoning is where sushi rice gets its signature flavor. The vinegar mixture and how you fold it in both matter.
Choosing the Right Vinegar
The classic choice is Japanese rice vinegar, sometimes labeled sushi vinegar. It adds just enough acidity to balance the rice’s natural sweetness without overpowering it.
How to Mix Sushi Rice Seasoning
- In a small saucepan, combine 1 part rice vinegar with roughly 1/3 part sugar and a pinch of salt.
- Heat over medium, stirring constantly, until the sugar and salt fully dissolve.
- Remove from heat and let the mixture cool slightly before using it.
- Pour the seasoning over the warm rice and fold gently, being careful not to mash the grains.
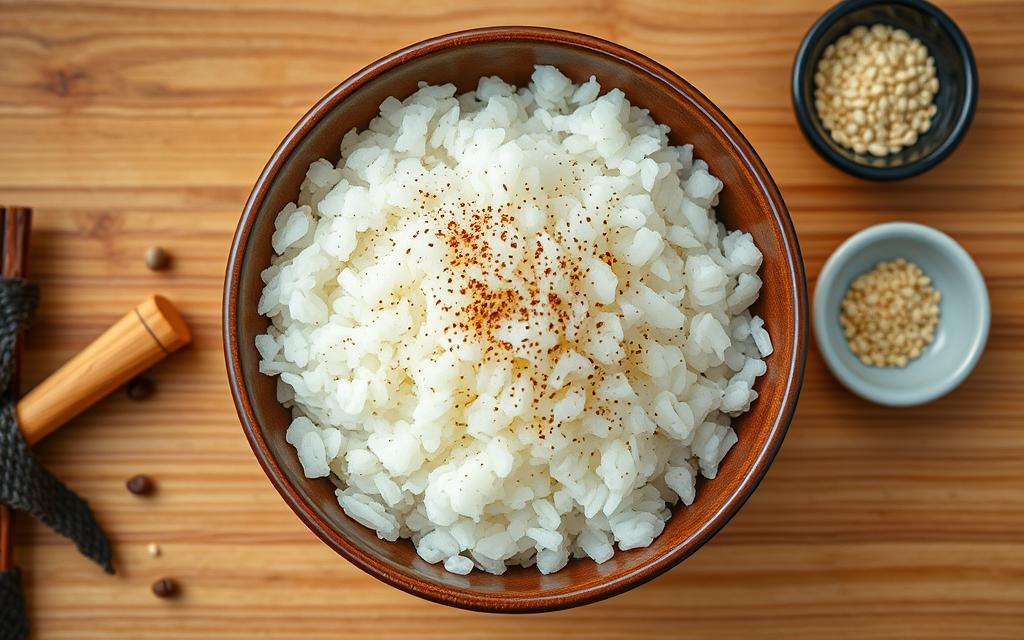
Get this balance of sweet, sour, and salty right, and your homemade sushi will taste noticeably more authentic.
Tips for Achieving the Perfect Texture
Cooking sushi rice well is mostly about a handful of small details. Keep these in mind for consistent results.
The Right Cooking Time
When using a rice cooker, follow its built-in timing rather than guessing. Many rice cookers have a dedicated sushi or sticky-rice setting that adjusts time and temperature automatically. For stovetop cooking, expect around 20 minutes, though the exact time depends on the amount of rice and the pot you’re using.
Resting the Rice After Cooking
After cooking, let the rice rest with the lid closed for about 5 minutes. This lets it finish absorbing any remaining moisture and gives it that characteristic sticky, glossy look. Turn off any keep-warm setting during this time so the rice doesn’t overcook.
Once it’s rested, transfer the rice to a large bowl or a hangiri, the traditional wooden tub used for mixing sushi rice. This helps the vinegar seasoning distribute evenly without overworking the grains.
Troubleshooting Common Issues
Getting sushi rice exactly right can take a try or two, even once you know how to cook perfect sushi rice in a rice cooker in theory. Fortunately, the most common problems have simple fixes.
Rice Too Sticky? Here’s the Fix
Overly sticky rice usually comes from overcooking or over-mixing. A few fixes help:
- Avoid over-mixing after cooking. Use a rice paddle or wooden spoon to fold it gently instead.
- Cook the rice slightly less next time to prevent excess stickiness.
- Rinse the cooked rice briefly with cold water to remove extra starch and help the grains separate.
Dry Rice? No Problem!
If your sushi rice turns out too dry, there’s an easy fix:
- Add 2 tablespoons of water at a time, then microwave it covered for 30 seconds.
- Keep adding water in small amounts and microwaving until the texture is right.
- For future batches, adjust your water-to-rice ratio slightly so you get it right from the start.
Holding Sushi Rice
Keeping sushi rice at the right temperature and texture matters for both flavor and food safety, whether you’re making rolls, nigiri, or a rice bowl.
Best Ways to Keep Rice Warm
To hold sushi rice for serving, try any of these:
- Cover the cooked rice with a damp, clean towel to keep it from drying out.
- Keep it in a heat-safe container in a warm oven (around 200°F) or on the lowest setting of your rice cooker.
- A dedicated sushi rice warmer works well if you make sushi often enough to justify one.
Cooked rice that sits too long at unsafe temperatures is a genuine food-safety concern, not just a texture issue. The CDC has documented Bacillus cereus food poisoning linked to rice left to cool at room temperature, and recommends keeping cooked rice below 41°F or above 140°F rather than holding it at room temperature for extended periods.
How Long Can You Store Cooked Rice?
Proper storage keeps sushi rice safe and good to eat. A few guidelines to follow:
- Refrigerate leftover sushi rice in an airtight container for up to 3 days.
- For longer storage, freeze cooked sushi rice for up to 2 months, and thaw it in the refrigerator before using.
- When reheating, add a few drops of water, cover, and heat gently to bring back some of the original texture.
Follow these steps and your sushi rice will stay fresh, flavorful, and ready whenever you need it.
| Rice Type | Preferred for Sushi | Water to Rice Ratio |
|---|---|---|
| Short Grain White Rice | Yes | 1:1 |
| Jasmine Rice | No | 1:1.25 |
| Long Grain White Rice | No | 1:1.5 |
Using Sushi Rice in Dishes
Sushi rice isn’t limited to sushi rolls. It’s a genuinely useful base for a handful of other dishes too.
Making Sushi Rolls at Home
For homemade sushi, this rice is the essential building block, whether you’re rolling classic maki or something more inventive like a spicy tuna roll.
Creative Ways to Use Sushi Rice
- Rice Bowls: Top sushi rice with fish, vegetables, and sauces for a quick, healthy meal.
- Sushi Burritos: Fill a tortilla with sushi rice, protein, and toppings for a fun handheld version.
- Baked Rice Casserole: Layer sushi rice, fillings, and sauces in a baking dish for a crowd-friendly option.
- Sushi Salad: Mix sushi rice with greens, avocado, and a tangy dressing for something lighter.
- Crispy Rice Cakes: Shape sushi rice into patties, then fry or bake for a crispy snack.
There’s a lot of room to experiment once you’ve got a good batch of sushi rice on hand. A quarter-cup serving of seasoned sushi rice runs roughly 60 to 70 calories, so it fits easily into most meals without much extra thought.
Frequently Asked Questions
Here are a few common questions people run into once they start making sushi rice at home.
Can I Use Regular Rice?
Not really. Regular long-grain rice doesn’t have the starch content needed for sushi. You need a short-grain, sticky variety like Koshihikari, Nishiki, or Tamaki Gold. If you cook long-grain rice often, our guide to cooking brown rice in a rice cooker covers the different ratios that type needs, which are noticeably higher than sushi rice.
How to Revive Leftover Sushi Rice
Put leftover rice in a microwave-safe bowl. Heat it at 70% power in 30-second bursts, stirring between each one, until it’s warmed through without drying out. If you keep rice on hand for other meals too, our guide on how long you can keep rice in a rice cooker covers general storage timing in more detail.
Conclusion
Once you know how to cook perfect sushi rice in a rice cooker, the whole process stops feeling intimidating. Stick to the 1:1 water ratio, rinse and soak the rice properly, and season it with a simple vinegar mixture, and you’ll turn out rice that holds its own against what you’d get at a sushi counter. If your rice cooker’s pot ever needs a deep clean after regular use, our guide to cleaning a rice cooker effectively will help keep it in good shape for the next batch.

Hey, My name is MAMON. I am a SEO content creator and affiliate marketer with over 8 years of experience. I create honest product reviews, in-depth buying guides, and practical how-to articles to help readers make informed decisions. My mission is to provide trustworthy, research-backed content that delivers real value.
Leave a Reply