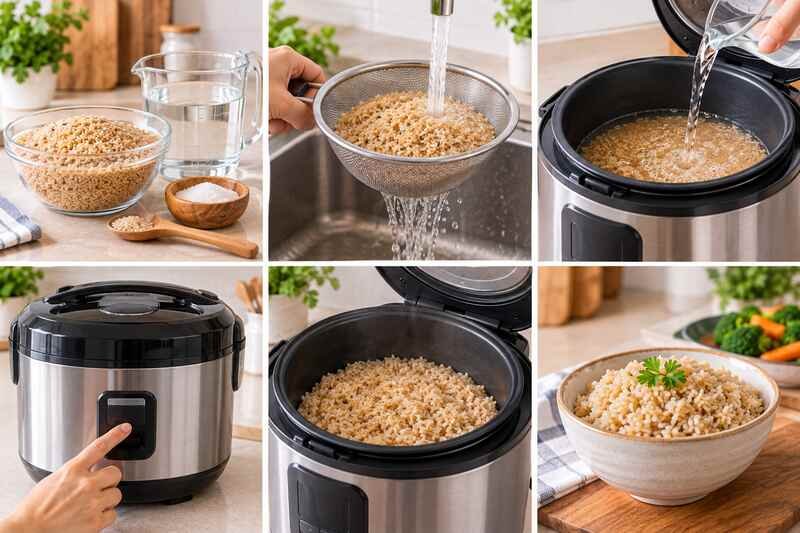
You stand at the counter with a bag of whole grains and a quiet appliance that promises simple, steady results. One evening, after a long day, you tried learning How to cook brown rice in a rice cooker and found fluffy, chewy brown rice that everyone loved.
This short guide will set you up with clear steps and small tips so you can make perfect brown rice every time. Using a reliable rice cooker removes guesswork and keeps your meal prep calm and consistent.
You’ll learn practical notes on grain ratios, water amounts, and ideal minutes for gentle heat. The goal is tender grains without mush, and a simple routine that fits your weeknight rhythm.
Key Takeaways
- Master a simple routine for consistent, tasty brown rice.
- Use the right water ratio and timing for tender grains.
- A rice cooker gives steady heat and saves effort.
- Small prep steps prevent mush or underdone bites.
- Follow this recipe and enjoy perfect rice every time.
Why Brown Rice Requires a Different Approach
Brown grains need gentler heat and more patience than many other pantry staples.
Unlike white rice, brown rice keeps an outer bran layer. That layer takes longer to soften and soak up moisture. Because of this, you must use a higher water ratio and allow more time for even doneness.
The bran barrier affects texture. If you under-hydrate the grain, the center stays firm. Too much water makes it mushy. The right balance produces separate, tender kernels.
- Bran layer needs longer cooking and more moisture.
- A steady rice cooker manages heat and steam better than quick stovetop tricks.
- This method helps you achieve perfect brown rice every time.
“Ratio is the key — once you get it right, results become predictable.”
| Grain | Typical Water Ratio | Result |
|---|---|---|
| Brown rice | 1 cup : 1⅔–2¼ cups water | Tender, chewy texture |
| White rice | 1 cup : 1–1.25 cups water | Light, fluffy |
| Jasmine/Basmati | 1 cup : 0.9–1.25 cups water | Fragrant, separate grains |
Essential Equipment and Ingredients
Start by choosing quality grain and a steady appliance—these two choices shape the final texture.
Choosing the Right Rice
A quality long-grain brown rice, like Mogami or another widely available brand, gives consistent results and holds its shape well. Long-grain brown pairs well with chicken for a balanced dinner, while short-grain brown rice cooks up a little stickier and works well in bowls or alongside stir-fries.
Measuring Tools
Measure with standard dry cups for your grain and a liquid measure for water. This avoids the guesswork of scoop markings and keeps the cup brown measurements accurate.
- Choose an Aroma 3-cup rice cooker or a similar reliable model. A good rice cooker delivers steady heat for even cooking.
- Modern cookers handle different grains, so you can use this method for white rice or long-grain brown varieties.
- Keep a small pot and a set of measuring spoons nearby for added flavor steps later in the recipe.
Tip: Consistent tools mean fewer surprises. When your gear is steady, the final side dish becomes predictable and easy.
How to Cook Brown Rice in a Rice Cooker
Set the cooker on the counter, measure your grain, and get ready for a mostly hands-off evening meal.
After rinsing, add the grain into the pot and pour the measured water using the recommended ratio for your variety. Use one cup for reference and adjust cups if you double the batch.
Close the lid and select the normal setting. One cup usually needs about 45 minutes to 1 hour for the rice done and tender. Avoid opening the lid during those minutes; steam loss changes the final texture.
This method is ideal for busy nights. Once the cooker finishes, let the cooked brown rice rest for a few minutes so moisture evens out between kernels. Fluff gently before serving.
- Rinse, measure, pour water into the pot with the grain.
- Press start and resist opening the lid during cooking.
- Allow a short resting period after the cycle ends for best results.
The Importance of Rinsing and Soaking
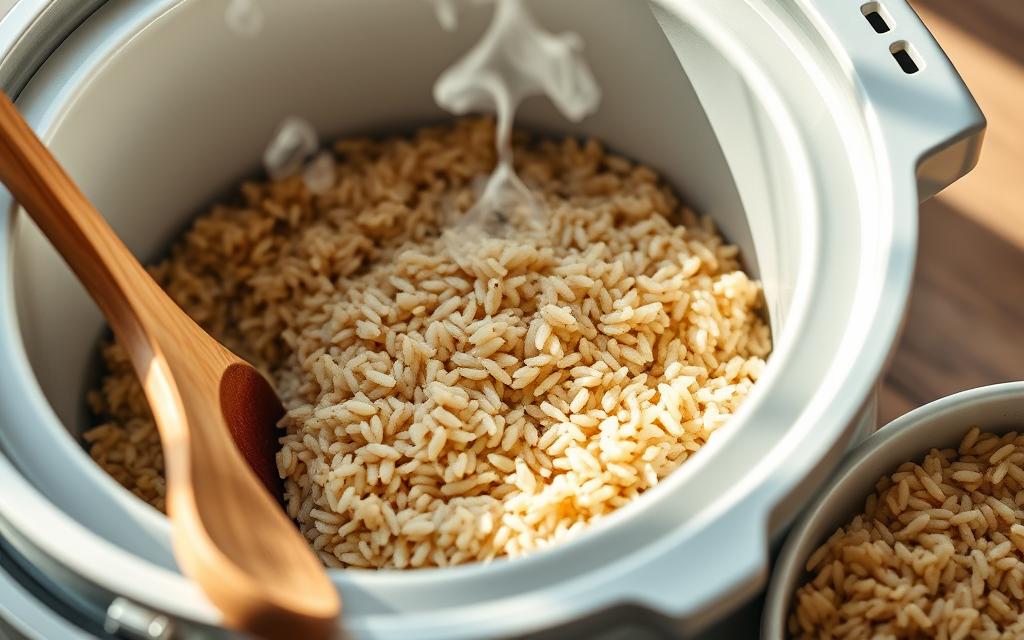
A quick rinse and a short soak change the texture more than any trick during cooking. These simple steps remove loose starch and let the kernels absorb water evenly before heat reaches them.
Benefits of Pre-Soaking
Rinsing your brown rice under cool water for about 10 to 15 seconds helps wash away excess starch and surface debris. Repeat this process 3 to 4 times until the water runs clear for the cleanest result.
Soaking for 10 to 30 minutes softens the bran layer, which shortens cooking time and yields more tender grains. If you skip soaking, the rice will still finish, but it may need extra time in the cooker and could be firmer.
- Rinse thoroughly and repeat until water clears.
- Soak when possible for 10–30 minutes for softer texture.
- Keep the lid sealed during the cycle; prep sets the stage for even steaming.
“Proper prep prevents gummy results and makes every minute count.”
Mastering the Perfect Water to Rice Ratio
Nailing the water ratio is the single change that fixes most texture problems with whole-grain dishes. Get this right and your meal becomes reliably tender, not gummy.
For 1 cup of long-grain brown rice, most rice cooker recipes call for somewhere between 1⅔ cups and 2¼ cups of water, depending on your machine and how tender you like the finished grain. Start on the lower end for firmer, separate kernels, and move toward the higher end if you prefer softer, more tender rice. Since rice cookers vary, check your model’s manual if it lists a specific ratio for brown rice.
Short-grain brown rice generally needs a bit less water than long-grain, often around 1½ to 1¾ cups per cup of rice, since the shorter grains hold moisture differently. Use a liquid measuring cup for precise pours. Consistent tools make your results repeatable.
Keep the routine steady: measure grain, pour measured water, then start the rice cooker. Let the device run its cycle and rest the batch for a few minutes before fluffing.
“Achieving the perfect water to rice ratio is the most important factor in ensuring your grains are neither too mushy nor too dry.”
- Use the same cup and measuring cup each time.
- Adjust by small amounts for personal texture preferences.
- Track minutes and conditions once you find your ideal ratio.
Choosing Between Long-Grain, Short-Grain, and Quick-Cook Brown Rice
Not all brown rice behaves the same way in a rice cooker. Long-grain brown rice, the most common type in US grocery stores, cooks up light and separate, and it’s the most forgiving option if you’re still dialing in your water ratio. Short-grain brown rice has a rounder kernel and a stickier finish once cooked, which makes it a good match for rice bowls or dishes where you want the grains to cling together a little.
Quick-cook or “instant” brown rice has been partially pre-cooked and dried, so it needs less water and a much shorter cooking time than either long-grain or short-grain varieties. Using the ratios in this guide on quick-cook rice will almost always produce mush, so check the package for its specific water ratio and timing instead of guessing.
Common Mistakes That Ruin Rice Cooker Brown Rice
Lifting the lid partway through the cycle is one of the most common ways a batch goes wrong. Every time the lid opens, steam escapes, and brown rice needs that trapped steam more than white rice does because of its longer cook time. Resist the urge to check on it until the cycle finishes.
Another common mistake is treating brown rice like white rice and using a white-rice water ratio out of habit. Because of the bran layer, brown rice needs meaningfully more water and more time. Using a white-rice ratio is one of the most reliable ways to end up with hard, undercooked grains.
Tips for Achieving Fluffy and Tender Results
A few simple habits in the final minutes will turn good grains into great ones. Follow these small steps after the cycle ends and your texture will improve noticeably.
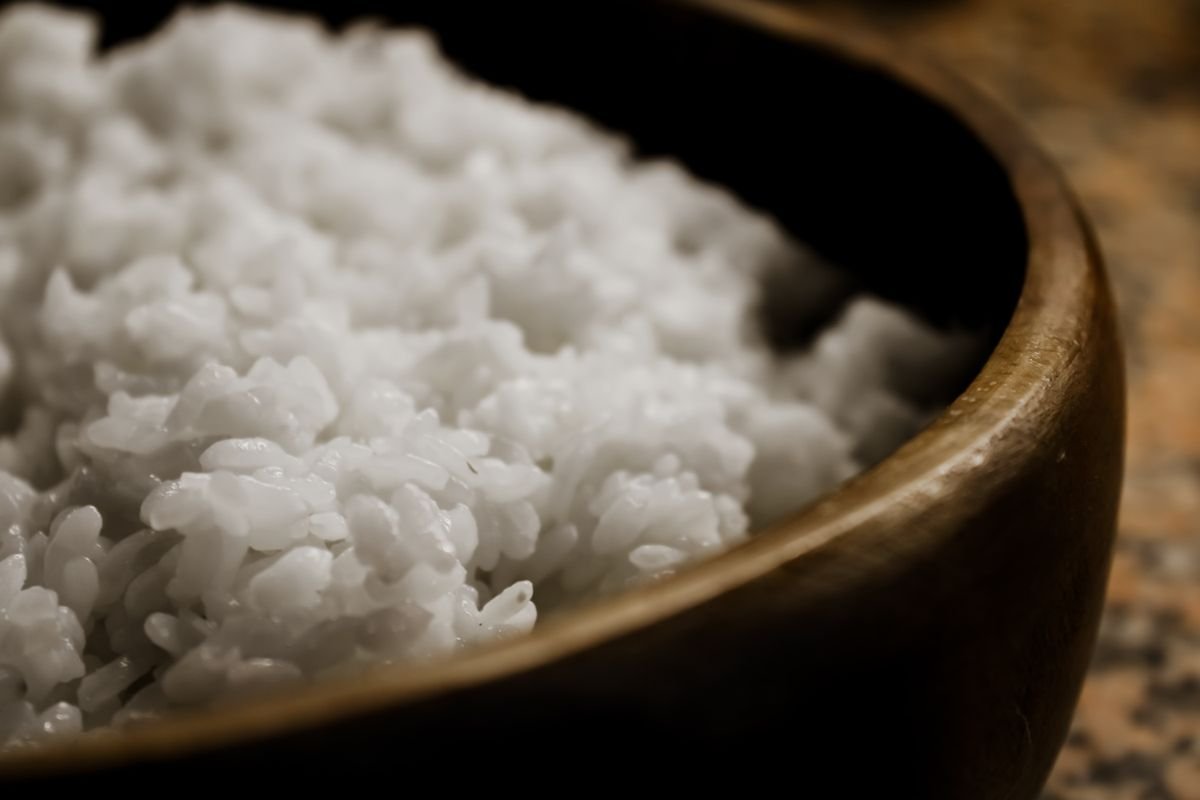
A short rest and a gentle fluff with a paddle are what separate good rice from great rice.
The Resting Period
When the cooker switches to warm, turn off the power and let brown rice rest for 10 minutes. This pause lets excess moisture absorb and evens out density across the pot.
Avoiding the Warm Setting
Do not leave the unit on warm for long. Extended warmth can dry the surface and make grains stick to the bottom of the pot. For best results, unplug older models after the rest.
Adding Flavor Enhancers
Before cooking, add a small pinch of salt or a drizzle of olive oil to the cup of grain. These tiny tweaks lift the natural flavor and help separate kernels when you fluff rice with a paddle.
- After the rest, use a rice paddle and gently turn the grains for a light, airy finish.
- Keep the lid closed during the pause and avoid stirring while the unit is active.
“A short rest and gentle fluffing make a big difference in final texture.”
Storing and Reheating Your Leftovers
After cooking, quick cooling and proper storage make weekday dinners easy. Let the pot rest briefly, then transfer cooled portion into an airtight container. According to USDA food safety guidance, cooked rice should be refrigerated within two hours of cooking and used within 3 to 4 days, since rice carries a higher food-safety risk than many other leftovers.
For a fast reheat, place a portion in the microwave. Add a splash of water and cover with a damp paper towel. Heat in short bursts until warm to prevent drying. Our full guide on how to reheat rice in the microwave covers this in more detail, including how to tell when rice has been left out too long to reheat safely.
If you prefer stovetop warming, use a small pot over medium heat. Stir often and add a little water if the grains seem dry. This method restores texture closer to freshly made.
| Storage | Reheat Option | Best Use |
|---|---|---|
| Airtight container, fridge | Microwave + splash of water | Quick side for dinner |
| Keep 3 to 4 days | Stovetop in pot, stir | Large batches, even warming |
| Freeze for long term | Thaw overnight, reheat | Meal prep with chicken or veggies |
Tip: Use leftover cooked brown rice in bowls, stir-fries, or as a simple side. Proper storage keeps your recipe reliable and ready for busy nights, and if you’ve got a rice cooker with a stubborn crust on the bottom, our guide to cleaning a rice cooker effectively covers getting it spotless again.
Frequently Asked Questions
Why is my brown rice still hard after the cooking cycle ends?
This is almost always a water ratio or timing issue. Try increasing the water slightly, toward the higher end of the 1⅔ to 2¼ cups per cup range, and give the rice its full resting period before fluffing and checking texture again.
Can I cook brown rice and white rice together in the same batch?
It’s not recommended in a standard cycle, since brown rice needs more water and more time than white rice. If you need both, cook them separately, or look at par-cooking the brown rice partway before adding white rice, though results are more consistent when they’re cooked apart.
Does this same ratio work for cooking brown rice on the stovetop instead?
Not exactly. Stovetop cooking loses more moisture to evaporation than a sealed rice cooker, so stovetop recipes typically call for a bit more water. Use a rice-cooker-specific ratio only when you’re actually using a rice cooker.
Can I use this same method for sushi rice or other specialty rices?
No, sushi rice is a short-grain white rice with its own ratio and rinsing needs. Our guide to cooking sushi rice in a rice cooker walks through that process separately, since it differs meaningfully from brown rice.
My rice cooker doesn’t have a dedicated “brown rice” setting. Does that matter?
It helps but isn’t essential. A dedicated brown rice setting simply extends the cook time and adjusts the heating curve for the tougher bran layer. On a standard setting, just plan on checking doneness at the end of the cycle and adding a few extra minutes if the grains are still firm.
Conclusion
A small set of habits turns this simple side dish into a dinner staple you can rely on.
Master the ratio and give the pot a short rest after the cycle. Those two moves deliver tender, even brown rice and help you fluff rice without clumping.
Rinse grains well before you start and avoid leaving the warm setting on too long. These steps prevent drying and sticking, and they keep cooked brown rice ready for salads, bowls, or served with chicken. Keep leftovers to 3 to 4 days in the fridge, and reheat gently with a little extra water.
This recipe is forgiving. With the right routine and the rice cooker on your counter, you’ll get reliable results and enjoy perfect rice every time.

Hey, My name is MAMON. I am a SEO content creator and affiliate marketer with over 8 years of experience. I create honest product reviews, in-depth buying guides, and practical how-to articles to help readers make informed decisions. My mission is to provide trustworthy, research-backed content that delivers real value.
Leave a Reply