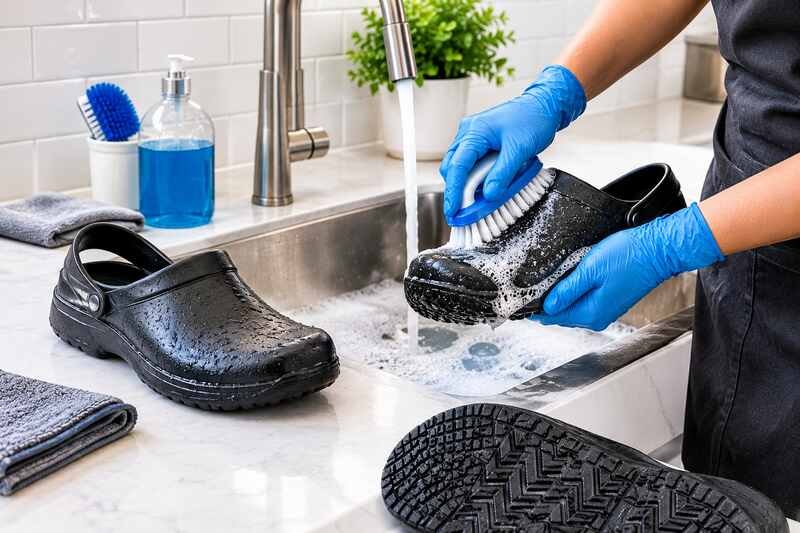
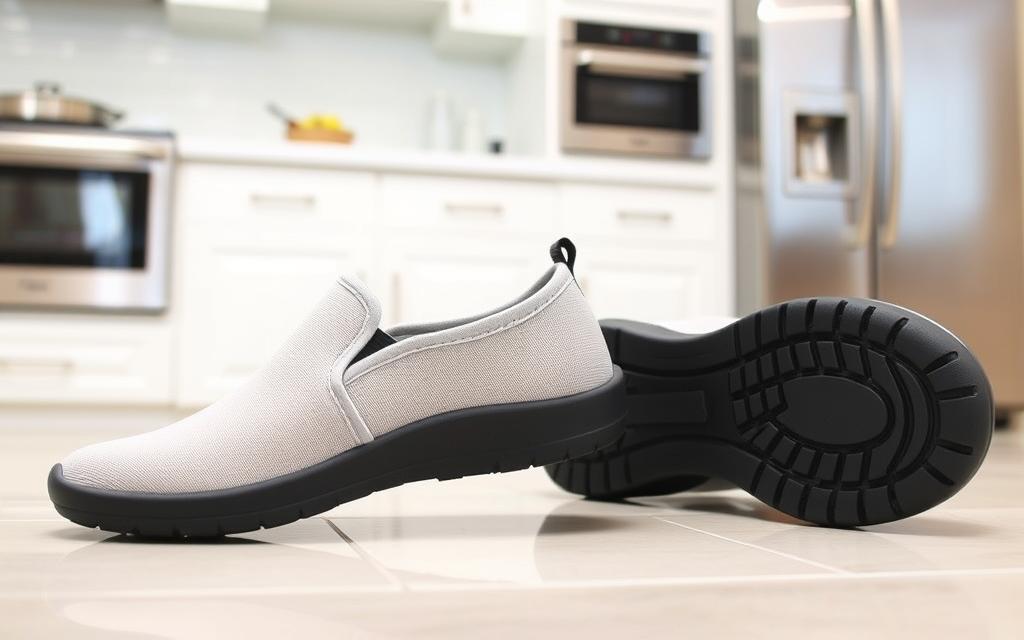
If you work in the food service industry, you already know how important a clean and safe work area is, and that starts at floor level. Learning how to clean non-slip kitchen shoes properly is one of the simplest habits that keeps you upright on a wet or greasy floor. These shoes, made of canvas, mesh, or pleather, are vital for staying safe on slippery surfaces. But they can get dirty fast with grease, food bits, and standing water.
Cleaning them regularly keeps the tread working, keeps you looking professional, and stops grime and bacteria from building up. Let’s look at how to keep your kitchen safety footwear in great shape all shift long.
Key Takeaways
- Knowing how to clean non-slip kitchen shoes properly extends the life of the tread and the upper
- Avoid washing non-slip shoes in the washing machine, since the agitation and heat can warp the sole
- Use mild soap and water for effective cleaning without stripping the slip-resistant sole
- Regularly clean and maintain non-slip shoes to keep traction and safety consistent
- Replace non-slip kitchen shoes every 6 months to 1 year, depending on use
Understanding the Importance of Clean Kitchen Safety Footwear
Keeping your kitchen safety footwear clean is key for both safety and work quality. Dirty shoes lose grip faster, which raises accident risk, and they simply look less professional.
Safety Risks of Dirty Non-Slip Shoes
Slips, trips, and falls are among the most common injuries in commercial kitchens. Dirty soles, packed with grease and food debris, lose traction faster than clean ones. OSHA’s restaurant safety guidance calls for footwear that is slip-resistant and not canvas or open-toed near hot liquids. It also recommends lacing shoes tightly and keeping soles free of grease buildup, which a regular cleaning routine helps with directly.
Impact on Work Performance
Good kitchen shoes cushion your feet and absorb shock through hours of standing on hard tile or concrete, but only when they’re properly maintained. A sole clogged with hardened grease flexes less, adding strain to your feet and lower back.
Professional Appearance Standards
In the food service world, looking clean matters. Dirty, stained shoes make you look unprofessional even if the rest of your uniform is spotless.
| Feature | Importance |
|---|---|
| Slip-resistant outsole | Crucial for navigating slippery kitchen surfaces safely |
| Comfortable insole and support | Enhances work performance and reduces physical strain |
| Waterproof or water-resistant materials | Protects against moisture, grease, and other kitchen hazards |
| Easy cleaning and disinfection | Maintains a hygienic work environment |
Still shopping for your first pair? Our guide on how to choose the best shoes for working in the kitchen walks through fit, materials, and support.
Essential Tools and Materials for Shoe Cleaning
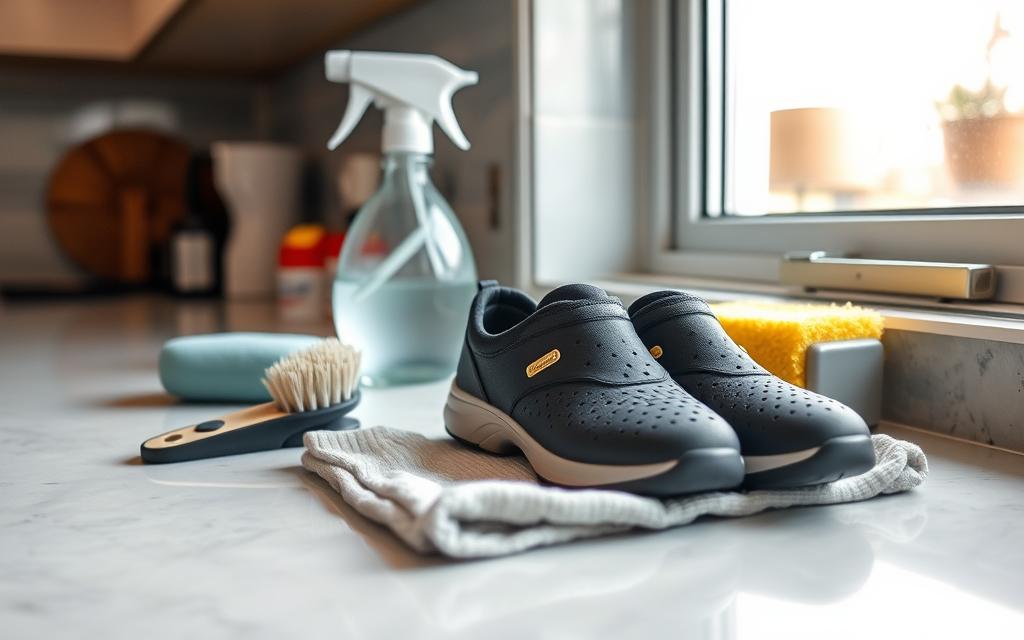
You don’t need a large kit to keep your non-slip kitchen shoes clean. Start with a shoe brush or an old toothbrush, mild dish detergent, a couple of clean cloths, and a bucket or sink with warm water.
For stubborn stains, consider a specialized product like Shoe MGK Cleaner and Conditioner, which works on leather, suede, and nubuck. If you wear suede shoes, add a suede brush and cleaning block to keep the nap soft.
Clean in a well-ventilated area so the solution dries faster and fumes don’t build up indoors.
| Essential Shoe Cleaning Supplies | Specialized Shoe Cleaners | Additional Accessories |
|---|---|---|
|
|
|
With the right tools and methods, you can make your non-slip shoes last longer and perform better on the line.
Pre-Cleaning Preparation Steps
A few prep steps make the actual cleaning faster and more effective.
Removing Laces and Insoles
Take out removable insoles before cleaning so you can clean and air out the inside of the shoe, where odor tends to build up. Detaching the laces makes cleaning the eyelets and tongue easier too.
Initial Debris Removal
Use a soft-bristled brush to sweep away loose dirt or debris before you introduce any soap or water. This stops dirt from turning into mud once the surface gets wet.
Setting Up Your Cleaning Station
Get your supplies ready, including a mild detergent solution and a soft cloth, and work on a clean, flat surface near a sink to keep the mess contained.
How to Clean Non-Slip Kitchen Shoes Properly
Here’s how to clean non-slip kitchen shoes properly, step by step.
Brush Off Excess Dirt
First, use a boot and shoe brush to knock dirt, mud, or grime off the soles and sides. This quick step clears the surface debris and gets your shoes ready for a deeper clean.
Cleaning Leather Shoes
For leather shoes, use a damp cloth or shoe wipes to clean the upper. Don’t soak leather in water, since that can crack or discolor it over time. After cleaning, apply a small amount of shoe polish to keep the leather conditioned and looking sharp.
Cleaning Canvas or Mesh Shoes
For canvas or mesh shoes, mix a bit of dish soap with cold water to make a cleaning solution. Use a soft-bristled brush or cloth to gently scrub the shoes in small circles. Then rinse well with clean water, making sure water doesn’t pool inside the shoe.
Cleaning Rubber Clogs or Boots
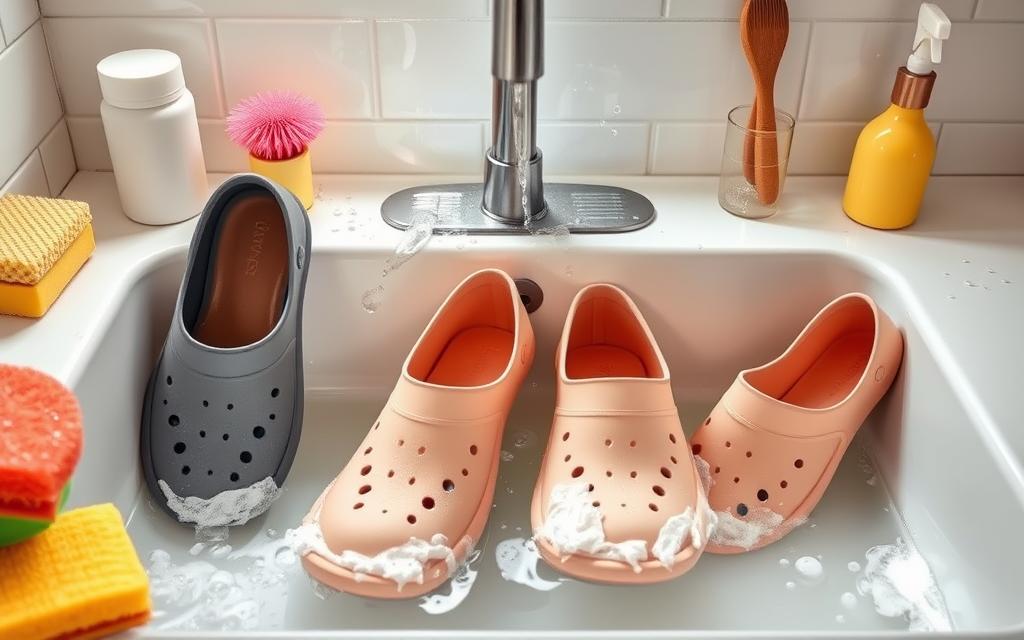
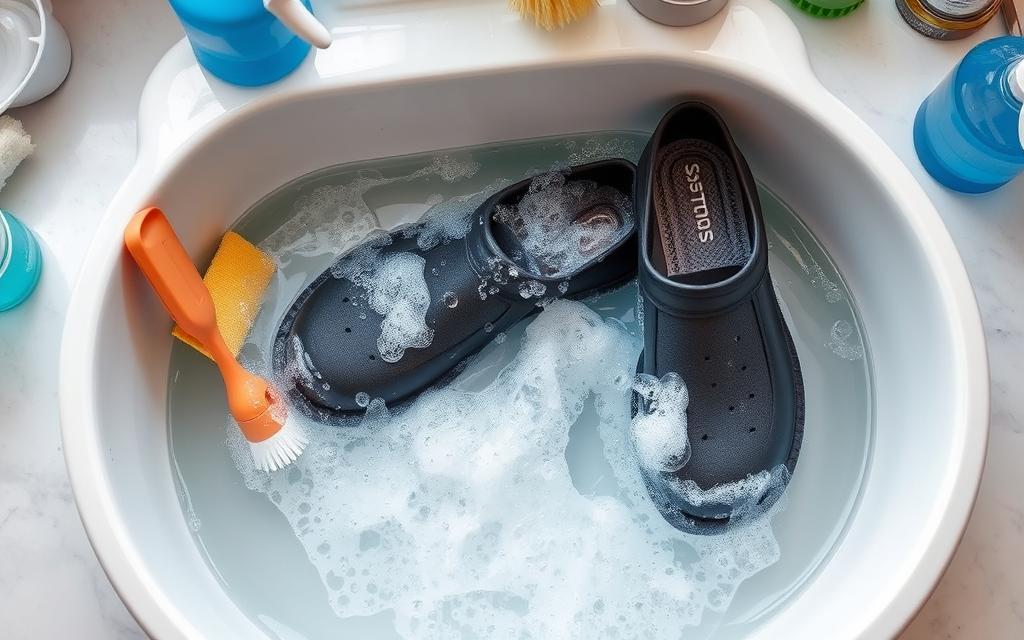
For rubber shoes, like clogs or boots, soak them in soapy water if they’re heavily soiled. Use a soft-bristled brush to scrub the treads and sides, since that’s where grease collects. Rinse well and let them dry completely before wearing them again.
Don’t wash non-slip shoes in a washing machine. The tumbling and heat can warp the rubber sole and loosen the glue that holds the tread in place. To cut down on daily buildup, use a grip mat at entrances so dirt and grease get scraped off before you’re even back on the line.
Following these steps regularly is one of the simplest ways to protect the slip-resistant properties of your shoes and stretch their lifespan, in exchange for a few minutes a shift.
| Cleaning Method | Recommended Cleaning Technique |
|---|---|
| Leather Shoes | Use a damp cloth or shoe wipes to clean the upper, avoid submerging in water. Apply a small amount of shoe polish to condition the leather. |
| Canvas/Mesh Shoes | Create a mild cleaning solution with dish soap and cold water. Gently scrub the shoes with a soft-bristled brush or cloth, then rinse thoroughly. |
| Rubber Clogs/Boots | Soak in soapy water if heavily soiled, then scrub gently with a soft-bristled brush. Rinse and allow to air-dry completely. |
Soap and Water Cleaning Method
The soap and water method covers most day-to-day grime. It’s easy, cheap, and effective when you follow the right steps.
Proper Dilution Ratios
Mix a few drops of mild dish detergent with cold water in a bucket or sink. This creates a light, sudsy solution that cleans without stripping the sole’s texture. Avoid harsh chemicals or bleach, since they can break down the rubber and reduce slip resistance over time.
Scrubbing Techniques
Scrub your shoes with small circular motions to lift stains and grime rather than just pushing them around. For leather, apply polish with a brush or cloth, then buff to a shine. For canvas or mesh, use a damp toothbrush to gently work into the fabric weave.
Rinsing Procedures
Rinse your shoes well with a clean, damp cloth to remove every trace of soap. Leftover soap residue can leave streaks or attract more dirt later. Let them air dry in a cool, well-ventilated spot, away from direct heat or sunlight.
Used consistently, this method keeps your non-slip kitchen shoes in top condition, since clean shoes simply last longer than neglected ones.
Deep Cleaning Stubborn Stains and Grease
Regular soap and water cleaning handles most everyday dirt, but tough stains and baked-on grease need something stronger.
Use the Shoe MGK Cleaner and Conditioner mentioned earlier, applied directly to the stain and worked in with a soft brush. Heavy oil or grease may need a dedicated degreaser. Always test a new cleaner on a small, hidden area first to check for discoloration.
For suede or nubuck shoes, use a suede brush and cleaner made for that material, which lifts stains without crushing the nap the way a standard cleaner would.
Saphir, a French shoe care brand founded in 1920, is one of the most respected names in the industry for leather cleaning and conditioning products. Its techniques translate well to work shoes that see heavy daily wear.
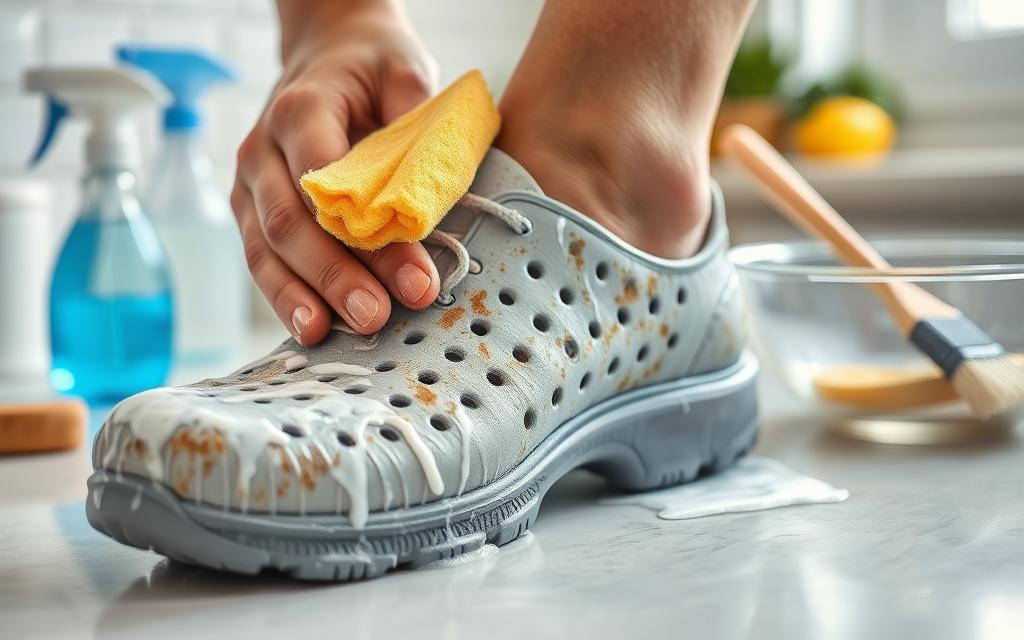
Preventing stains and grease from setting in the first place is the real key. Regular cleaning keeps your shoes in better shape than any deep clean can undo on its own.
Proper Drying Techniques and Storage
Getting your non-slip kitchen shoes to last also comes down to drying and storage. After cleaning, air dry them somewhere with good airflow, away from direct heat or sunlight, which can shrink or warp the materials.
Air Drying Best Practices
To help your shoes dry evenly, stuff them with crumpled paper towels or newspaper. This soaks up extra moisture and helps the shoe hold its shape while drying. For leather or delicate shoes, use shoe trees to support the material as it dries.
Shape Maintenance During Drying
Never put your kitchen shoes in a dryer or near a direct heat source, since it can warp or crack the slip-resistant sole. Once they’re dry, store them in a cool, dry spot away from sunlight. This helps prevent color changes or material damage over time.
Get the drying and storage right, and your shoes stay effective and professional-looking for longer.
Maintaining Non-Slip Sole Effectiveness
To keep the soles gripping well, follow these steps:
- Regularly clean the soles with a sturdy brush to remove dirt, debris, or grease. This keeps the non-slip tread pattern working the way it’s designed to.
- Use a grip mat at workplace entrances to pull grime and contaminants off the soles before you step onto the kitchen floor. This simple habit goes a long way toward sole maintenance and grip preservation.
- Avoid exposing your non-slip shoes to extreme heat, since it can soften or warp the rubber compound in the soles. Keep them away from open flames, hot stovetops, and other high-heat cooking surfaces whenever you can.
- Check the soles regularly for wear and tear. If the non-slip tread is badly worn smooth, it’s time for new shoes to protect your safety and traction in the kitchen.
A little sole maintenance and grip preservation go a long way, and it costs far less than replacing shoes early.
When to Replace Your Kitchen Safety Shoes
Knowing when to retire a pair and shop for a new one matters just as much as knowing how to clean them.
Signs of Wear and Tear
Watch for smooth, shiny spots on the soles, which mean the tread has worn down and is losing grip. Check the upper for holes or tears, and see if the sole is starting to separate from the shoe. If they’re no longer slip-resistant or comfortable, it’s time for new ones.
Replacement Timeline Guidelines
Replace your kitchen safety shoes every 6 months to 1 year, depending on how often you wear them and how demanding your kitchen environment is.
| Replacement Timeline | Factors to Consider |
|---|---|
| Every 6 months | – Intensive daily use – Exposure to grease, water, or harsh chemicals – Frequent standing on hard kitchen floors |
| Every 12 months | – Moderate weekly use – Exposure to mild kitchen conditions – Occasional standing on soft kitchen mats |
Staying on top of replacement timing keeps your work area safer and more comfortable. When it’s time to shop, our non-slip kitchen shoes reviews and buyer’s guide can help you compare current options.
Professional Care Tips for Extended Shoe Life
Try rotating between two pairs of shoes if your schedule allows it. This lets each pair fully dry and recover between shifts, which helps them last longer and protects your budget.
Before wearing a new pair, consider a waterproofing spray to protect against moisture and stains from day one. Use a shoe horn too, rather than forcing your foot in, since that damages the heel counter.
When you travel with your shoes or store a backup pair, use a shoe bag rather than tossing them loose in a bag, especially for suede, which needs regular brushing and waterproofing. For a deeper rundown, see our guide on how to make kitchen shoes last longer.
Conclusion
Knowing how to clean non-slip kitchen shoes properly is a small routine that protects a big investment: your safety on the job. A quick brush after every shift, a soap-and-water wash each week, and prompt attention to grease and stains will keep your tread gripping the way it’s meant to. Do that consistently, and most pairs will comfortably reach the full 6-to-12-month replacement window instead of wearing out early.
Clean shoes aren’t just about looking professional, though that matters too. They’re about staying steady on a floor that’s working against you all day. Build these habits in, watch for the wear signs above, and your shoes will keep doing their job long after a neglected pair would have let you down.

Hey, My name is MAMON. I am a SEO content creator and affiliate marketer with over 8 years of experience. I create honest product reviews, in-depth buying guides, and practical how-to articles to help readers make informed decisions. My mission is to provide trustworthy, research-backed content that delivers real value.
Leave a Reply