Key Takeaways
- A loose kitchen faucet handle is almost always a loose set screw, not a failing faucet.
- Most handles tighten in under 15 minutes with just an Allen wrench and a small screwdriver.
- Traditional two-handle faucets and single-lever faucets hide the screw differently, so identifying your handle type first saves time.
- If the screw is stripped or the handle loosens again within days, the valve stem or cartridge is the more likely cause.
Introduction
A wiggly faucet handle is a small problem that gets annoying fast, especially when it starts affecting how well you can control water temperature or flow. The good news: tightening a kitchen faucet handle is one of the simplest plumbing fixes in the house, and in most US kitchens it takes a single small tool and about 15 minutes.
This guide walks through how to tighten handle on kitchen faucet for both traditional two-handle setups and modern single-lever faucets, what actually causes the looseness in the first place, and when a wiggly handle is a sign of something bigger than a loose screw.
Common Problems That Lead to a Loose Handle
Kitchen faucets deal with daily wear that eventually shows up as one of a few recurring issues:
- Installation shortcuts. A faucet assembled without the manufacturer’s exact steps, or with the wrong tool, is more likely to loosen early.
- General wear and tear. Frequent use gradually works screws and O-rings loose, and a dull or peeling finish is often an early sign.
- Leaks. A loose handle and a leak often show up together, since both usually trace back to worn internal parts.
- Reduced water pressure. Not directly related to a loose handle, but mineral buildup from hard water can accompany the same maintenance neglect that leads to a wobbly handle.
The handle itself is the part most exposed to all of the above, since it’s what your hand touches every time you use the sink.
Causes of a Loose Kitchen Faucet Handle
- Worn O-ring. The O-ring helps hold the handle in position; once it wears down or compresses, play develops even if nothing else has changed.
- Loose set screw. The small screw that anchors the handle to the valve stem backs out gradually with regular use, especially on faucets used multiple times a day.
- Poor installation. Wrong-sized tools or a skipped step during setup leaves less margin before the handle loosens, sometimes within the first few months.
- Loose faucet base. Since the handle sits on the faucet body, a loose base can make the handle feel unstable even if the set screw itself is fine.
Identifying Your Faucet’s Handle Type
Before you reach for a tool, it helps to know which style you’re working with, since that determines where the set screw is hiding:
- Traditional two-handle faucets (separate hot and cold handles) usually have a visible screw on top, or one hidden under a small “H” or “C” cap.
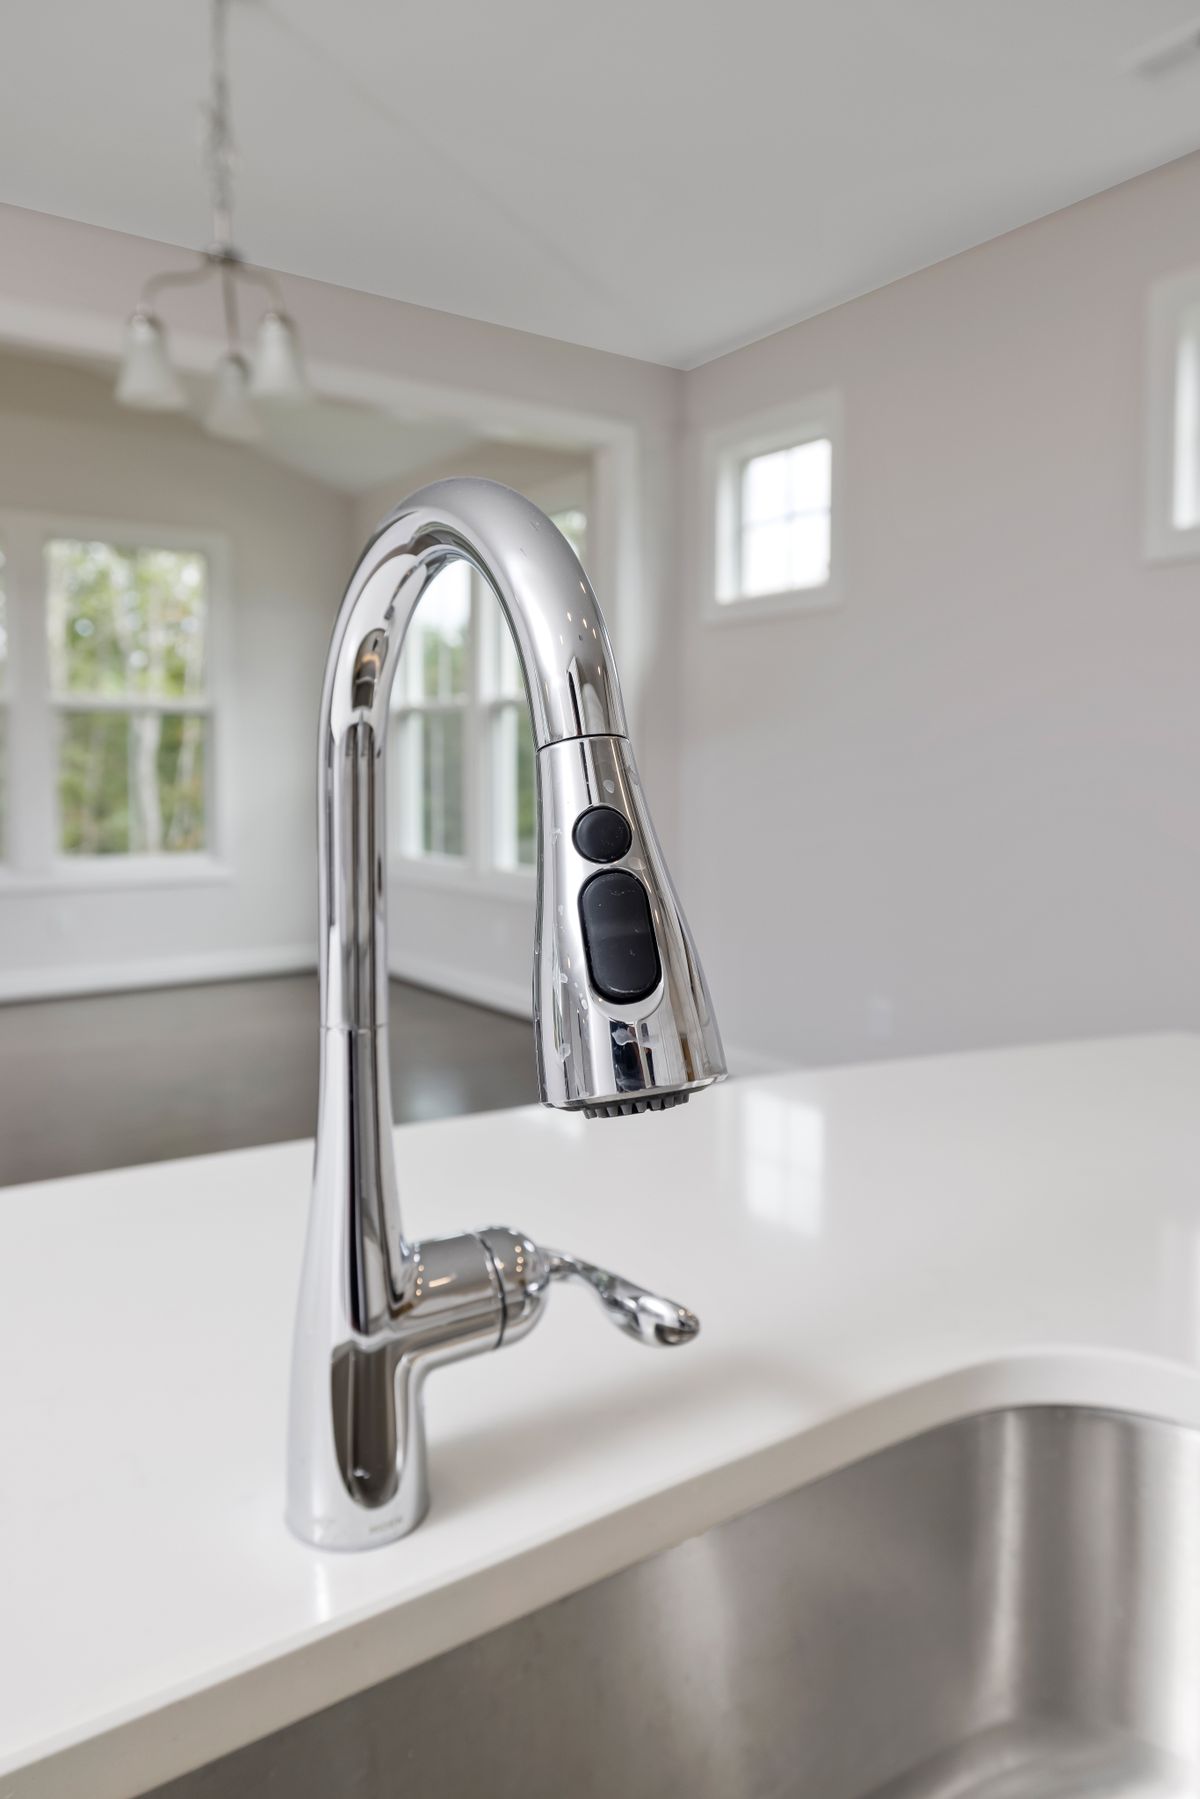
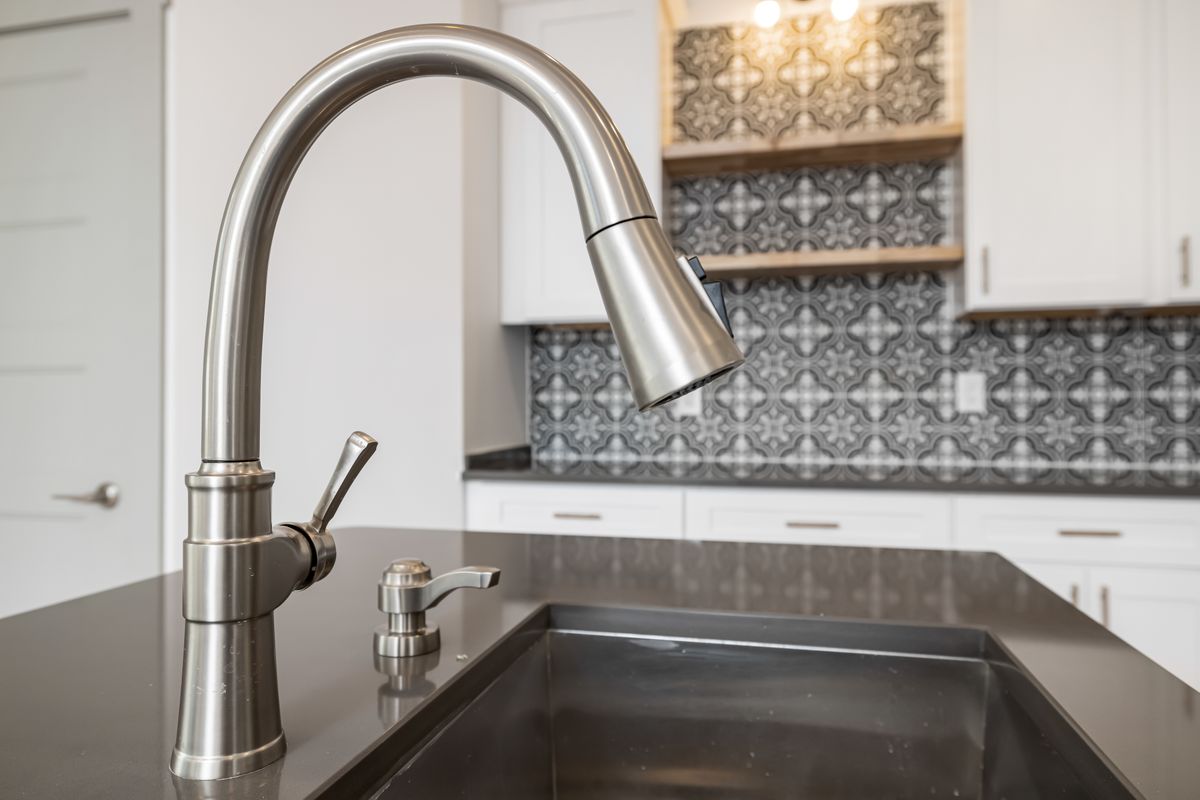
- Single-lever faucets control temperature and flow with one handle and hide the set screw underneath or on the underside of the lever, often behind a plastic plug or decorative button.
- Pull-down and pull-out faucets use the same single-lever set screw system for the handle itself, though a wobbly spray head is a separate issue involving the hose dock rather than the handle screw.
Most US kitchens built or remodeled in the last two decades use single-lever faucets, so if you’re not sure which type you have, that’s the more likely starting point.
Tools You’ll Need
- Allen wrench (hex key) set — common sizes are 1/8″, 3/32″, and 7/64″
- Small flathead screwdriver or a mini knife (for prying off caps)
- Adjustable wrench or basin wrench (only needed if the base is also loose)
- Flashlight
- Work gloves
- Teflon (plumber’s) tape
- Masking tape (to organize small parts)
Most single-lever kitchen faucets use a 1/8″ or 3/32″ hex key for the set screw. If you’re not sure of the size, a small hex key set covers nearly every US residential faucet for under $10.
Before You Start: Prep Steps
- Clear the sink. Clean off the counter and clear the cabinet underneath so you have room to work.
- Identify the source of movement. Confirm the wiggle is coming from the handle itself and not the faucet base (see the linked guide above if it’s the base).
- Turn off the water supply. Locate the shutoff valves under the sink and close them fully.
- Open the faucet. This confirms the water is off and relieves pressure in the lines before you start disassembly.
- Plug the drain. Small screws and caps can easily fall into an open drain while you work.
How to Tighten a Traditional Two-Handle Faucet
Older or classic-style faucets typically expose the screw directly, or hide it under a simple decorative cap:
- Inspect the top of the handle for a visible screw. If you see one, hold the handle steady and tighten it clockwise with a screwdriver.
- If there’s no visible screw, look for a decorative cap and gently pry it off with a mini knife or flathead screwdriver.
- With the cap removed, tighten the screw underneath, holding the handle in place so it doesn’t shift as you turn.
- Reseat the cap firmly, then test the handle’s movement by hand before turning the water back on.
How to Tighten a Single-Lever or Decorative Handle
Modern single-lever kitchen faucets conceal the set screw inside or underneath the handle body:
- Locate the cap and set screw hole. Look for a small hole on the underside or back of the handle, sometimes covered by a plug or decorative button.
- Remove the cap. Use the flathead screwdriver or mini knife to gently pop it off without scratching the finish.
- Fit the Allen wrench into the set screw. Confirm you feel solid contact with the hex head before turning; on some faucets you have to feel for it rather than see it directly.
- Turn clockwise to tighten. Twist gradually until you feel resistance. Stop there. Overtightening can strip the screw or make the handle difficult to operate.
- Test the handle. Move it through its full range to confirm it’s stable and operates smoothly.
- Replace the cap and turn the water supply back on to confirm there are no leaks.
If your faucet is a Moen, Delta, or similar major US brand, the set screw size and cap style vary by model, so keep a small hex key set on hand rather than assuming one size fits all. Family Handyman’s guide to fixing loose faucet handles has additional photos of common cap and set-screw placements if yours doesn’t match the description above.
Watch: How to Tighten a Loose Faucet Handle
If you’d like to see the set-screw process in action before working under your own sink, this step-by-step walkthrough covers the same basic technique:
If Tightening the Screw Doesn’t Fix It
Sometimes the set screw is tight but the handle still feels loose. A few likely causes, and what typically fixes each:
- Stripped screw head. Repeated over-tightening can round out the hex socket, making it spin without grabbing. A screw extractor kit or a replacement screw ordered from the manufacturer usually solves this, and many brands will ship a free replacement if you contact support with the model number.
- Worn valve stem. Plastic stems wear down over years of use, leaving the set screw with nothing solid to bite into. Wrapping the stem with plumber’s (Teflon) tape before reattaching the handle can add a few more years of life without a full cartridge replacement.
- Worn cartridge. If the handle wiggles at the base of the stem itself rather than at the screw, the internal cartridge may need replacing. This is a more involved repair that typically requires shutting off the water, removing the handle fully, and swapping the cartridge, so it’s worth referencing your faucet’s model-specific instructions before starting.
- Missing washer or bushing. Some handle assemblies use a small plastic washer or bushing between the handle and the base. If this part is missing or cracked, the handle can feel loose even with a fully tightened screw.

When to Call a Licensed Plumber Instead
Most handle-tightening jobs are well within reach for a confident DIYer, but call a plumber if:
- The set screw is stripped and won’t grip a replacement.
- The handle keeps loosening again within days despite proper tightening.
- You notice a leak at the base of the handle that persists after tightening.
- The shutoff valves under the sink won’t close fully, which needs to be resolved before any handle work.
According to This Old House’s faucet repair guide, most straightforward handle and cartridge repairs are designed to be manageable DIY projects, but persistent leaks after a repair usually point to a part that needs professional diagnosis rather than another round of tightening.
Preventing a Loose Handle Going Forward
- Check the set screw for play every 6–12 months as part of routine kitchen maintenance.
- Avoid using the handle as a leverage point, such as pulling yourself up on the sink edge.
- Apply a small amount of plumber’s tape or thread sealant to the set screw threads when you reinstall it, to help it hold longer.
- If you’re installing a new faucet, hand-tighten first, then finish with the correct hex key to the snug point rather than skipping it.
Frequently Asked Questions
What size Allen wrench do I need to tighten a kitchen faucet handle?
It depends on the brand and model, but 1/8″ and 3/32″ are the most common sizes on US single-lever kitchen faucets. A small multi-size hex key set covers most cases.
Why does my faucet handle keep coming loose after I tighten it?
Repeated movement gradually backs the set screw out again, or the screw threads or valve stem have worn down. If it loosens repeatedly within days, the stem or cartridge is the more likely cause.
Can I tighten a faucet handle without turning off the water?
It’s not required for the handle screw itself in most cases, but it’s still good practice, especially if you’ll be prying off caps near the base where water could be present.
Is a loose faucet handle a sign I need a new faucet?
Not usually. Most loose handles are a quick set-screw fix. A full replacement only makes sense if the cartridge, stem, or mounting hardware is worn beyond repair.
Does the process differ for touch or touchless kitchen faucets?
The handle-tightening procedure is largely the same across faucet types, including touch-activated faucets, since the physical handle assembly works independently of the touch sensor.
Final Thoughts
Calling a plumber to tighten a handle is rarely necessary since it’s one of the simplest repairs in the kitchen. Identify whether your faucet uses a traditional handle screw or a hidden single-lever set screw, gather a small hex key set, and expect to spend well under 30 minutes on the fix. If the handle keeps loosening despite proper tightening, that’s your signal to look at the valve stem or cartridge rather than reaching for the wrench again.
Related reading: How to Replace a Kitchen Faucet Sprayer Hose · Best Kitchen Sink Reviews and Buyer’s Guide

Hey, My name is MAMON. I am a SEO content creator and affiliate marketer with over 8 years of experience. I create honest product reviews, in-depth buying guides, and practical how-to articles to help readers make informed decisions. My mission is to provide trustworthy, research-backed content that delivers real value.
Leave a Reply