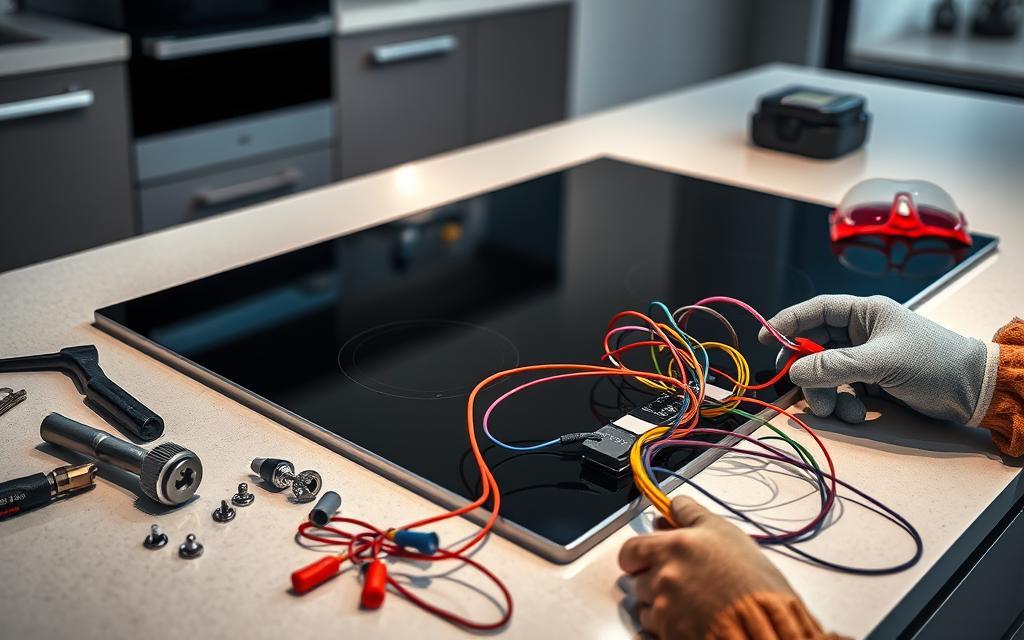
Learning how to install an electric cooktop can transform your kitchen for the better. It’s one of the more approachable appliance upgrades for a U.S. homeowner, but it still calls for careful planning and attention to detail, especially around the electrical connections. Electric cooktops give you precise, consistent temperature control, and according to Angi’s 2026 cost data, a standard cooktop installation typically runs $400 to $800, with electric models specifically landing around $350 to $900 depending on size and how much wiring work is involved.
In short, installing an electric cooktop is more than just setting it into a countertop cutout. You need the electrical connections right, including a dedicated circuit and correct voltage, for both safety and performance. This guide walks through exactly how to install an electric cooktop, from planning through the final safety check.
Key Takeaways
- Electric cooktop installation requires careful planning and precision.
- Proper electrical connections are crucial for safety and performance.
- Dedicated 240-volt circuits are typically required, with a 4-wire connection for new construction.
- Professional installation helps prevent potential electrical issues.
- Understanding local building codes is essential before you start.
Pre-Installation Planning: How to Install an Electric Cooktop the Right Way
Getting ready to install an electric cooktop takes careful planning, and knowing what you need helps you avoid the most common installation problems.
First, know your electric cooktop’s exact dimensions, since that’s crucial for fitting it into your kitchen’s countertop cutout. Next, confirm your kitchen’s electrical setup can support the appliance, since this matters just as much.
Required Tools and Materials for Cooktop Installation
Before you begin, gather these tools and materials so you’re not stopping mid-project:
- Measuring tape
- Electric drill
- Screwdriver set
- Level
- Electrical circuit tester
- Safety gloves
- Protective eyewear
Safety Precautions and Guidelines
When installing an electric cooktop, safety comes first. Because electrical work carries real risk, take these precautions seriously:
- Turn off power at the circuit breaker before doing anything else
- Check the electrical circuit specs against your cooktop’s requirements
- Wear the right safety gear, including gloves and eye protection
- Follow your local building codes and pull a permit if one is required
- Consider hiring a professional if you’re not fully confident in the wiring work
Overall, good preparation prevents most installation problems. If any part of the electrical work feels outside your comfort zone, our guide on what to look for when hiring an electrician can help you find someone qualified for the job.
Measuring and Space Requirements Before You Install
Getting your measurements right is key for a proper electric cooktop installation. However, if your kitchen has limited counter space, a portable electric stove top may be a better fit than a built-in unit.
| Cooktop Type | Typical Width | Recommended Clearance |
|---|---|---|
| Standard Electric | 30 inches | 30 inches above, 1 foot on sides |
| Wide Electric | 36 inches | 36 inches above, 1-2 feet on sides |
| Portable Electric | 24 inches | Flexible placement |
Also, don’t forget to subtract about ½ to 1 inch from each side for the cooktop’s lip when sizing your cutout. As a result, you’ll get a proper fit and a clean, professional look once everything is installed.
Electric Cooktop Types to Consider Before You Install
Choosing the best electric cooktop means weighing a few technologies against your cooking habits and budget.
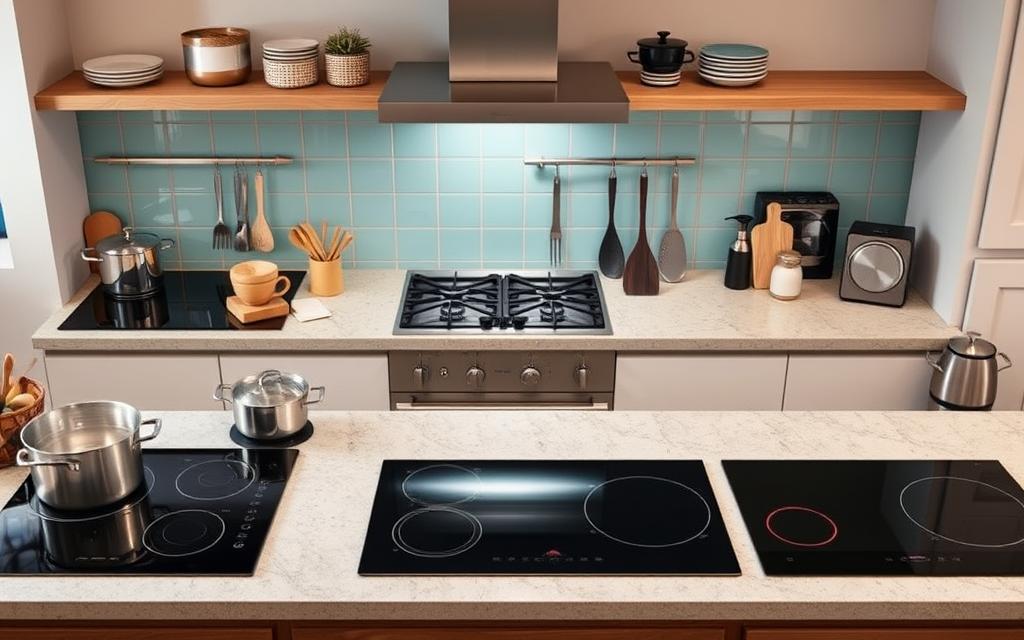
Today’s electric cooktops offer a range of options that mix technology with everyday practicality. Ultimately, your choice depends on cooking style, kitchen design, and personal preference.
Radiant Electric Cooktops
Radiant electric cooktops have smooth glass surfaces with heating elements underneath. Specifically, they offer:
- Flat, easy-to-clean surface
- Consistent heat distribution
- Sleek, modern appearance
- Affordable pricing range
Induction Cooktops
Induction cooktops represent the newest electric cooktop technology. Because they use magnetic heating, they deliver:
- Faster cooking times
- Precise temperature control
- Energy-efficient performance
- Cool-to-touch surface
In fact, induction models heat the cookware directly through the glass surface, so the surrounding cooktop stays cool to the touch while you cook. Once yours is installed, our guide on keeping an induction cooktop clean covers the everyday care that keeps it looking new.
Smooth-Top Electric Cooktops
Smooth-top electric cooktops blend a clean look with solid cooking performance, and they remain one of the most popular choices for U.S. kitchens.
- Seamless glass surface
- Multiple burner configurations
- Easy maintenance
- Contemporary design
If you want a closer look at specific models, our smooth-top electric cooktop reviews and buyer’s guide compares several popular options. Ultimately, choosing the right electric cooktop depends on your cooking needs, kitchen layout, and budget.
How to Install Electric Cooktop: Step-by-Step
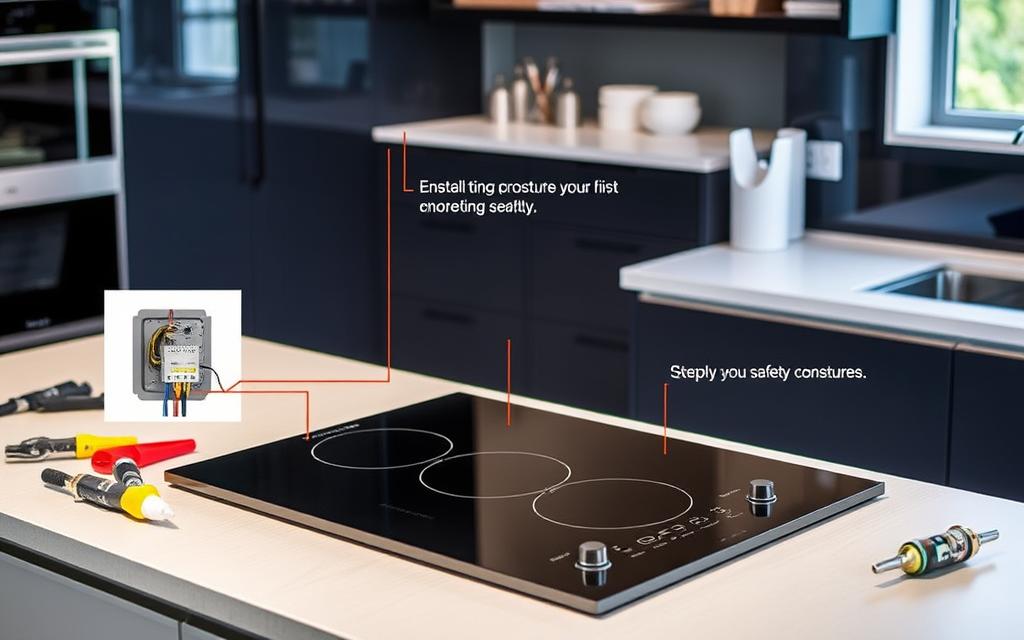
Installing an electric cooktop needs careful planning and precision. Knowing how to install an electric cooktop starts with understanding the key steps that keep the process safe. Before starting, gather your tools and review the manufacturer’s installation instructions, since exact steps vary by model.
Here’s a general step-by-step guide for installing an electric cooktop in your kitchen:
- Shut Off Power: Always disconnect electricity at the circuit breaker to prevent electrical hazards
- Verify Countertop Cutout: Measure the existing cutout to match your new cooktop’s dimensions precisely
- Prepare Installation Area: Clean the countertop surface thoroughly
- Position Cooktop: Carefully lower the appliance into the prepared cutout
- Connect Electrical Wiring: Match wire colors and secure connections with wire nuts
- Secure Mounting: Use the provided brackets to fasten the cooktop to the countertop
Final Checks Before You Finish
Keep the manufacturer’s minimum clearances in mind, commonly around 2 inches from combustible materials near the cutout; check your model’s manual for the exact figure. Also verify your electrical circuit meets the amperage requirements on your cooktop’s nameplate before you connect anything.
Pro tip: Apply RTV sealant around the cooktop’s edges for a waterproof seal. Because the sealant needs about 24 hours to cure, avoid using the cooktop during that time.
While many homeowners can complete this installation themselves, don’t hesitate to consult a licensed electrician if you run into complex wiring or aren’t sure about any step in the process. After all, a miswired 240-volt circuit is a genuine fire and shock hazard, not just an inconvenience.
Electrical Requirements for Installing an Electric Cooktop
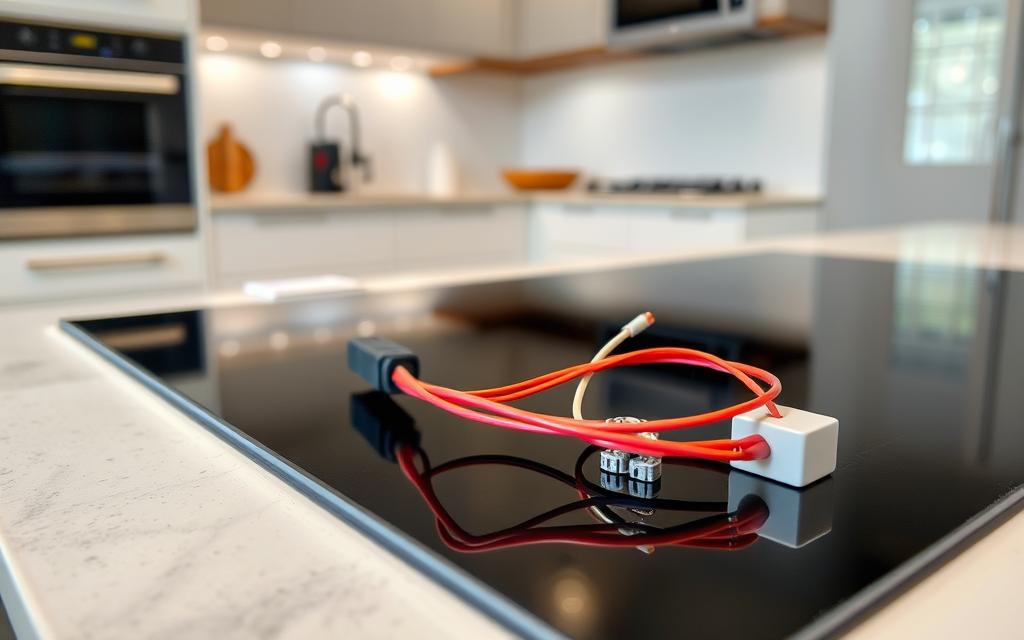
Installing an electric cooktop requires careful electrical work. Therefore, understanding the electrical requirements ahead of time is key to a smooth installation.
Power Supply Specifications
Electric cooktops need a specific power supply for best performance and safety. Generally, most require a dedicated 240-volt circuit at a particular amperage.
- Typical circuit breaker rating: 40 to 50 amps, depending on the cooktop’s wattage
- Wire gauge: commonly #6 copper for a 50-amp circuit, per standard wire-sizing tables
- Voltage requirement: 120/240-volt circuit
Always confirm the exact breaker size and wire gauge against your cooktop’s nameplate rating, since requirements shift with wattage.
Circuit and Voltage Requirements
Your electrical setup for an electric cooktop installation must meet NEC standards. Since 1996, new electric cooktop and range circuits have required a 4-wire connection rather than the older 3-wire setup, according to GE Appliances’ guidance on NEC requirements for 240/208-volt products. Still, existing 3-wire circuits in older homes may be used for like-for-like replacements, but new circuits require the 4-wire setup.
| Circuit Type | Wire Configuration | Typical Use |
|---|---|---|
| Standard Range Circuit | 4-wire (2 hot, 1 neutral, 1 ground) | Full-size electric cooktops, new construction |
| Lower-Wattage Circuit | 40-amp breaker, 4-wire | Smaller cooktops or ranges under 12,000 watts |
Proper Grounding Techniques
Proper grounding isn’t optional. In fact, it’s a critical safety requirement for any electric cooktop installation: a dedicated ground wire, separate from the neutral, keeps a fault in the appliance from energizing its metal frame, which is why the NEC moved to the 4-wire standard.
Here are the basic steps to follow for grounding:
- Use green or green-striped insulation for ground wires
- Make sure the equipment grounding conductor is clearly identifiable
- Follow NEC guidelines for any wire re-identification
While you can attempt the grounding and wiring yourself if you’re comfortable with electrical work, hiring a licensed electrician is generally safer for anything beyond a simple like-for-like swap.
Ventilation and Countertop Considerations for Electric Cooktop Installation
When you install an electric cooktop, ventilation and countertop choice both affect how well the setup performs and how it looks in your kitchen. Since every electric cooktop brand has its own recommendations for clearance and airflow, check your manual before finalizing your layout.
Good ventilation keeps your kitchen air clean and helps clear heat and cooking odors. Meanwhile, your cooking style and the size of your electric cooktop should guide your choice of ventilation system. Common options include:
- Range hoods
- Downdraft ventilation systems
- Under-cabinet exhaust fans
- Ceiling-mounted ventilation units
If you’re not sure whether your current setup is adequate, our guide on whether your kitchen vent is enough or you need a range hood walks through how to tell.
Likewise, choosing the right countertop material matters just as much for a lasting installation. Consider:
- Heat resistance
- Durability
- Aesthetic compatibility
- Maintenance requirements
Different electric cooktop brands recommend specific countertop materials to make sure the cooktop performs well and lasts. Here’s a general comparison:
| Countertop Material | Heat Resistance | Maintenance Level |
|---|---|---|
| Granite | High | Medium |
| Quartz | Medium-High | Low |
| Ceramic | High | High |
Before you cut anything, double-check your cutout measurements against your cooktop’s paper template. After all, a mismeasured cutout is one of the most common, and most avoidable, installation mistakes. Following the manufacturer’s template closely helps you avoid redoing work later.
Conclusion: How to Install an Electric Cooktop the Right Way
Installing an electric cooktop takes careful planning and attention to detail, but overall, it’s a manageable project for most U.S. homeowners who take the prep work seriously. According to Angi’s 2026 cost data, a full cooktop installation typically runs $400 to $800, with electric models landing around $350 to $900 depending on size and wiring, so you can budget accordingly.
Above all, safety is the priority throughout the process. Since DIY electrical work always carries some risk, follow the manufacturer’s instructions closely, confirm your circuit meets code, and don’t skip the grounding step. Whether you choose a radiant, induction, or smooth-top cooktop, correct installation is what keeps it working safely for years.
If you’re not fully comfortable with the electrical portion of the job, hiring a licensed electrician is worth the cost. Finally, understanding your cooktop’s requirements and following your local codes will get you a safe, efficient cooking space that lasts for years. Now that you know how to install an electric cooktop from start to finish, the rest comes down to careful, methodical work.
FAQs: How to Install an Electric Cooktop
Q1: What tools do I need to install an electric cooktop?
A: You’ll need a screwdriver, wire stripper, and a voltage tester. A measuring tape, level, and electrical tape are also important. Also, don’t forget an adjustable wrench, sealant, and protective gloves, and check your manual for model-specific tools.
Q2: How do I know if my kitchen’s electrical system can support an electric cooktop?
A: Check your home’s electrical panel for a dedicated 240-volt circuit rated at 40 to 50 amps, matching your cooktop’s nameplate. If unsure, have a licensed electrician check your system first.
Q3: What are the standard dimensions for electric cooktops?
A: Electric cooktops usually come in 20, 24, 30, or 36-inch widths. So, measure your countertop cutout carefully and compare it against the cooktop model’s template to make sure it fits.
Q4: Are induction cooktops more expensive than traditional electric cooktops?
A: Yes, induction cooktops generally cost more upfront because of the technology involved. In exchange, they cook faster, use energy more efficiently, and keep the surface cooler to the touch.
Q5: Can I install an electric cooktop myself, or should I hire a professional?
A: If you’re comfortable with DIY work, you may be able to install it yourself, especially for a like-for-like swap. Otherwise, it’s safer to hire a licensed electrician if you’re unsure about the wiring, or if local codes require a permit.
Q6: What safety precautions should I take during electric cooktop installation?
A: First, always turn off the power at the breaker, then use a voltage tester to confirm it’s actually off. Also, wear gloves and eye protection, follow the manufacturer’s instructions carefully, and make sure the electrical connections are properly grounded.
Q7: How do I choose between a radiant, induction, or smooth-top electric cooktop?
A: Think about what you cook most, your budget, and your kitchen’s style. Radiant cooktops are the most affordable, induction offers precise control, and smooth-top models are easy to clean.
Q8: What electrical requirements are needed for a typical electric cooktop?
A: Most electric cooktops need a dedicated 240-volt circuit with a 40 to 50 amp breaker, used only for the cooktop. So, check your panel’s capacity and your cooktop’s nameplate rating, and get professional help if you’re unsure.
Q9: How do I properly measure my countertop for an electric cooktop installation?
A: Measure the width, depth, and cutout size carefully, and leave the clearance the manufacturer recommends around the cooktop. Always check the installation guide for your specific model’s exact requirements.
Q10: What maintenance is required after installing an electric cooktop?
A: Clean it regularly with products made for your cooktop’s surface, avoid harsh abrasive cleaners, and check the electrical connections periodically. Overall, keeping the surface clean and free of debris helps your cooktop keep working well for years.

Hey, My name is MAMON. I am a SEO content creator and affiliate marketer with over 8 years of experience. I create honest product reviews, in-depth buying guides, and practical how-to articles to help readers make informed decisions. My mission is to provide trustworthy, research-backed content that delivers real value.
Leave a Reply