
A leaking or corroded drain pipe is one of the more common reasons a kitchen sink needs attention. It’s also one of the more approachable plumbing jobs to handle yourself. Knowing how to install a kitchen sink drain pipe comes down to a handful of connections: the strainer, the tailpiece, the trap arm, and the P-trap. All of them join with slip nuts and washers rather than glue or solder. Most kitchen drain assemblies use PVC or ABS plastic, so no soldering or specialty tools are required.
This guide walks through the full process, from shutting off the water to testing for leaks. It also covers the mistakes that cause most DIY drain installs to fail.
Key Takeaways
- Kitchen sink drains connect with slip nuts and washers, not glue. The whole assembly can be hand- and plier-tightened.
- Plumbing code requires at least 1/4 inch of downward slope per foot on horizontal drain runs, per the International Plumbing Code.
- Never use Teflon tape on plastic slip-nut threads. It’s meant for metal pipe threads and can actually cause plastic fittings to crack or leak.
- Double-bowl sinks and sinks with a garbage disposal need an extra tee fitting. It combines both drain lines before the trap.
Tools and Materials You’ll Need for a Kitchen Sink Drain Pipe
Before you start learning how to install a kitchen sink drain pipe hands-on, gather everything below so you’re not making a mid-project trip to the hardware store with wet hands.
- New P-trap kit (trap arm and trap bend), tailpiece, and slip nuts with washers
- Basket strainer, plus plumber’s putty or silicone sealant to seat it
- Channel-type pliers
- A hacksaw or tubing cutter, for trimming pipes to length
- A bucket, to catch standing water from the old trap
- Tee fitting, if you have a double-bowl sink or a garbage disposal to tie in
How to Install a Kitchen Sink Drain Pipe: Step-by-Step
Step 1: Shut Off the Water and Clear the Space
Locate the shutoff valves under the sink and turn off both hot and cold supply lines. Place a bucket underneath the drain area to catch any standing water in the old trap. Clear out anything stored under the sink so you have room to work.
Step 2: Remove the Old Drain Assembly
If you’re replacing an existing setup, loosen the slip nuts by hand or with pliers. Pull the old tailpiece, trap arm, and trap bend free. Set the old parts aside. Even PVC drain lines can hold onto years of grime, so keep the bucket in place until everything is disconnected.
Step 3: Install the Basket Strainer
Apply a rope of plumber’s putty around the underside of the strainer’s flange. Press it into the sink’s drain opening. From below, add the rubber gasket, friction ring, and locknut. Tighten the locknut until the strainer sits snug and the putty squeezes out evenly, then wipe away the excess from the rim.
Step 4: Connect the Tailpiece
Slide a slip washer into the flared end of the tailpiece with the beveled side facing the threads. Screw the slip nut onto the base of the strainer. If the tailpiece is longer than the space allows, cut it to length first, leaving enough room to connect the trap arm below it.
Step 5: Add a Tee Fitting for a Double Bowl or Disposal
If you have two basins or a garbage disposal, both drain lines need to join before reaching the trap. Connect a continuous waste tee fitting between the two tailpieces, or between the disposal’s discharge tube and the second tailpiece. Use slip nuts and washers on each side, and cut the connecting pipe to length so everything lines up without strain on the joints.
Step 6: Install the Trap Arm and P-Trap
Connect the trap arm to the drain stub-out coming from the wall, using a slip nut and washer with the beveled side toward the threads. Attach the curved trap bend to the bottom of the trap arm and to the tailpiece. Trim either piece with a hacksaw if it’s too long. Hand-tighten every slip nut first, then give each one a quarter turn with pliers. Overtightening is the most common way people crack plastic fittings on this job.
Step 7: Test for Leaks
Turn the water supply back on and run the faucet while watching every joint underneath. Fill the basin partway and let it drain in one full flush. A slow trickle won’t reveal a leak the way a full drain will. If you spot a drip, snug the nearest slip nut another quarter turn. If that doesn’t fix it, back the nut off, reseat the washer, and retighten.
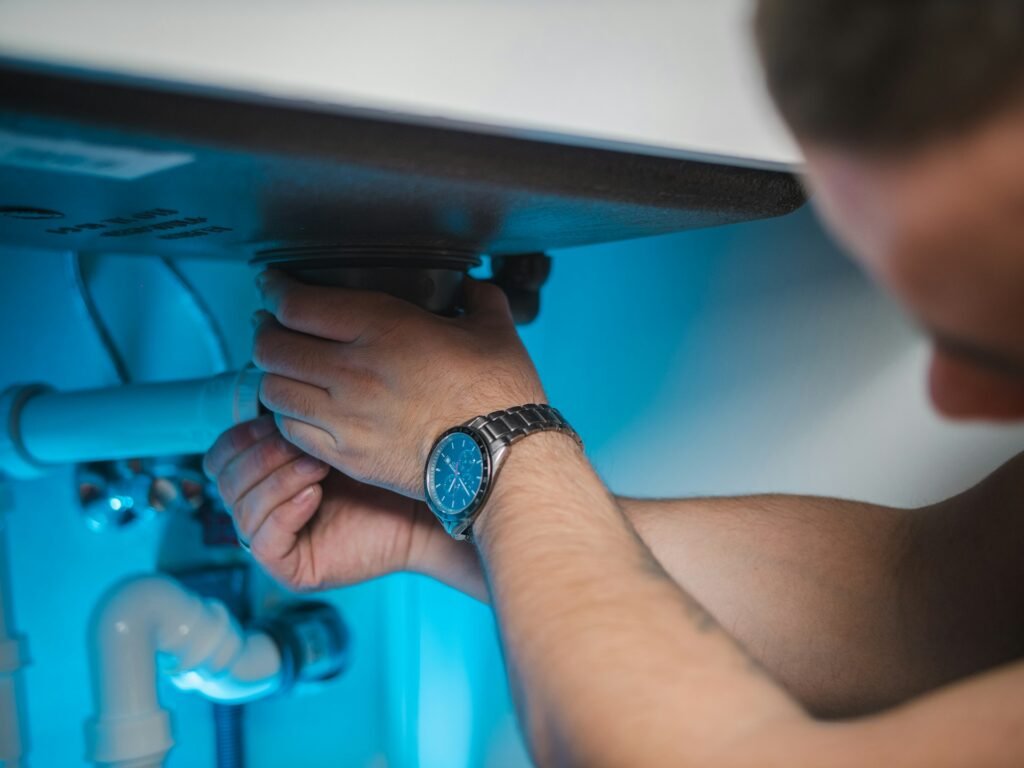
PVC or ABS: Which Pipe Should You Use?
Kitchen sink drain pipe comes in two common plastic types, and picking the right one depends partly on your local code. PVC is the white pipe most hardware stores stock. It needs a purple primer plus cement to join sections. ABS is the black pipe, joined with cement alone, and many DIYers find it a little easier to cut and work with. Neither one requires soldering or specialty tools, which is a big part of why this job is approachable without a plumber.
Some jurisdictions allow only one or the other, so it’s worth a quick call to your local building department before buying materials. That matters most if you’re running new pipe rather than replacing a trap kit that’s already sized and ready to install. For strictly a trap and tailpiece swap, most hardware stores sell PVC slip-joint kits that need no cement at all, since every connection uses slip nuts instead. Standard kitchen sink drain pipe runs 1.5 inches in diameter. That’s the size to match when buying a replacement trap kit, tailpiece, or tee fitting.
Whichever material you choose, Family Handyman’s comparison of ABS and PVC pipe is a useful reference for a larger repair, not just a slip-joint trap swap.
Getting the Slope Right
A drain pipe that’s too flat won’t carry waste water away fast enough. One that’s too steep can leave solids behind while the water rushes past them. The International Plumbing Code sets a minimum slope of 1/4 inch of drop for every foot of horizontal run on pipes 2.5 inches in diameter or smaller. That covers virtually every kitchen sink drain. Over a 2-foot trap arm, it works out to about a half-inch of total drop from the stub-out to the trap.
Check the slope with a level once everything is connected loosely, before you tighten the final slip nuts. It’s much easier to adjust the angle at that stage than after everything is snug.
Common Mistakes to Avoid When Installing a Kitchen Sink Drain Pipe
- Using Teflon tape on plastic slip-nut threads. It’s designed for metal pipe threads. On plastic, it can prevent slip nuts from seating properly, causing leaks rather than preventing them.
- Overtightening slip nuts. Hand-tight plus a quarter turn with pliers is usually enough. Cranking down harder tends to crack the plastic threads instead of sealing the joint better.
- Skipping the slope check. A flat or negative slope leaves standing water and eventually causes clogs, even if every connection is watertight.
- Forgetting the P-trap entirely. The trap’s curved shape holds a small amount of water that blocks sewer gas from entering the kitchen. Skipping it, or installing it backward, defeats that purpose.
- Not testing with a full drain cycle. A quick splash of water can miss a slow leak that only shows up under real flow.
Watch: How to Install a Kitchen Sink Drain
This walkthrough from The Spruce covers the same slip-nut connections in real time. It helps if you’d rather watch the assembly go together before starting. For full step-by-step photos of a similar trap replacement, Home Depot’s sink trap guide is a solid reference to keep open on your phone while you work.
When to Call a Plumber Instead
Most drain pipe installs are within reach for a confident DIYer, but a few situations are worth handing off. If the drain stub-out coming out of the wall is corroded metal rather than PVC, cutting into it can turn a simple swap into a bigger repair. Persistent leaks that survive several rounds of retightening usually point to a misaligned stub-out or a cracked fitting somewhere upstream. That’s easier for a plumber to diagnose than to guess at repeatedly. And if you’re not confident about the slope or venting on a new installation, rather than a straightforward replacement, a permit and a licensed plumber keep you on the right side of local code.
Frequently Asked Questions About How to Install a Kitchen Sink Drain Pipe
What tools do I need to install a kitchen sink drain pipe?
Channel-type pliers, a hacksaw or tubing cutter, and a bucket handle the removal. Add the trap kit itself, meaning tailpiece, trap arm, and trap bend with slip nuts and washers, and you’ve covered nearly every standard install.
How do I know if I need a tee fitting?
Any sink with two basins needs one. So does a single basin paired with a garbage disposal. The tee fitting combines both drain lines into one before the trap.
Why does my new drain pipe still leak after tightening?
Usually a washer is misaligned or missing, or the slip nut isn’t seated squarely on the threads. Back the nut off, check that the washer’s beveled edge faces the threads, and retighten by hand before using pliers.
Can I use Teflon tape on a kitchen sink drain pipe?
No, not on the plastic slip-nut connections. Teflon tape is made for metal threaded pipe joints and can actually keep plastic slip nuts from sealing correctly.
How much slope does a kitchen sink drain pipe need?
At least 1/4 inch of drop per foot of horizontal pipe, per the International Plumbing Code. That’s roughly a half-inch of drop over a typical 2-foot trap arm.
Do I need a permit to replace a kitchen sink drain pipe?
A straightforward like-for-like trap or tailpiece replacement usually doesn’t require one in most U.S. jurisdictions, but rules vary by city. Check your local building department if you’re changing the layout rather than swapping worn parts.
How long does it take to install a kitchen sink drain pipe?
A straightforward trap and tailpiece swap usually takes 30 to 60 minutes for a first-timer, most of it spent double-checking each slip nut before turning the water back on. Adding a tee fitting for a double-bowl sink or a garbage disposal adds another 15 to 20 minutes.
What size is a standard kitchen sink drain pipe?
Most kitchen sinks use 1.5-inch diameter drain pipe throughout the trap, tailpiece, and tee fitting. Match this size when buying replacement parts, since a mismatched diameter won’t seal properly even with the right slip nuts.
Conclusion
Once you understand how the strainer, tailpiece, tee fitting, and P-trap connect, how to install a kitchen sink drain pipe stops feeling like a job that requires a plumber. Hand-tighten every slip nut, add a quarter turn with pliers, and check your slope. Then test with a full drain cycle before you call it done. If you’re also swapping the sink itself, our guide on how to measure a kitchen sink and our kitchen sink buyer’s guide are worth reading before you buy.

Hey, My name is MAMON. I am a SEO content creator and affiliate marketer with over 8 years of experience. I create honest product reviews, in-depth buying guides, and practical how-to articles to help readers make informed decisions. My mission is to provide trustworthy, research-backed content that delivers real value.
Leave a Reply