


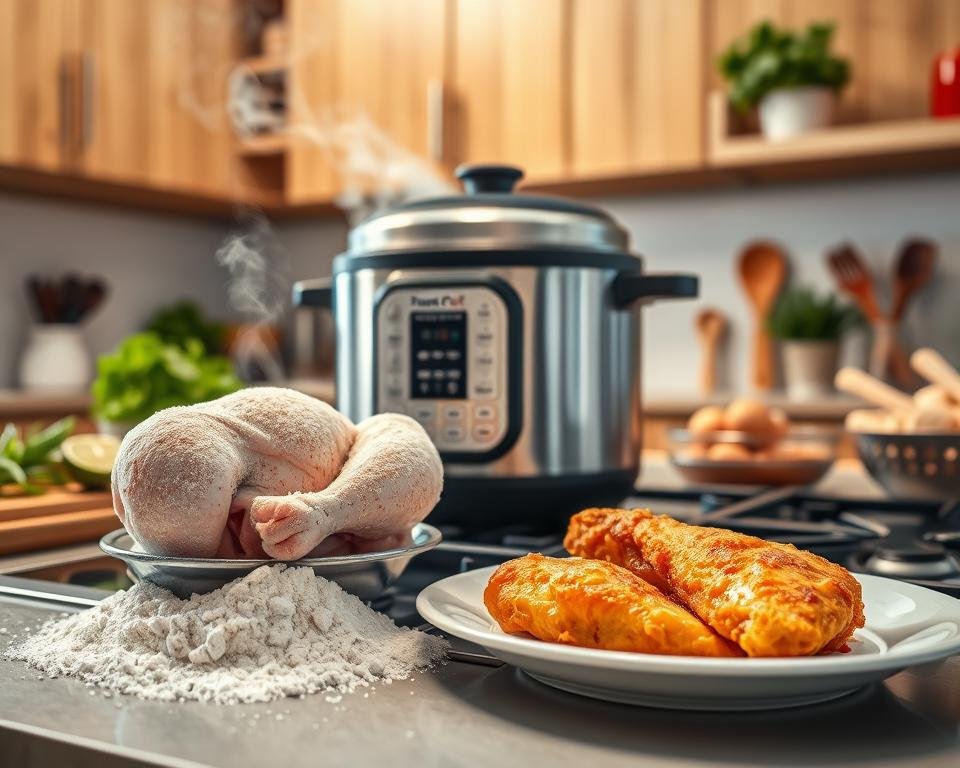
One evening, you rush home after work with good intentions and little time. Chef Samantha George once shared a tip about pressure frying that changed her weeknight routine. She said this method gives a golden crust and juicy meat in far fewer minutes than a traditional fryer, especially when learning how to fry chicken in a pressure cooker.
That speed is the main benefit — sealed heat cooks faster and keeps moisture locked in. You should note safety steps and gear before attempting this method, and never use an electric instant pot for true frying.
Later, you can reheat leftovers in an air fryer for crisp skin without losing tenderness. This short introduction frames a quick recipe and method that rivals a deep fryer when done right.

Key Takeaways
- Pressure frying speeds up cook time while preserving juiciness.
- Safety matters: follow proper protocols and equipment advice.
- Do not use electric instant pots for frying tasks.
- This method can match deep fryer results in fewer minutes.
- Use an air fryer for reheating to keep skin crisp.
Understanding the Risks and Safety Requirements
Before you heat any oil, take a minute to review safety rules that protect you and your kitchen. Working with sealed heat and oil changes the risk profile of simple pan work, so read the manual and inspect your gear first.
Manufacturer Guidelines
Make sure your pressure cooker is rated for high heat and works with hot oil. Not every pot is built for frying, and using the wrong model can cause failure.
“Never use an electric pressure cooker for oil-based frying; proper venting and strength are required.”
Choosing the Right Pot
Pick a heavy-duty stovetop pot designed for high temps. The Magefesa Star 10-quart pressure cooker is one example that adds safety with a large metal bar clamp across the lid.
- Always inspect the gasket and rim for a perfect seal.
- Clamp the lid per manufacturer instructions before introducing hot oil.
- Remember: a standard pressure pot is not a dedicated fryer; if you want fried chicken results, understand the limits of your equipment.
Essential Ingredients and Equipment for Success
Gathering the right tools and pantry staples is the fastest route to consistent results. Lay out gear and ingredients before you heat oil so the cook sequence is smooth and safe.
Start with a reliable pot: professionals often choose the Presto 01370 8-Quart Stainless Steel Pressure Cooker for volume and durability. A sturdy pot rated for hot oil helps you keep control during frying.
Dry mix and tools: combine flour, salt, black pepper, onion powder, and garlic powder in a large mixing bowl. Coat thighs evenly for crisp skin and even fried chicken texture. Have tongs, a cooling rack, and at least 2 cups of oil ready.

Pat the meat dry and season every piece before breading. Avoid using an instant pot for oil-based frying; follow gear limits and your recipe steps for safe, repeatable results.
How to Fry Chicken in a Pressure Cooker
Lay out your equipment and stand by the stove; this technique demands steady attention. Start with a heavy pot and a reliable thermometer so you can watch oil temperature closely.
Heating the Oil
Begin by heating vegetable oil in the pot to 350–375°F. Use the thermometer and keep heat steady before adding any pieces.

Managing Pressure and Steam
Secure the lid and bring the unit up until the weight spins. Listen for steady steam and a moderate spin rate; that signals proper pressure.
Set a timer for 10 minutes once the weight begins to move. Do not overcrowd the pot or the oil temperature will drop and the breading will suffer.
Releasing Pressure Safely
When time is up, follow the manufacturer’s release steps. Open the lid only after pressure is fully released and the indicator reads safe.
Remove the fried chicken pieces and drain on a wire rack or baking sheet with paper towels. Stay nearby through the entire method and monitor steam and heat the whole time.
Preparing Your Chicken for the Best Results
Good prep turns a rushed dinner into a crisp, juicy success. Spend a little time before heating oil and you will see better texture and flavor when the meal is done.
Marinating and Breading Techniques
Marinate the thighs or breast pieces in buttermilk or a wet spice mixture for at least 30 minutes. Overnight in the fridge gives deeper flavor and more tender meat.
For breading, set up a bowl of seasoned flour, an egg wash, and a second flour station. Add garlic powder, onion powder, black pepper, and salt to the dry mix for balanced seasoning.
Dredge each piece, dip in egg, then coat again. Let the breaded pieces rest on a baking sheet for a few minutes so the coating adheres. Bring meat to room temperature before it meets hot oil; that helps maintain steady temperature in the pot.
- Use flour twice for extra crisp skin.
- Keep thermometer handy for correct temperature control.
- Follow your pressure cooker and pot guidance when working with hot oil.
Troubleshooting Common Frying Mistakes
Small mistakes during frying can turn a great meal into a kitchen headache. Use these clear fixes when a batch doesn’t meet your expectations.
Temperature and safety: the internal temperature must reach 165°F for safe meat. If a piece isn’t there after the initial minutes, return it to the pot for a few more minutes and recheck with a thermometer.
Don’t overcrowd the pot. Crowding drops oil temperature and makes greasy results. Work in small batches so each piece cooks evenly and the crust stays crisp.
- Make sure the pressure valve has dropped completely before opening the lid to check pieces.
- If skin gets too dark, lower the heat for the next batch and watch temperature closely.
- Not crispy enough? Finish in an air fryer for a few minutes to improve skin and texture.
- Keep cleanup simple: use a baking sheet for drips and a rack to drain excess vegetable oil.
Conclusion
When dinner time is tight, this method gives you golden results without long waits.
Practice will help you refine the recipe and nail the balance between crisp skin and juicy meat. Keep salt and seasoning steady so each batch tastes consistent.
Always prioritize safety: make sure your pot is rated for this use and never rely on an instant pot for oil-based work. Monitor heat and confirm an internal temperature of 165°F before serving.
Use a reliable timer and stay nearby while the oil is hot. With care and a little practice, pressure techniques can turn weekday minutes into a beloved fried chicken moment for your family.