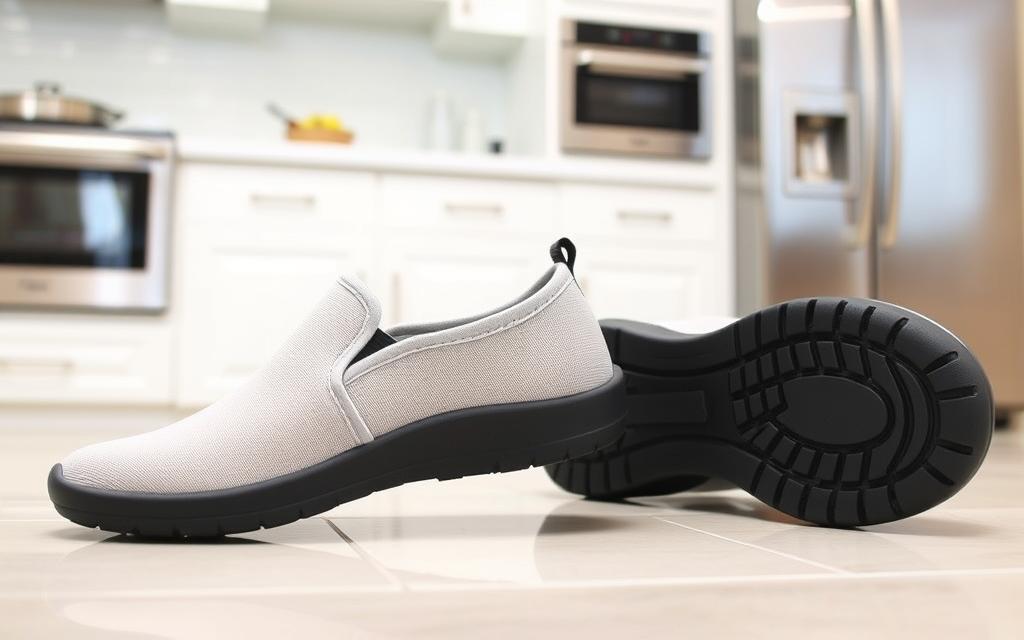
If you work in the food service industry, you know how important a clean and safe work area is. Keeping your non-slip kitchen shoes clean is key. These shoes, made of canvas, mesh, or pleather, are vital for staying safe on slippery floors. But, they can get dirty fast with grease, food bits, and more.
Cleaning your non-slip kitchen shoes regularly is crucial. It keeps them working well and looking professional. It also stops harmful stuff from building up. Let’s look at how to keep your kitchen safety footwear in great shape.
Key Takeaways:
- Proper cleaning extends the life of non-slip kitchen shoes
- Avoid washing non-slip shoes in the washing machine to prevent damage
- Use mild soap and water for effective cleaning without harming the slip-resistant sole
- Regularly clean and maintain non-slip shoes to ensure optimal traction and safety
- Replace non-slip kitchen shoes every 6 months to 1 year for optimal performance
Understanding the Importance of Clean Kitchen Safety Footwear
Keeping your kitchen safety footwear clean is key for your safety and work quality. Dirty shoes can lose their grip, leading to accidents. Clean shoes not only grip better but also look professional.
Safety Risks of Dirty Non-Slip Shoes
Slips, trips, and falls are big risks in kitchens. Dirty shoes can make these accidents worse. They can cause serious injuries like sprains and fractures. It’s important to keep your shoes’ grip strong for safety.
Impact on Work Performance
Good kitchen shoes help you work better. They cushion your feet and absorb shocks. This reduces fatigue and keeps you focused. Ignoring your shoes can make you tired and less productive.
Professional Appearance Standards
In the food service world, looking clean is important. Dirty shoes can make you look unprofessional. Keeping your shoes clean shows you care about your work environment.
| Feature | Importance |
|---|---|
| Slip-resistant outsole | Crucial for navigating slippery kitchen surfaces safely |
| Comfortable insole and support | Enhances work performance and reduces physical strain |
| Waterproof or water-resistant materials | Protects against moisture, grease, and other kitchen hazards |
| Easy cleaning and disinfection | Maintains a hygienic work environment |
By focusing on your kitchen safety footwear, you keep yourself safe and work well. You also meet the high standards of the food service industry.
Essential Tools and Materials for Shoe Cleaning
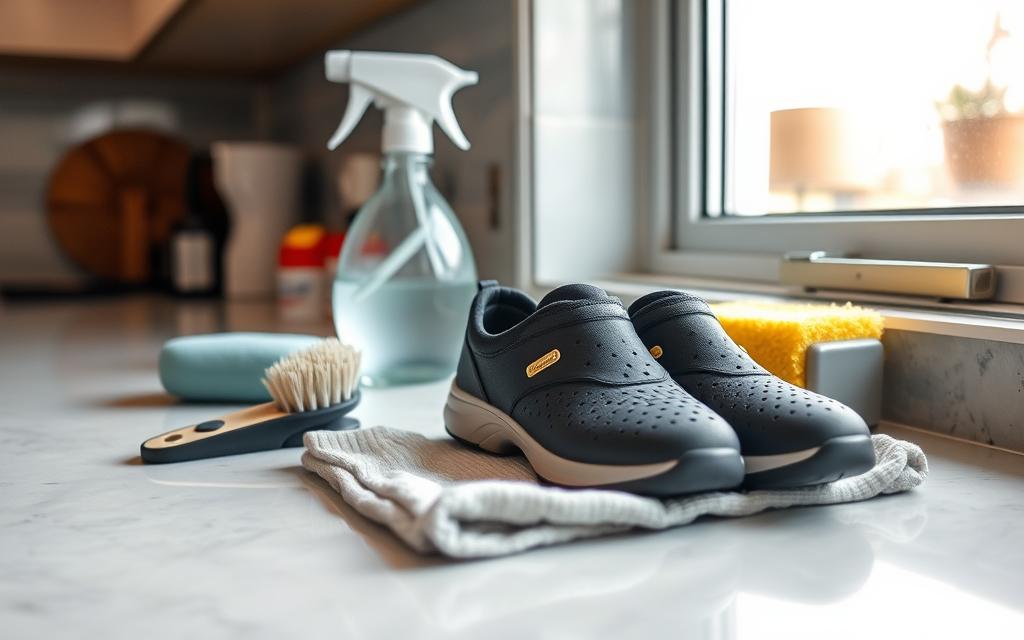
Keeping your non-slip kitchen shoes clean is key for safety and looking professional. You’ll need the right tools and materials to do this. Start by getting a shoe brush or an old toothbrush, mild dish detergent, clean cloths, and a bucket or sink with warm water.
For hard stains and dirt, think about getting specialized shoe cleaning products like the Shoe MGK Cleaner and Conditioner. This solution works well on many shoe materials, including leather, suede, and nubuck. If you have suede shoes, you’ll also need a suede brush and cleaning block to keep them soft.
Choose a well-ventilated area for cleaning your shoes. This helps you work better and avoids bad smells or fumes. With the right tools and a clean space, you can make your kitchen shoes look new again.
| Essential Shoe Cleaning Supplies | Specialized Shoe Cleaners | Additional Accessories |
|---|---|---|
|
|
|
Remember, keeping your kitchen shoes clean is about more than looks. It’s also about safety and comfort at work. With the right tools and methods, you can make your non-slip shoes last longer and look great.
Pre-Cleaning Preparation Steps
Before you start cleaning your best kitchen shoes, take a few steps first. This makes cleaning easier and more effective. First, remove the shoelaces and insoles if you can. This lets you clean every part of the shoe.
Then, use a dry brush to remove dust, dirt, or crumbs from the surface. This step helps the cleaning process work better. After removing the surface dirt, set up your cleaning station.
Removing Laces and Insoles
If your shoes have removable insoles, take them out before cleaning. This lets you clean inside the shoe better. Detaching the laces also makes cleaning the eyelets and tongue easier.
Initial Debris Removal
Use a soft-bristled brush to sweep away loose dirt or debris. This step stops dirt from spreading during cleaning. It helps you clean more effectively.
Setting Up Your Cleaning Station
Get all your cleaning supplies ready, like a mild detergent and a soft cloth. Make sure you have a clean, flat surface for your shoes. This makes cleaning easier and more efficient.
How to Clean Non-Slip Kitchen Shoes Properly
Keeping your non-slip kitchen shoes clean is key for safety and looking professional. Cleaning them often can make them last longer and keep your feet sure on slippery floors. Here’s how to clean your non-slip kitchen shoes right:
Brush Off Excess Dirt
First, use a boot and shoe brush to get rid of dirt, mud, or grime from the soles and sides. This easy step removes dirt from the surface and gets your shoes ready for deeper cleaning.
Cleaning Leather Shoes
For leather shoes, use a damp cloth or shoe wipes to clean the top. Don’t soak them in water, as it can harm the leather. After cleaning, apply a bit of shoe polish to keep the leather shiny and in good condition.
Cleaning Canvas or Mesh Shoes
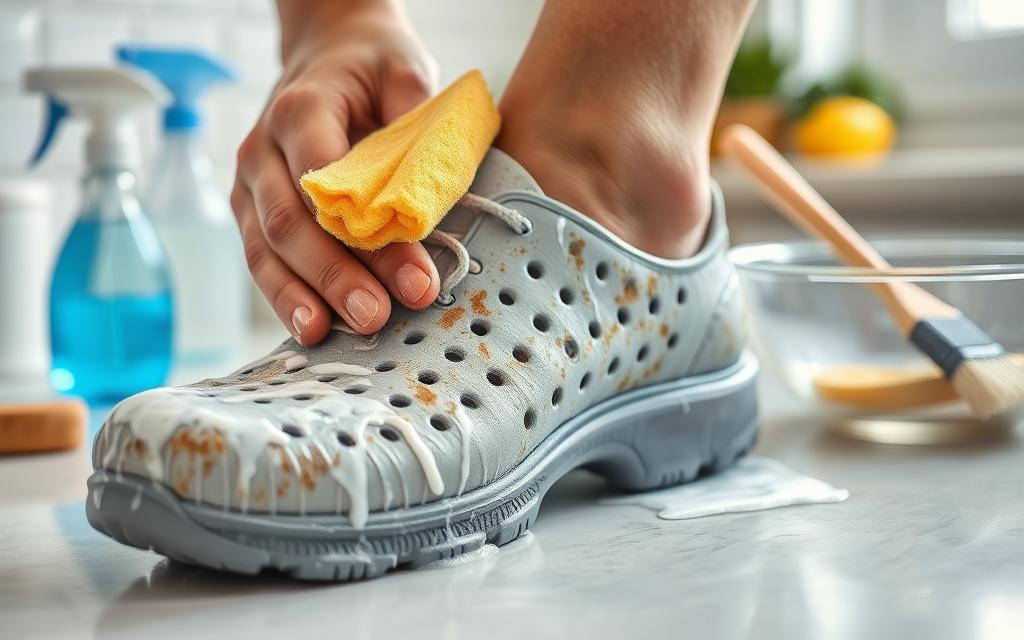
For canvas or mesh shoes, mix a bit of dish soap with cold water to make a cleaning solution. Use a soft-bristled brush or cloth to gently scrub the shoes in circles. Then, rinse them well with clean water, making sure no water gets inside.
Cleaning Rubber Clogs or Boots
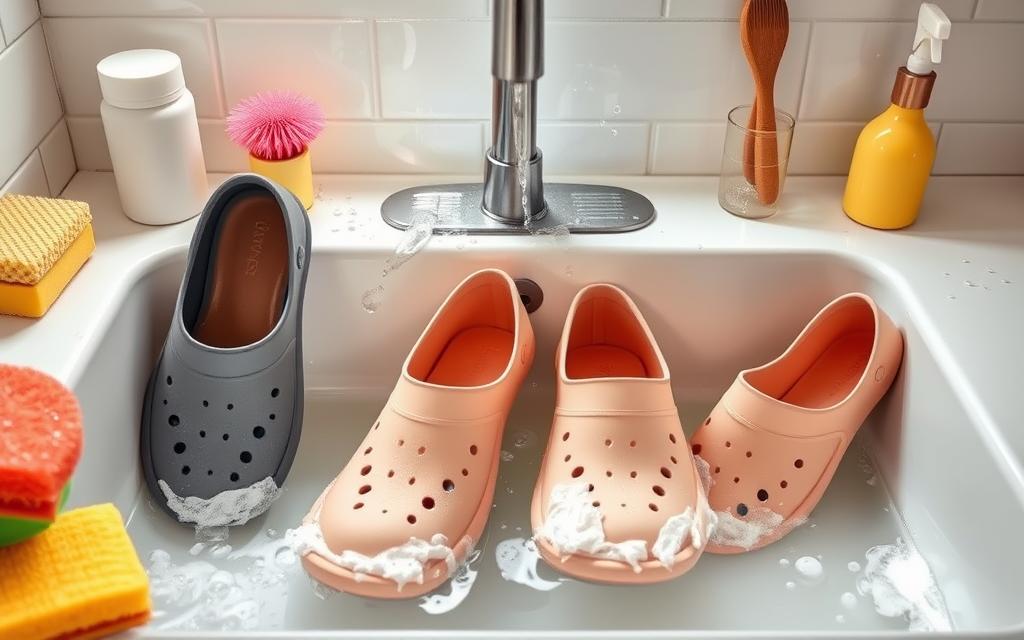
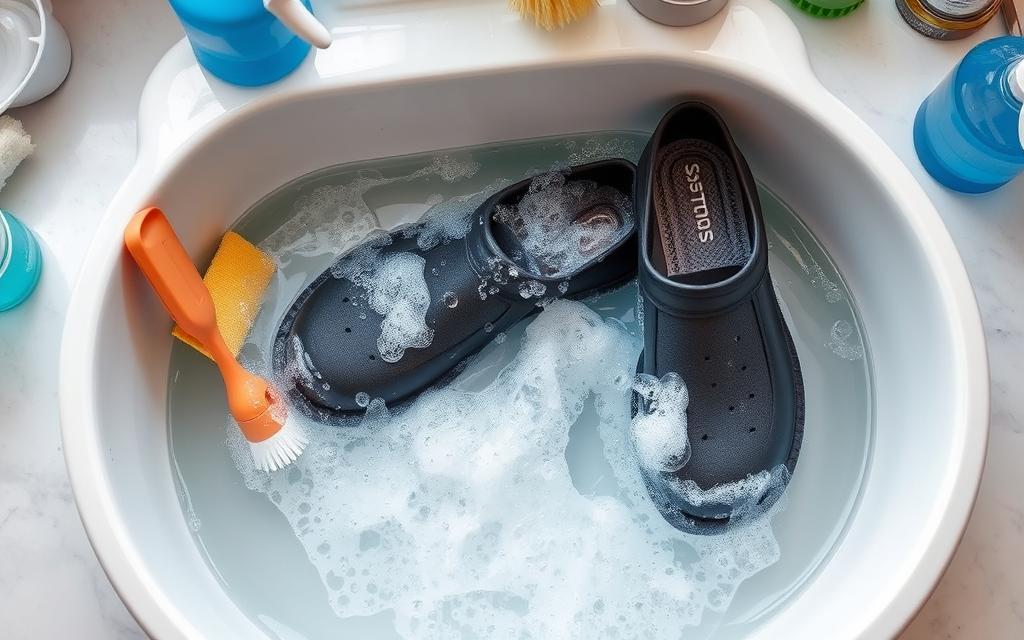
For rubber shoes, like clogs or boots, soak them in soapy water if they’re really dirty. Use a soft-bristled brush to scrub them, focusing on the treads and sides. Rinse well and let them dry completely before wearing again.
Don’t wash non-slip shoes in a washing machine, as it can harm the rubber soles. To keep your shoes clean, use a grip mat or a special cleaning area to remove dirt and grime.
By following these easy cleaning steps, you can keep your non-slip kitchen shoes in great shape. They’ll provide the right grip and safety for your work area.
“Regularly cleaning your non-slip kitchen shoes is essential for maintaining their slip-resistant properties and extending their lifespan. Proper care can help keep you safe and ensure a professional appearance in the workplace.”
| Cleaning Method | Recommended Cleaning Technique |
|---|---|
| Leather Shoes | Use a damp cloth or shoe wipes to clean the upper, avoid submerging in water. Apply a small amount of shoe polish to condition the leather. |
| Canvas/Mesh Shoes | Create a mild cleaning solution with dish soap and cold water. Gently scrub the shoes with a soft-bristled brush or cloth, then rinse thoroughly. |
| Rubber Clogs/Boots | Soak in soapy water if heavily soiled, then scrub gently with a soft-bristled brush. Rinse and allow to air-dry completely. |
Soap and Water Cleaning Method
Keeping your non-slip kitchen shoes clean is key for safety and longevity. The soap and water method is easy and effective. It helps your shoes stay in great shape by following the right steps.
Proper Dilution Ratios
Mix a few drops of mild dish detergent with cold water in a bucket or sink. This creates a soft, sudsy solution that won’t harm your shoes. Stay away from harsh chemicals to keep the soles slip-resistant.
Scrubbing Techniques
Scrub your shoes with circular motions to remove stains and grime. For leather, apply polish with a brush or cloth, then buff. For canvas or mesh, use a damp toothbrush to gently scrub.
Rinsing Procedures
Rinse your shoes well with a clean, damp cloth to remove all soap. This prevents stains. Let them air dry in a cool, well-ventilated spot, away from heat or sunlight.
Using this cleaning method keeps your non-slip kitchen shoes in top condition. Regular cleaning is vital for their safety and performance. Remember, clean shoes last longer.
Deep Cleaning Stubborn Stains and Grease
Keeping your non-slip kitchen shoes clean is important for safety and looks. Regular soap and water cleaning works for most dirt. But, for tough stains and grease, you need special cleaners.
Use Shoe MGK Cleaner and Conditioner for stubborn stains. Apply it to the stains and scrub gently. For oil or grease, a degreaser might be needed. Always test cleaners on a small area first to avoid damage.
For suede or nubuck shoes, use a suede brush and cleaner. These tools help clean without harming the material. Brush the stains gently, working the cleaner into the fibers.
“Saphir, a French shoe care brand founded in 1925, is highly trusted in the industry for their effective shoe cleaning and conditioning products.”
With the right products and methods, your non-slip kitchen shoes will stay in great shape. This effort ensures your shoes look good and work well.
Preventing stains and grease is key. Regular cleaning keeps your shoes in better condition. This way, you can enjoy safe and stylish shoes for longer.
Proper Drying Techniques and Storage
Keeping your non-slip kitchen shoes clean and lasting long needs the right drying and storage methods. After you clean them, let them air dry in a place with good air flow. Don’t put them near direct heat or sunlight, as this can make them shrink or warp.
Air Drying Best Practices
To make sure your shoes dry well, fill them with crumpled paper towels or newspaper. This helps soak up extra moisture and keeps the shoes’ shape. For leather or delicate shoes, use shoe trees to keep the material in good shape and support the shoes while they dry.
Shape Maintenance During Drying
Don’t put your kitchen shoes in a dryer or near heat, as it can harm the slip-resistant soles. After they’re dry, store them in a cool, dry spot away from sunlight. This helps prevent color changes or damage to the materials over time.
Using the right drying and storage methods is key to keeping your non-slip kitchen shoes in good shape. This ensures they stay effective and look professional in the kitchen. By following these tips, you can make your shoes last longer and keep them looking great.
Maintaining Non-Slip Sole Effectiveness
Keeping your non-slip kitchen shoes in good shape is key for your safety and work. To keep the soles gripping well, follow these important steps:
- Regularly clean the soles with a sturdy brush to remove dirt, debris, or grease. This keeps the non-slip properties strong and your shoes working great.
- Use a grip mat at workplace entrances to get rid of grime and contaminants from the soles before entering the kitchen. This simple step greatly improves the sole maintenance and grip preservation of your footwear.
- Avoid exposing your non-slip shoes to extreme heat, as it can damage the non-slip properties of the soles. Keep them away from range hood setup areas that get very hot.
- Check the soles regularly for wear and tear. If the non-slip treads are badly worn, it’s time to get new shoes for your safety and traction in the kitchen.
By following these best practices, you can make your non-slip kitchen shoes last longer and work better. This prioritizes your sole maintenance, grip preservation, and safety at work.
“Investing in the right non-slip kitchen shoes and maintaining them properly can make a significant difference in your safety and work performance.”
When to Replace Your Kitchen Safety Shoes
It’s key to keep your kitchen safety shoes in good shape. They help prevent slips and falls. Knowing when to replace them is important.
Signs of Wear and Tear
Watch for wear and tear on your non-slip shoes. Look for smooth spots on the soles, which mean they’re losing grip. Check the upper material for holes or tears, and see if the sole is coming off. If they’re not slipping-proof or comfy anymore, it’s time for new ones.
Replacement Timeline Guidelines
Replace your kitchen safety shoes every 6 months to 1 year. This depends on how often you use them and the work environment. Regular checks can help find the best time to replace them for you.
| Replacement Timeline | Factors to Consider |
|---|---|
| Every 6 months | – Intensive daily use – Exposure to grease, water, or harsh chemicals – Frequent standing on hard kitchen floors |
| Every 12 months | – Moderate weekly use – Exposure to mild kitchen conditions – Occasional standing on soft kitchen mats |
By being careful and replacing your kitchen safety shoes on time, you get better slip resistance and comfort. This makes your work area safer and more productive.
Professional Care Tips for Extended Shoe Life
Keeping your non-slip kitchen shoes in good shape is key for safety and saving money. Try rotating between different pairs of shoes. This lets each pair rest and recover, making them last longer.
Before wearing a new pair, think about using a waterproofing spray. It helps protect against moisture, stains, and other damage. Also, use a shoe horn to avoid damaging the heel area, a common weak spot.
When you travel with your shoes, use shoe bags or other protective storage. This is crucial for materials like suede. It needs regular brushing and special waterproofing to stay looking good and last longer.
Leave a Reply