Key Takeaways
- Roughing up a smooth outsole with sandpaper, a rough sole scrub, or a nail file is the fastest free fix for slippery shoes at home.
- Slips, trips, and falls remain one of the most common causes of workplace and home injury, which is why OSHA recommends walking surfaces (and footwear) target a static coefficient of friction of roughly 0.5 for safe traction.
- Hairspray, puff paint, and traction spray are quick temporary fixes; rubber outsole pads, adhesive strips, and a cobbler’s resole are longer-lasting.
- If your outsole is worn smooth, cracked, or more than a year or two old, repairing it may cost more in time than replacing the shoe.
You’re walking from one room to another, or you’ve just stepped out the door for work, and suddenly your feet go out from under you. Falls like this aren’t just embarrassing, they send a lot of people to the emergency room every year. Learning how to fix slippery shoes at home means you don’t have to wait for a bad fall to take traction seriously.
A shoe that grips the floor properly comes with benefits you probably don’t think about until you lose them: steadier walking, faster movement without hesitation, and soles that wear more evenly over time because you’re not sliding and dragging them. The CDC’s National Institute for Occupational Safety and Health tracks falls as one of the most common causes of workplace injury year after year, and while most of that data comes from job sites, the same physics apply on your kitchen floor or front steps. Weather makes it worse. Winter ice and wet entryways are the classic culprits, which is why snow boots exist, but plenty of other shoes in your closet can be fixed instead of replaced.
Why Do Shoes Get Slippery in the First Place?
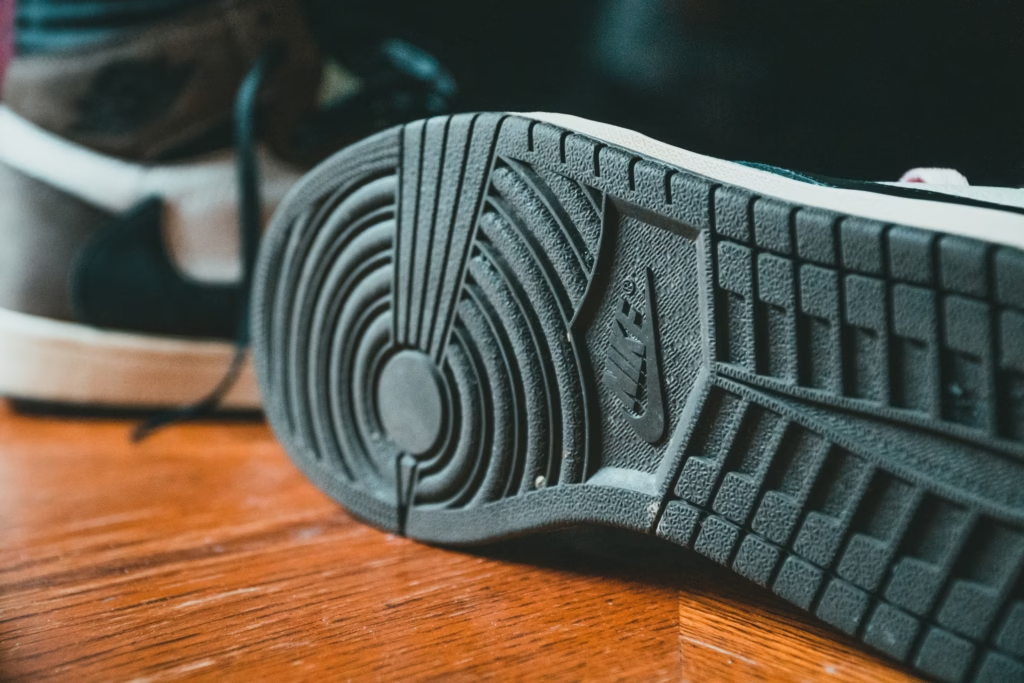
Most slipping problems come down to one of three things: a smooth, worn-down outsole that has lost its tread pattern, a hard rubber or plastic compound that never had much grip to begin with, or a wet, oily, or icy surface that overwhelms whatever traction the sole does have. New shoes are often the worst offenders, since factory-fresh soles haven’t been broken in yet and still have a slick, unscuffed finish.
How to Fix Slippery Shoes at Home
1. Use Non-Slip Outsole Pads
Stick-on grip pads are the closest thing to a permanent fix you can do yourself. Buy a set sized for your shoe, clean the sole with rubbing alcohol so the adhesive bonds properly, then press the pad onto the ball and heel of the outsole where most of your weight lands. These pads are almost always rubber, so they hold up to repeated wear without damaging the original sole underneath. The main downside is fit: pads made for flats won’t necessarily suit boots or heels, so check the sizing before you buy.
2. Scuff the Outsole with Sandpaper
This is the fastest zero-cost fix if you already own sandpaper. Use a medium grit, 80 to 100, and scrub the entire outsole in small circles until the shiny factory finish turns matte and slightly textured. Focus on the ball of the foot and the heel strike zone, since that’s where you actually lose traction. Don’t oversand: pressing too hard or working one spot too long can wear through to a soft layer underneath, which lets water seep in later. A rough concrete step or a piece of coarse-grit emery cloth works in a pinch if you don’t have sandpaper on hand.
3. Spray On Hairspray
This sounds unlikely, but a light coat of hairspray on the outsole leaves a slightly tacky film that improves grip on dry indoor floors. Spray from about six inches away, avoid getting it on the upper part of the shoe, and let it dry fully before walking on it. It only works on smooth, dry flooring like tile or hardwood, not on wet or outdoor surfaces, and you’ll need to reapply it every few wears since the tackiness wears off quickly.
4. Add Adhesive Grip Strips
Self-adhesive traction strips, the kind sold for stair treads or bathtub floors, can be cut down and applied directly to your outsole. Peel the backing, press the rough side down onto the sole so the textured surface faces the ground, and hold firm pressure for 30 seconds so the adhesive sets. This is a temporary fix, usually good for a few weeks of regular wear before the strip starts to peel at the edges and needs replacing.
5. Apply Puff Paint in a Crosshatch Pattern
Puff paint, the kind used for fabric crafts, dries into a raised, slightly rubbery texture that acts like tiny traction bumps. Draw a crosshatch or dot pattern across the outsole, keep the lines under a quarter-inch thick so they don’t feel bulky underfoot, and let it cure for a full 24 hours before wearing the shoes. It holds up reasonably well indoors and comes in enough colors that you can make it look intentional rather than improvised.
6. Try a Commercial Traction Spray
Traction sprays are formulated specifically for shoe soles, unlike hairspray, and tend to hold their grip longer, often through several wears rather than several hours. Clean the sole first so oil and dust don’t block the coating, then apply an even, thin layer following the product’s directions. These work on a wider range of surfaces than hairspray, including some outdoor use, which makes them a good middle ground between a five-minute hack and a full outsole replacement.
7. Mix Salt Into Rubber Cement for Icy Conditions
For winter-specific slipping, a mixture of table salt worked into rubber cement or a flexible shoe adhesive creates a gritty, ice-gripping texture once it cures. Spread a thin layer of adhesive across the outsole, sprinkle salt evenly over it while it’s still wet, press the salt in gently, and let it dry fully, usually overnight, before wearing the shoes outside. This isn’t a look for dress shoes, but for winter boots or work shoes it adds real bite on packed snow and light ice.
8. Take Them to a Cobbler
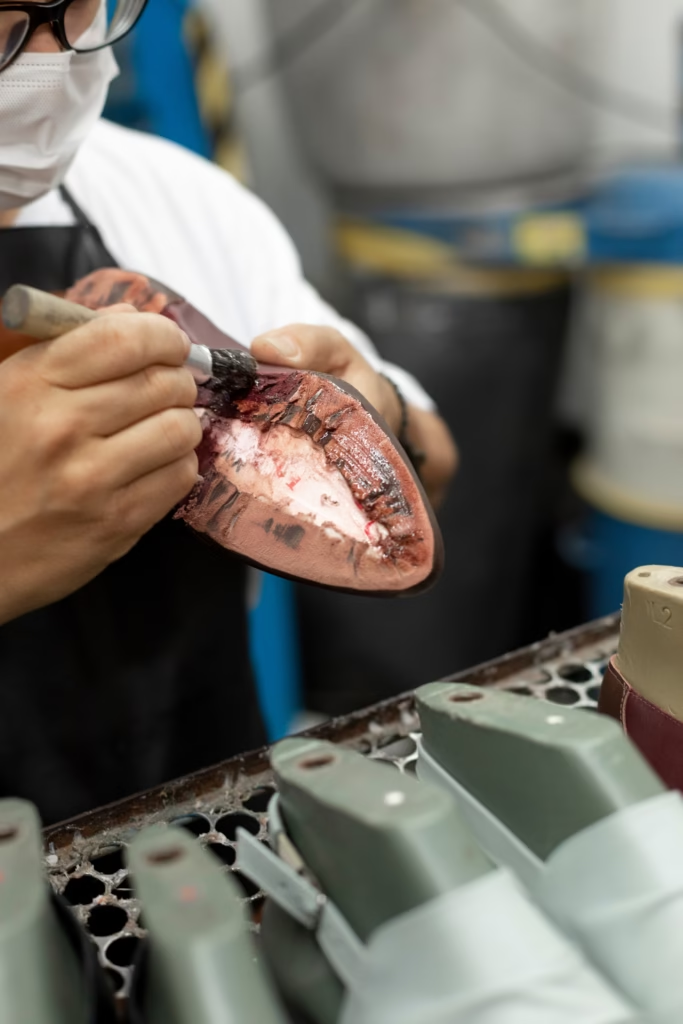
When a shoe is otherwise in good shape but the sole has gone smooth or thin, a cobbler can add a new rubber outsole or a textured half-sole rather than you patching it at home. This costs more than any of the DIY options above, usually somewhere between a basic resole and a full sole replacement depending on the shoe, but it’s the option that holds up the longest and won’t leave visible tape lines or paint texture. It’s worth it for shoes you already like and plan to keep wearing for years.
How to Test Your Fix Before You Trust It
Don’t take a fresh fix straight out onto the sidewalk or into a busy kitchen. Test it somewhere low-stakes first: a carpeted hallway, a dry patch of tile with someone nearby, or a short stretch of pavement close to home. Stand with your weight on the treated area and pivot your foot slowly side to side. If the sole grabs and holds rather than sliding, you’re good. If it still slides even slightly on a dry, controlled surface, the fix won’t hold up once a wet floor or icy step raises the stakes, and it’s worth going back and applying a second coat or trying a different method from the list above.
It’s also worth re-testing a fix you applied weeks ago rather than assuming it’s still working. Hairspray and traction spray wear off gradually rather than all at once, so the drop-off in grip can be easy to miss until you’re already sliding.
When to Replace the Shoes Instead of Fixing Them
Not every slippery shoe is worth saving. If the outsole tread is worn down to a smooth, flat surface across the whole sole rather than just the heel or toe, if the rubber has hardened and started to crack, or if the shoe is already showing separation between the sole and upper, none of the fixes above will hold for long. At that point, a fresh pair with a proper non-slip kitchen shoe rated outsole is the safer and, over time, cheaper choice than repeatedly patching a sole that’s past its useful life.
Kitchen-Specific Slip Prevention
The kitchen deserves its own mention here, since it combines two of the biggest slip risks: hard flooring and regular spills. Water, oil, and grease on tile or vinyl cut traction fast, often before you notice the floor is wet. Pairing one of the fixes above with the best kitchen shoes built for slip resistance gives you two layers of protection instead of relying on either one alone. It’s also worth keeping a towel near the sink and wiping up spills immediately, since even the grippiest outsole struggles against standing liquid on a hard floor.
If you’re on your feet in the kitchen for long stretches, consider treating your everyday kitchen shoes with one of the longer-lasting fixes above, like adhesive grip strips or a cobbler resole, rather than a quick spray you’d need to reapply mid-shift. A mat placed directly in front of the stove and sink, the two spots most likely to collect grease or water, also cuts down on how often your soles even encounter a slippery patch in the first place.
Frequently Asked Questions
Does hairspray actually work to stop shoes from slipping? Yes, but only as a short-term fix on dry indoor floors. The tacky film it leaves behind wears off after a few uses, so it needs reapplying regularly and won’t help on wet or outdoor surfaces.
How long does a sandpaper scuff last? A good scuffing job typically holds its texture for several weeks of regular wear before the outsole smooths out again and needs re-scuffing, faster if you’re walking mostly on rough pavement, slower on carpet or indoor flooring.
Can I make dress shoes or heels non-slip without ruining how they look? Adhesive grip pads and traction spray are the least visible options, since they don’t change the sole’s color or texture the way puff paint or a salt-and-cement mix would. For dress shoes you plan to keep long-term, a cobbler-applied clear rubber sole protector is the cleanest fix.
Is it worth buying non-slip shoes instead of fixing my current pair? If you’re already replacing worn-out shoes, yes, since a sole built for grip from the factory will outlast anything applied at home. But if the rest of the shoe is in good shape and only the tread has gone smooth, fixing it first is the cheaper test before you commit to a new pair.
Conclusion
A slippery shoe isn’t a reason to throw out a pair you otherwise like. Whether it’s a quick coat of hairspray before you head out the door or a proper cobbler resole for shoes you plan to keep for years, there’s a fix here that matches how much time, money, and permanence you want. Kitchens and icy sidewalks are the two places this matters most, so start with whichever pair you wear in those spots first, and check the tread again every few months since even a good fix wears down with use.

Hey, My name is MAMON. I am a SEO content creator and affiliate marketer with over 8 years of experience. I create honest product reviews, in-depth buying guides, and practical how-to articles to help readers make informed decisions. My mission is to provide trustworthy, research-backed content that delivers real value.
Leave a Reply