



Learning how to use a meat slicer well comes down to two things: getting even, consistent slices and keeping your hands away from a spinning blade the entire time. Once you understand the machine’s parts and build a few safe habits, both come naturally.
This guide covers what a meat slicer actually is, the safety steps that come first, how to prepare and load meat, and the full step-by-step process for slicing deli meats, roasts, cheese, and vegetables.
Key Takeaways
- Meat slicers come in light, medium, and heavy-duty ratings; match one to how often you’ll actually use it
- Always wear cut-resistant gloves and keep hands behind the pusher arm, never near the blade
- Chill meat to about 40°F before slicing; too cold and ice crystals damage the blade and slices
- Clean and sanitize food-contact surfaces at least every 4 hours during continuous use, per the FDA Food Code
- Set the thickness dial to zero and unplug the slicer before cleaning or storing it
Understanding the Meat Slicer
What Is a Meat Slicer?
A meat slicer is an electric appliance built around a rotating circular blade, a sliding food carriage, and a thickness-adjustment dial. It cuts meats, cheeses, and firm vegetables into thin, uniform slices far faster and more consistently than a knife can.
Types of Meat Slicers Available
| Slicer Type | Typical Duty Cycle | Best For |
|---|---|---|
| Light-duty | About an hour of use per day | Occasional home slicing |
| Medium-duty | Several hours per day | Frequent home cooks, small delis |
| Heavy-duty | All-day, continuous use | Busy commercial kitchens |
If you’re still deciding which category fits your kitchen, our guide to choosing a meat slicer for home use breaks down the tradeoffs, and our meat slicer buying guide covers current models.
Safety Precautions When Using a Meat Slicer
Essential Safety Gear
Cut-resistant gloves are the single most important piece of gear for anyone learning how to use a meat slicer. They protect your hands from the blade and give you a better grip on the meat, which actually reduces slips that lead to accidents.
Best Practices for Safe Operation
- Keep your eyes on the blade whenever it’s moving, not on the meat or the clock
- Never slice frozen meat or bone-in cuts; both can damage the blade and kick back unpredictably
- Don’t force oversized pieces through; trim them down first so they sit flat on the carriage
- Clean and sanitize food-contact surfaces at least every 4 hours during continuous use, per the FDA Food Code
- Never slice raw and cooked meat back to back without cleaning in between, to avoid cross-contamination
The blade guard, pusher arm, and emergency stop button are your three main safety features. The blade guard covers the exposed edge when the machine sits idle, the pusher arm keeps your hand a safe distance from the blade while you slice, and the emergency stop halts the blade instantly if something goes wrong.
Preparing the Meat for Slicing
Choosing the Right Cut of Meat
Lean, boneless cuts like roast beef, ham, or turkey breast are the easiest to slice well. They sit flat on the carriage and hold their shape under the blade. Thick, irregular, or bone-in pieces are harder to control and more likely to jam.
Properly Chilling Meat for Best Results
Chill meat to about 40°F (4°C) before slicing. At that temperature, it’s firm enough to hold a clean edge without being hard enough to form ice crystals, which can chip the blade and tear the slices.
- Refrigerate the meat for at least 30 minutes before slicing to make sure it’s properly chilled
- Use a meat thermometer to confirm the internal temperature if you’re unsure
- If it’s come out too cold, let it sit a few minutes at room temperature before you start
Setting Up Your Meat Slicer
Key Components to Familiarize Yourself With
- Blade: the sharp, rotating disc that does the actual cutting
- Food carriage: the sliding platform that holds what you’re slicing
- Thickness adjustment knob: controls the gap between the blade and the carriage
- Safety guards: shield your hands and fingers during operation
Adjusting the Thickness Setting
Check your manual for the exact mechanics, but in general, turning the thickness knob changes how far the carriage sits from the blade. Test your setting on a scrap piece before committing to your main batch. It’s much easier to nudge the dial than to redo a whole roast sliced too thick or too thin.
How to Use a Meat Slicer: Step-by-Step
Step-by-Step Instructions for Slicing
- Place the food securely on the carriage so it won’t shift while slicing
- Set the thickness knob to your target thickness
- Turn on the slicer, keeping your hands well clear of the blade
- Push the carriage forward smoothly with gentle, even pressure
- Use the pusher arm the entire time to keep your hand away from the blade
- When you’re done, turn off and unplug the slicer
- Turn the thickness knob to zero so the blade retracts
Using the Pusher Arm Effectively
The pusher arm exists specifically so your hand never has to get close to the blade. Keep your fingers behind it at all times, use smooth, steady motions, and resist the urge to speed up once you get comfortable. Most slicer injuries happen after someone’s gotten confident enough to stop paying attention.

Slicing Different Types of Meat
Slicing Deli Meats
Deli meats like turkey, ham, and salami need a gentle touch. Keep the meat cold, use a steady speed, and adjust thickness to taste, thinner for sandwiches, slightly thicker if you want more bite.
Slicing Roast Beef and Other Meats
Larger cuts like roast beef need thorough chilling and a bit of prep: trim excess fat first so your slices come out even, then let the pusher arm do the work of guiding the meat through.
| Meat Type | Ideal Temperature | Typical Thickness |
|---|---|---|
| Deli meats | Well-chilled | 1/8″ to 1/4″ |
| Roast beef | Chilled, fat trimmed | 1/4″ to 1/2″ |
Slicing Cheese and Vegetables
Tips for Slicing Cheese
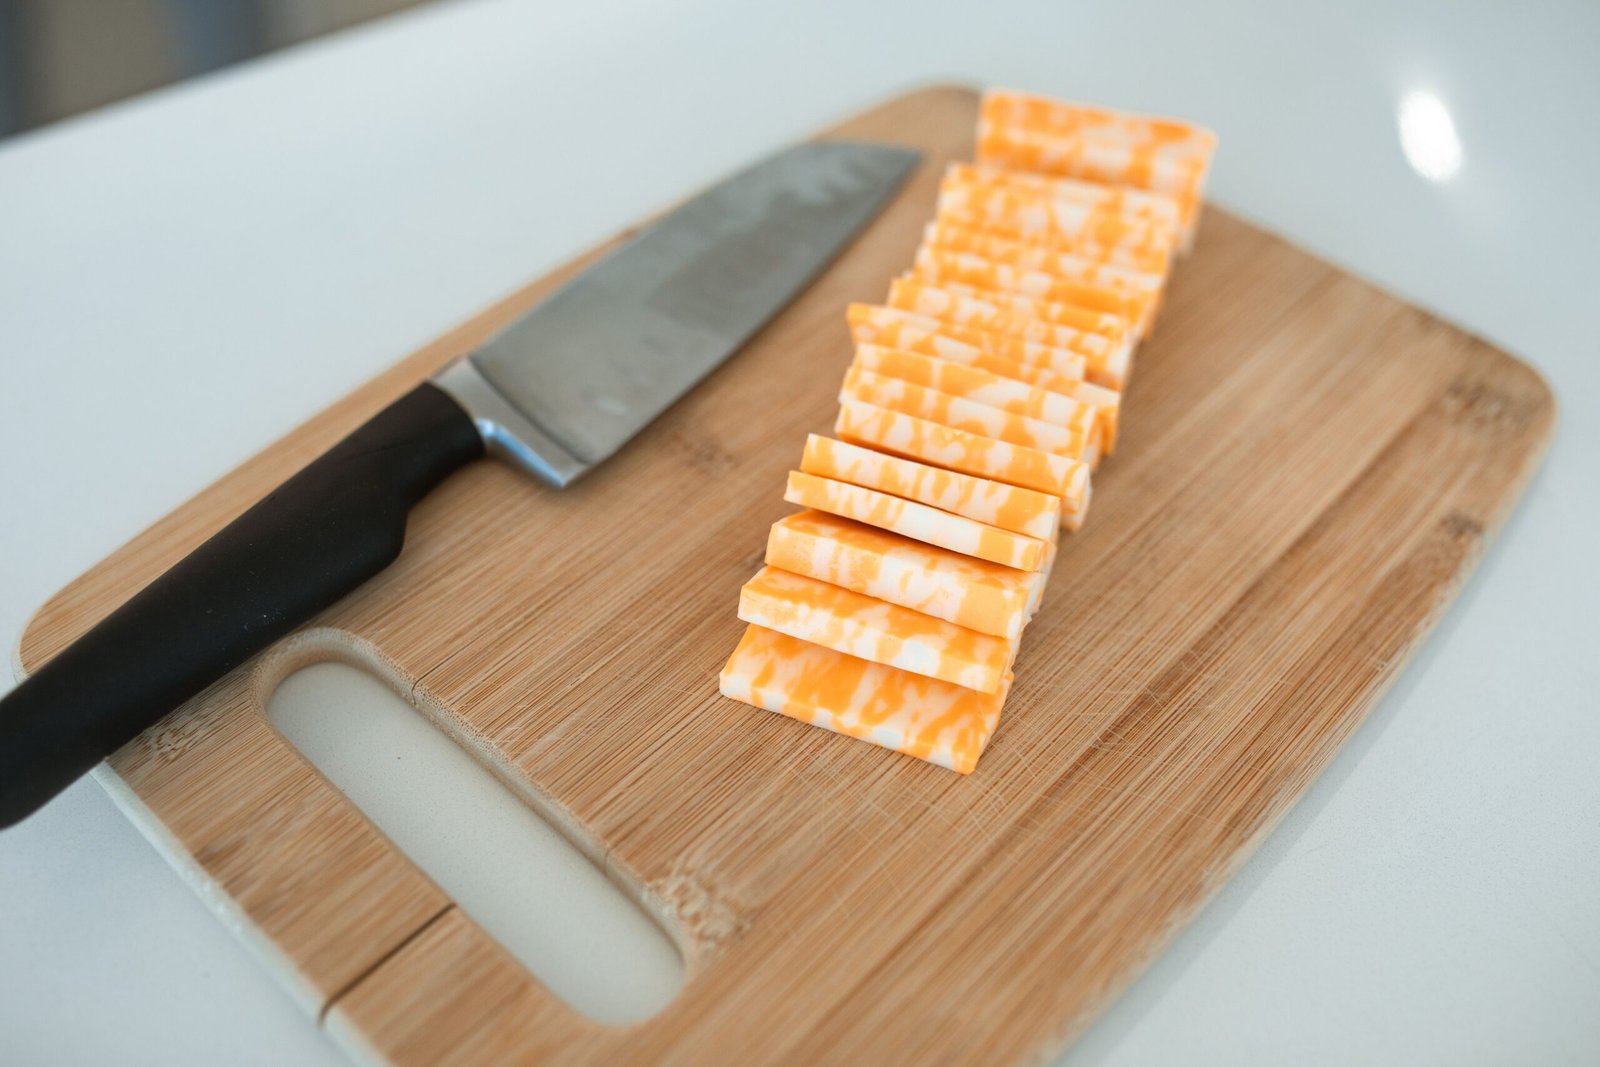
Chill the cheese first so it doesn’t stick to the blade or gum up the mechanism. Semi-hard to hard cheeses, cheddar, Swiss, Gouda, slice the most cleanly.

Slicing Vegetables Like a Pro
Firm vegetables like cucumbers, zucchini, and potatoes slice well too. Press down with steady, even pressure and clean the slicer thoroughly afterward before switching back to meat, to avoid cross-contamination.
Cleaning and Maintaining Your Meat Slicer
Daily Cleaning
Clean the slicer after every use, at minimum once a day, and wipe it down whenever you switch between meats and cheeses. Wash blade guards and food trays with soap and a food-grade degreaser, and check seams and gaskets for trapped residue. Our full meat slicer cleaning guide covers the complete process step by step.
Long-Term Maintenance
Sharpen the blade regularly, wearing gloves while you do it, and inspect components like the ring guard mount for wear. Consistent maintenance is what actually extends a slicer’s working life and keeps contamination risk low over years of use, not just a single good cleaning. Our guides on sharpening a meat slicer blade safely and maintaining a meat slicer for long-lasting use go deeper on both.
Troubleshooting Common Issues
Addressing Slicing Issues
Uneven or shredded slices almost always mean the blade needs sharpening. Trouble getting uniform thickness usually points to misalignment between the slicer table and the blade, check your manual for the adjustment procedure.
Fixing Jamming Problems
If the slicer jams, turn it off and unplug it before touching anything. Clear the blockage, then check whether the meat was simply too large for a clean pass. Cutting oversized pieces down before you start prevents most jams before they happen.
| Issue | Likely Cause | Fix |
|---|---|---|
| Uneven or shredded meat | Dull blade | Sharpen per manufacturer instructions |
| Inconsistent slice thickness | Table/blade misalignment | Adjust per your owner’s manual |
| Jamming | Oversized meat or debris | Unplug, clear the blockage, trim meat smaller next time |
If frozen meat is a regular part of your routine, our guide on slicing frozen meat with a meat slicer covers the different technique that requires, since it’s one of the more common causes of jamming and blade damage when done on a standard slicer.
Creative Uses for Sliced Meat
Meal Prep Ideas
A slicer saves real time on meal prep. Slice a batch of meat at the start of the week for sandwiches, salads, and cold-cut portions, and you get uniform slices and consistent flavor every day instead of whatever a knife gives you on a Tuesday morning.
Sandwiches and Platter Displays
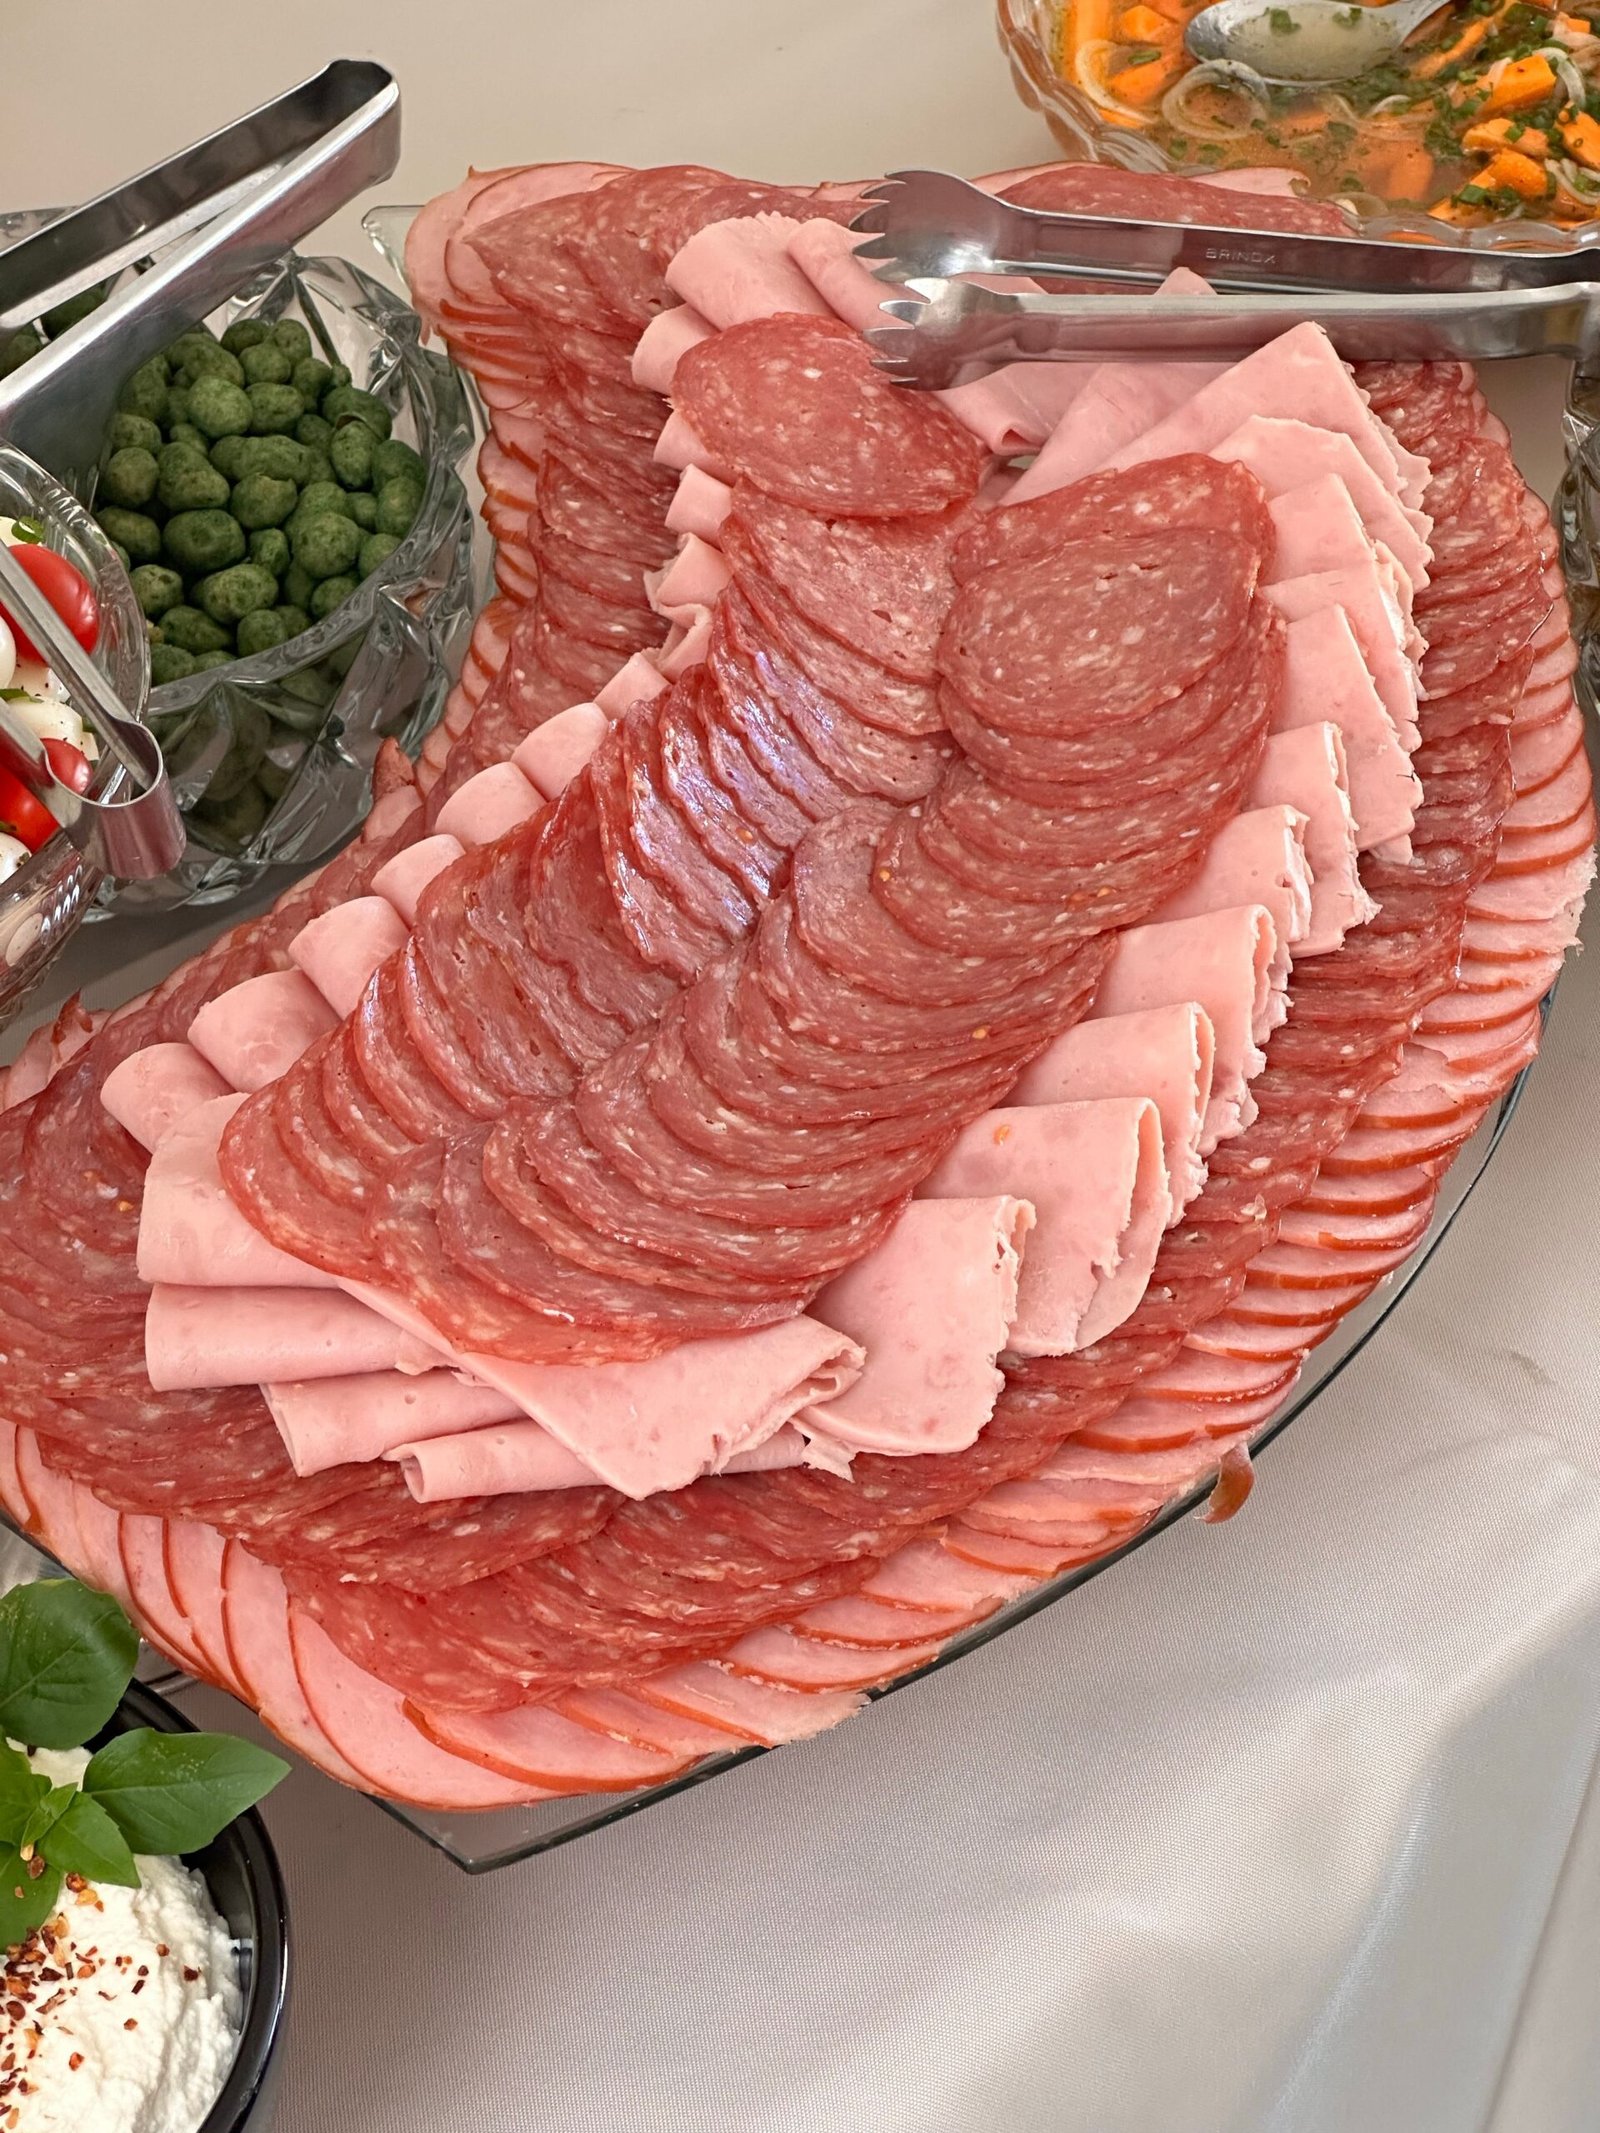
Varying slice thickness changes both texture and presentation. Thin slices layer beautifully on a sandwich or charcuterie board; slightly thicker cuts hold up better in a wrap or a hearty sandwich.

Storing Sliced Meat Safely
Recommended Storage Techniques
- Store sliced meats in airtight containers or wrap them tightly in plastic wrap or foil
- Refrigerate at 40°F (4°C) or below to slow bacterial growth
- Eat deli meats within 3-5 days of slicing; vacuum-sealing can extend that window
Best Practices for Keeping Meat Fresh
- Don’t leave sliced meat at room temperature for more than 2 hours. The USDA’s “Danger Zone” is 40°F to 140°F, the range where bacteria multiply fastest
- Keep sliced meat away from raw meat, poultry, and seafood to prevent cross-contamination
- Label and date everything you store so nothing gets forgotten in the back of the fridge
- Throw out anything that smells off, feels slimy, or has changed color
Tips for Beginners
Common Mistakes to Avoid
Applying too much pressure, skipping regular cleaning, and slicing frozen or bone-in meat are the mistakes that cause the most problems. Start with thicker slices while you’re building confidence, and work down to thinner ones as your technique improves. Never rush a cut, and always unplug the slicer before cleaning it.
Helpful Resources for Learning More
Beyond this guide, your owner’s manual, a few video tutorials, and hands-on practice will get you comfortable fast. Most people learn how to use a meat slicer confidently within their first few sessions. If you’re setting up a home slicer for the first time, our guide on disassembling a meat slicer is worth reading before your first deep clean.
Frequently Asked Questions
What’s the safest way to learn how to use a meat slicer for the first time?
Start with a light-duty task, like slicing a well-chilled block of cheese, before moving to meat. It lets you get comfortable with the pusher arm and thickness settings without the added risk of a bone-in cut or an oversized roast.
Can beginners use a meat slicer safely at home?
Yes, as long as you wear cut-resistant gloves, keep hands behind the pusher arm, and never rush. Most home accidents happen from skipping the gloves or getting overconfident after a few uses.
What thickness should I use for deli-style sandwich meat?
Somewhere around 1/8 to 1/4 inch is standard for sandwich-style deli meat. Test on a scrap piece first if you’re not sure your dial setting matches what you want.
Why does my meat slicer keep jamming?
Oversized pieces of meat and leftover debris in the mechanism are the two most common causes. Trim meat down before slicing and clean the slicer after every use to avoid both.
Is it safe to slice frozen meat on a regular meat slicer?
No, not on a standard slicer. Frozen or partially frozen meat can damage the blade and kick back unpredictably; see our guide on slicing frozen meat for the right approach if you need to do this regularly.
How do I know if my meat slicer blade needs sharpening?
If slices start coming out ragged, torn, or uneven instead of clean, that’s the clearest sign. A properly sharpened blade should glide through meat with light, even pressure.
Can I use a meat slicer for cheese and vegetables, not just meat?
Yes. Chilled semi-hard cheeses and firm vegetables like cucumbers and zucchini both slice well, as long as you clean the slicer thoroughly before switching back to meat.
Final Thoughts
Knowing how to use a meat slicer safely comes down to a handful of habits: gear up before you start, chill your meat properly, keep your hands behind the pusher arm, and clean the machine as often as the FDA recommends. Master those, and you’ll get consistent, professional-looking slices without ever putting your fingers at risk.


Hey, My name is MAMON. I am a SEO content creator and affiliate marketer with over 8 years of experience. I create honest product reviews, in-depth buying guides, and practical how-to articles to help readers make informed decisions. My mission is to provide trustworthy, research-backed content that delivers real value.