

Learning how to poach an egg is easier than most people think. You do not need a whirlpool, a splash of vinegar, or a special gadget. According to the American Egg Board, all it takes is gently simmering water, very fresh eggs, and 3 to 5 minutes of patience. In this guide, we walk through the classic stovetop method step by step, then cover poacher pans, silicone cups, the microwave, and an electric egg cooker. We also explain why fresh eggs matter so much, how to fix wispy whites, and how to serve poached eggs safely.
Key Takeaways
- Use 2 to 3 inches of gently simmering water in a saucepan or deep skillet.
- Cook each egg for 3 to 5 minutes, until the white is set and the yolk begins to thicken.
- The American Egg Board says vinegar and salt are not necessary and can flavor the eggs.
- Very fresh eggs hold their shape better and form fewer wispy strands.
- The Egg Board also advises against poaching eggs ahead and holding them in the refrigerator.

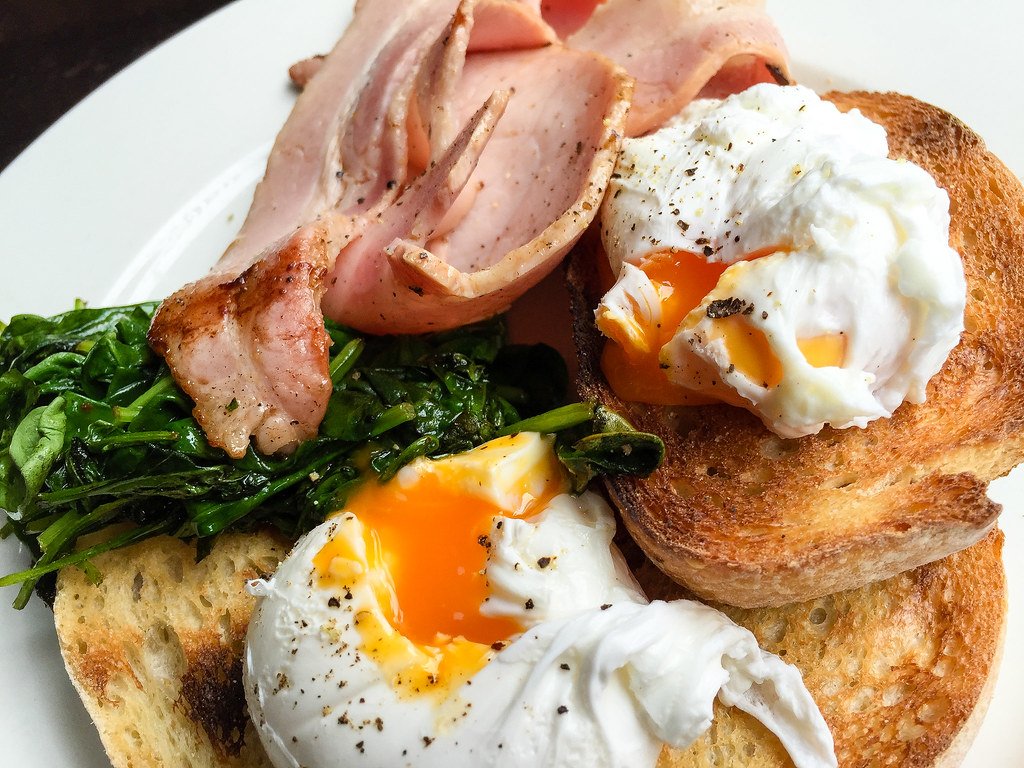
Photo: ultrakml via Flickr (CC BY 2.0).
What You Need to Poach an Egg
Before you learn how to poach an egg, gather a few basic tools. Most kitchens already have everything on this list.
- Saucepan or deep skillet: Something wide enough to hold 2 to 3 inches of water.
- Small cup or saucer: For cracking each egg before it goes into the water.
- Slotted spoon: For lifting the eggs out and draining them.
- Paper towels: To blot extra water before serving.
- Timer: Because a minute or two makes a big difference.
- Fresh eggs: The fresher, the better for poaching.
Optionally, a fine-mesh strainer helps remove the thin, watery part of the white before cooking. We explain that trick below.
How to Poach an Egg on the Stovetop: Step by Step
This is the method the American Egg Board recommends on its Incredible Egg site. Best of all, it works for 1 to 4 eggs at a time.
Step 1: Heat the Water
First, pour 2 to 3 inches of water into a large saucepan or deep skillet and bring it to a boil. Then lower the heat so the water simmers gently. You should see small bubbles at the bottom, but the surface should not be rolling. To save time, you can heat the water in an electric kettle first; our guide to the best electric kettle covers fast models.
Step 2: Crack Each Egg Into a Cup
Next, crack one cold egg into a small cup or saucer. That way, you can check for shell pieces and slide the egg in gently. Cracking directly over the pot often breaks the yolk or spreads the white.
Step 3: Slip the Egg Into the Water
Then hold the cup close to the water’s surface and slip the egg in. Repeat with the remaining eggs, leaving space between them. Notably, the Egg Board advises against swirling the water, since a vortex can disturb the egg.
Step 4: Cook for 3 to 5 Minutes
After that, cook the eggs without stirring for 3 to 5 minutes. They are done when the whites are completely set and the yolks begin to thicken but are not hard. For a runnier yolk, aim for the shorter end. For a firmer yolk, cook a little longer.
Step 5: Drain and Serve
Finally, lift each egg out with a slotted spoon and let the water drain off, or blot it on a paper towel. If you like a neat look, trim any ragged edges. Season with salt and pepper and serve right away.

Video: Food Network walks through poaching eggs for beginners.
Poached Egg Timing Guide
Since stoves and pans vary, use this chart as a starting point for large eggs straight from the refrigerator.
| Cook Time | White | Yolk | Best For |
|---|---|---|---|
| About 3 minutes | Just set | Very runny | Eggs Benedict, toast |
| About 4 minutes | Fully set | Runny and slightly thick | Avocado toast, salads |
| About 5 minutes | Firm | Thick, beginning to set | Grain bowls, soups |
Source: The 3- to 5-minute range comes from the American Egg Board. The per-minute descriptions are general guidance, so test one egg first.
Why Fresh Eggs Matter for Poaching
When you learn how to poach an egg, one detail surprises many cooks. For boiled eggs, older eggs peel more easily. For poached eggs, however, the opposite is true. According to the American Egg Board, very fresh eggs hold their shape better and form fewer of the wispy strands often called “angel wings.”
That is because an egg white has two parts: a thick inner white and a thin, watery outer white. As eggs age, more of the thick white turns thin. As a result, older eggs spread out in the water and leave stringy bits behind. So, if you plan to boil some eggs and poach others, use the oldest eggs for boiling and the freshest for poaching.
The Strainer Trick for Neater Eggs
If your eggs are not very fresh, a fine-mesh strainer helps. Crack the egg into the strainer over a bowl and let the thin white drain for a few seconds. Then tip the remaining egg into your cup and slide it into the water. In short, this simple step removes most of the liquid that turns into wispy strands.
Do You Need Vinegar to Poach an Egg?
Traditionally, many recipes call for a splash of vinegar. However, the American Egg Board says adding vinegar or salt to the water is not necessary and can flavor the eggs. In practice, fresh eggs and gently simmering water matter far more than any additive.
If you still like the idea, use only a small amount of white vinegar and taste the result. Otherwise, skip it and focus on egg freshness, water temperature, and timing.
Other Ways to Poach an Egg
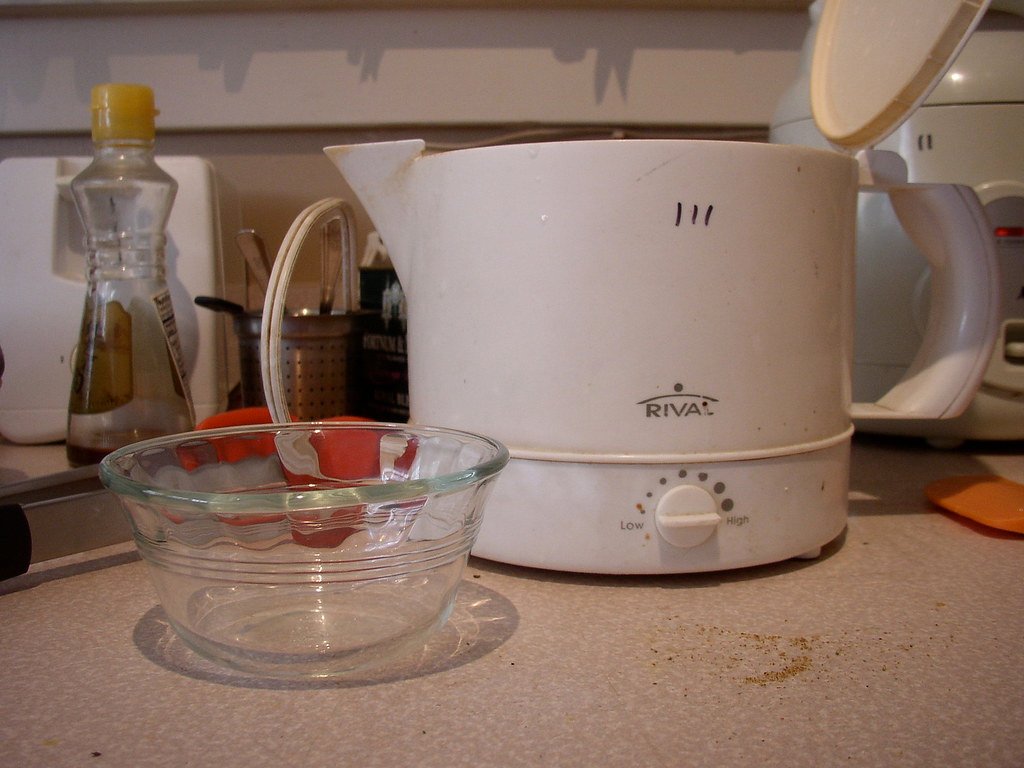
Photo: XWRN via Flickr (CC BY-SA 2.0).
Of course, the classic method is not the only way to poach an egg. Here is how the most common alternatives compare.
| Method | How It Works | Typical Time | Trade-Off |
|---|---|---|---|
| Classic stovetop | Egg cooks directly in simmering water | 3 to 5 minutes | Takes practice |
| Poacher pan | Egg steams in a cup above water | A few minutes, covered | Firmer, rounder egg |
| Silicone cups | Cups float in covered boiling water | About 5 minutes | Needs greasing |
| Microwave poacher | Egg cooks in a cup of water | About 1 to 2 minutes | Timing varies by wattage |
| Electric egg cooker | Poaching tray steams eggs automatically | Set by water level | Limited to 1 to 7 eggs |
Poacher Pans and Silicone Cups
Technically, these tools steam the egg rather than poaching it in water. Even so, they give a neat, round egg with almost no learning curve. Silicone cup brands commonly list about 5 minutes in a covered pan of boiling water. For the cleanest release, brush or spray each cup with a little oil first. If you use nonstick poacher cups, our guide on how to store nonstick cookware properly helps the coating last.
In the Microwave
To poach an egg in the microwave, add water to a microwave-safe poacher or small bowl, crack in the egg, and pierce the yolk once with a toothpick. Then cover loosely and cook in short bursts. Because microwave power varies, start with about a minute and add 10 to 15 seconds at a time. For more on steam cooking in the microwave, see our guide on how to use a microwave steamer.
In an Electric Egg Cooker
Conveniently, many electric egg cookers include a poaching tray. You add water to the line marked for poached eggs, crack eggs into the greased tray, and press start. Afterward, the cooker shuts off on its own when the water is gone, which makes it the most hands-off option.
How to Poach an Egg at High Altitude
Altitude changes how water behaves. According to Colorado State University Extension, water boils at about 203°F at 5,000 feet and about 198°F at 7,500 feet, compared with 212°F at sea level. As a result, a gentle simmer in Denver is cooler than a gentle simmer in Miami.
So, if you live at elevation, expect your eggs to need a little longer than the 3- to 5-minute range. Start checking at 4 minutes and add 30 seconds at a time until the whites are fully set. In addition, keep the heat steady, since cooler water gives the white more time to spread.
How to Poach an Egg for Eggs Benedict
Eggs Benedict is the classic reason many people learn how to poach an egg. Because timing matters, prepare everything else first so the eggs go straight to the plate.
- Make the sauce: First, prepare your hollandaise and keep it warm over very low heat.
- Warm the toppings: Next, toast English muffins and brown slices of Canadian bacon or ham.
- Poach the eggs: Then poach 2 to 4 eggs for about 3 minutes for a runny yolk.
- Drain well: After that, blot each egg on a paper towel so the muffin does not get soggy.
- Assemble: Finally, stack muffin, bacon, and egg, then spoon sauce over the top and serve at once.
In short, the poached egg should be the last thing you cook. That way, every part of the dish reaches the table hot.
Common Poaching Problems and Fixes
| Problem | Likely Cause | Fix |
|---|---|---|
| Wispy, stringy whites | Older eggs with more thin white | Use fresher eggs or strain first |
| Egg falls apart | Water boiling too hard | Lower to a gentle simmer |
| Egg sticks to the pan | Water too shallow | Use 2 to 3 inches of water |
| Broken yolk | Cracking directly into the pot | Crack into a cup first |
| Watery plate | Egg not drained | Blot on a paper towel |
| Vinegar taste | Too much vinegar | Skip it, since it is not necessary |
How to Poach an Egg for a Crowd
Naturally, poaching for brunch takes a little planning. For example, a wide, deep skillet lets you cook 4 eggs at once without crowding. Add the eggs in a clockwise order so you remember which went in first, then remove them in the same order.
However, the American Egg Board advises against poaching eggs ahead of time and holding them in the refrigerator. So, if you are feeding a group, cook in batches and serve each batch immediately. Meanwhile, keep toast, bacon, or other sides warm in a low oven.
Is a Runny Poached Egg Safe?


Photo: jh_tan84 via Flickr (CC BY 2.0).
A soft, flowing yolk is the reason most people learn how to poach an egg. However, a runny yolk is not fully cooked. The Egg Safety Center notes that cooking eggs until the white and yolk are firm helps destroy bacteria.
- Healthy adults: Use fresh, refrigerated eggs and cook until the whites are fully set.
- Higher-risk groups: For young children, older adults, pregnant people, and anyone with a weakened immune system, cook the yolk until firm or use pasteurized eggs.
- Serve right away: Poached eggs are best eaten immediately.
Easy Ways to Serve Poached Eggs
- Eggs Benedict: First, layer an English muffin, Canadian bacon, a poached egg, and hollandaise.
- Avocado toast: Next, spread mashed avocado on toast and top with an egg and chili flakes.
- Grain bowls: Also, add a poached egg to rice, quinoa, and roasted vegetables.
- Steamed vegetables: Finally, serve an egg over greens; our guide on steaming broccoli in the microwave makes a fast side.
If you prefer a fried egg on toast instead, our guide on cooking eggs in a cast iron skillet without sticking covers every step.
Frequently Asked Questions
How long does it take to poach an egg?
According to the American Egg Board, cook the egg in gently simmering water for 3 to 5 minutes, until the white is set and the yolk begins to thicken.
Should I add vinegar when I poach an egg?
It is not necessary. In fact, the Egg Board says vinegar and salt can flavor the eggs. Fresh eggs and gentle heat matter more.
Should I swirl the water?
The Egg Board advises against it, since the vortex can disturb the egg. Instead, slip the egg in gently from a cup held close to the water.
Why do my poached eggs have stringy whites?
Usually, the eggs are older and have more thin white. So, use fresher eggs or drain the thin white through a fine-mesh strainer first.
Can I poach eggs ahead of time?
The Egg Board advises against poaching eggs ahead and holding them in the refrigerator. Therefore, cook and serve them right away.
Can I poach an egg in broth or sauce?
Yes. In fact, many dishes poach eggs directly in a simmering liquid, such as tomato sauce for shakshuka or broth for soup. The same rules apply: keep the liquid at a gentle simmer, slip the eggs in from a cup, and cover the pan so the tops set. Cook until the whites are firm, then serve the eggs right in the sauce.
What is the best pan to poach an egg in?
Generally, a wide saucepan or deep skillet works best, since it holds 2 to 3 inches of water and leaves room between eggs. A nonstick surface also helps prevent sticking.
How many eggs can I poach at once?
A large saucepan or deep skillet comfortably holds 2 to 4 eggs. Leave space between them so they do not stick together.
Final Thoughts
Now you know how to poach an egg the simple way. Heat 2 to 3 inches of water to a gentle simmer, slip in very fresh eggs from a cup, and cook for 3 to 5 minutes. Skip the vinegar and the whirlpool, drain each egg well, and serve right away. Once you master the basic method, you can try a poacher pan, silicone cups, or an egg cooker for even easier mornings.


Hey, My name is MAMON. I am a SEO content creator and affiliate marketer with over 8 years of experience. I create honest product reviews, in-depth buying guides, and practical how-to articles to help readers make informed decisions. My mission is to provide trustworthy, research-backed content that delivers real value.