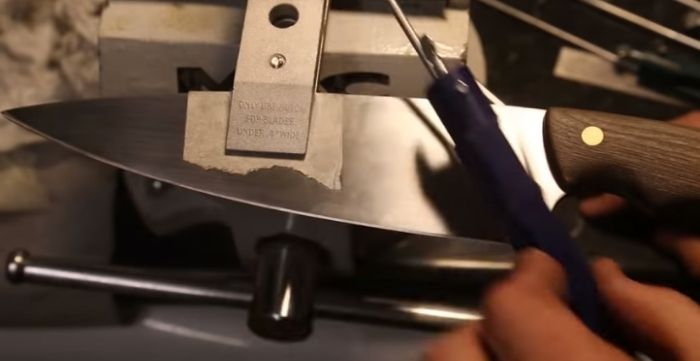
Cutting random food ingredients in your kitchen is impossible without the use of kitchen knives. Many of us even want to keep different knives for different food ingredients. If you are in need of a kitchen knife, you can search on the market. But it can be pretty costly to buy several knives at once. Instead, if you make them at home, you are not only saving some money, but your skill with DIY projects will also increase.
Unfortunately, if you search online for guides, you will rarely come across one that will explain everything to you in detail. Hence, we prepared this step-by-step guide to help you make your first DIY kitchen knife.
Preparations
Before you start with the project, you got to create the layout and complete some steps. They are musts to do. Complete the steps below to start with your DIY kitchen knife task-
- Material Selection- The type of steel you select for the knife blade will directly affect its performance and adaptability. You can use whether stainless steel or 0-1 tool steel. Stainless steel is high heat and rust-resistant steel. Meanwhile, tool steels are abrasion-resistant and are suitable to be turned into tools. They are good for sharp cutting edges. For the handle, you can use any rosewood.
- Designing- Almost all of us have handled a kitchen knife at some point. So, it should not be hard to picture and design it. But still, it is advised to get another kitchen knife and take reference from it to make the layout. The handle should be thick and long enough for your hand to fit perfectly. For average hands, 5.5 inches long by 1/8 inches thick handle will be suitable. Also, get creative on the shape. You can put amazing designs on the grips. The blade should be 6.6 inches long and 1/8 inches thick.
- Get Your Materials- You can easily find the steels on various online or real-life shops. Order the metal bars of 1/8 by 2 inches size. Also, order some dowels with a ¼ inches size to use as the pins of the handle.
- Cut the Materials- Now, put marks on the steel bar based on the designs you made. Make sure that the layout you drew was full-scale. You can do the cutting using a metal grinder. Cut both the blade and handle part carefully. While cutting, dip it inside a water bucket to prevent overheating.
- Protections- As you will be welding, wear welding gloves, goggles, and masks as means of protection.
Sanding Up the Steel
To perfectly clean up the steel cuts, you will need to sand it. For the top part of the blade, you got to use a sand belt. It is more applicable if you use it with a bench clamp. The sandpaper should be around 80 grit. For the handle, you may use sand drums.
For sanding drum, use it on a Dremel. You will also need a grinder mounted on a bench. The result may not be precise enough on your first few tries. But you will gradually get used to it.
Tapering Down the Edge
Your next task is to remove metal from the blade to make the edge smoothly sharp. To do it, you need to keep the spine (Opposite side of the edge) at 1/8 inches and taper down from there towards the edge side. While doing it, you may face issues. The surface may not be accurately tapered. So, stay careful.
Afterward, mark the center of the edge. Do it with a pencil, or, if possible, scribe it. One thing to remember is that if you make the edge too thin, it may end up getting ruined. Hence, keep it around 1/32 inch thick. While using the sand-belt, keep the edge towards the opposite direction of the belt sander. Although it seems odd, it is the right way.
Creating the Scale
The scales on the handle should be accurately cut if you want to have a good result. The handle size for average hands will be 0.75 (48/64) inches thick. However, there are other things you should remember. The size of each scale will be according to this calculation-
(Scale thickness – Metal thickness)/2
In this case, it is- (48/64 – 8/64)/2 inches = 20/64 inches.
Your next step will be to mark down the shape of the metal on the wooden piece. Also, make sure that one side of each scale is precisely smooth. Now, cut down the wood so that it comes down to a suitable size. But don’t make it too accurate yet. Do it after you have glued them on the metal handle.
Afterward, cut holes of ¼ diameter on the scales and the metal for the pin. Make sure each hole aligns perfectly. Also, cut down the dowels using a band saw up to a bit much than .75 inches long. Sanding them will make them precisely .75 inches.
Conclusion
Remember that your kitchen knife should be perfectly balanced between the handle and the blade, as all things should be. You can use cavities if the handle turns out to be lighter. Do not get frustrated if your result doesn’t turn out so good the first time. Success requires patient and tries.
