

Learning how to make a cutting board is one of the best first projects in woodworking. It teaches you to choose lumber, glue panels, flatten, sand, and finish, and you end up with something you will use every day. In this guide, you will build a classic edge grain board about 11 x 17 x 1.25 inches. We cover the right wood, the tools you actually need, and every step from rough lumber to the final coat of oil. Along the way, we include the specs that matter, such as glue open time and target moisture content.

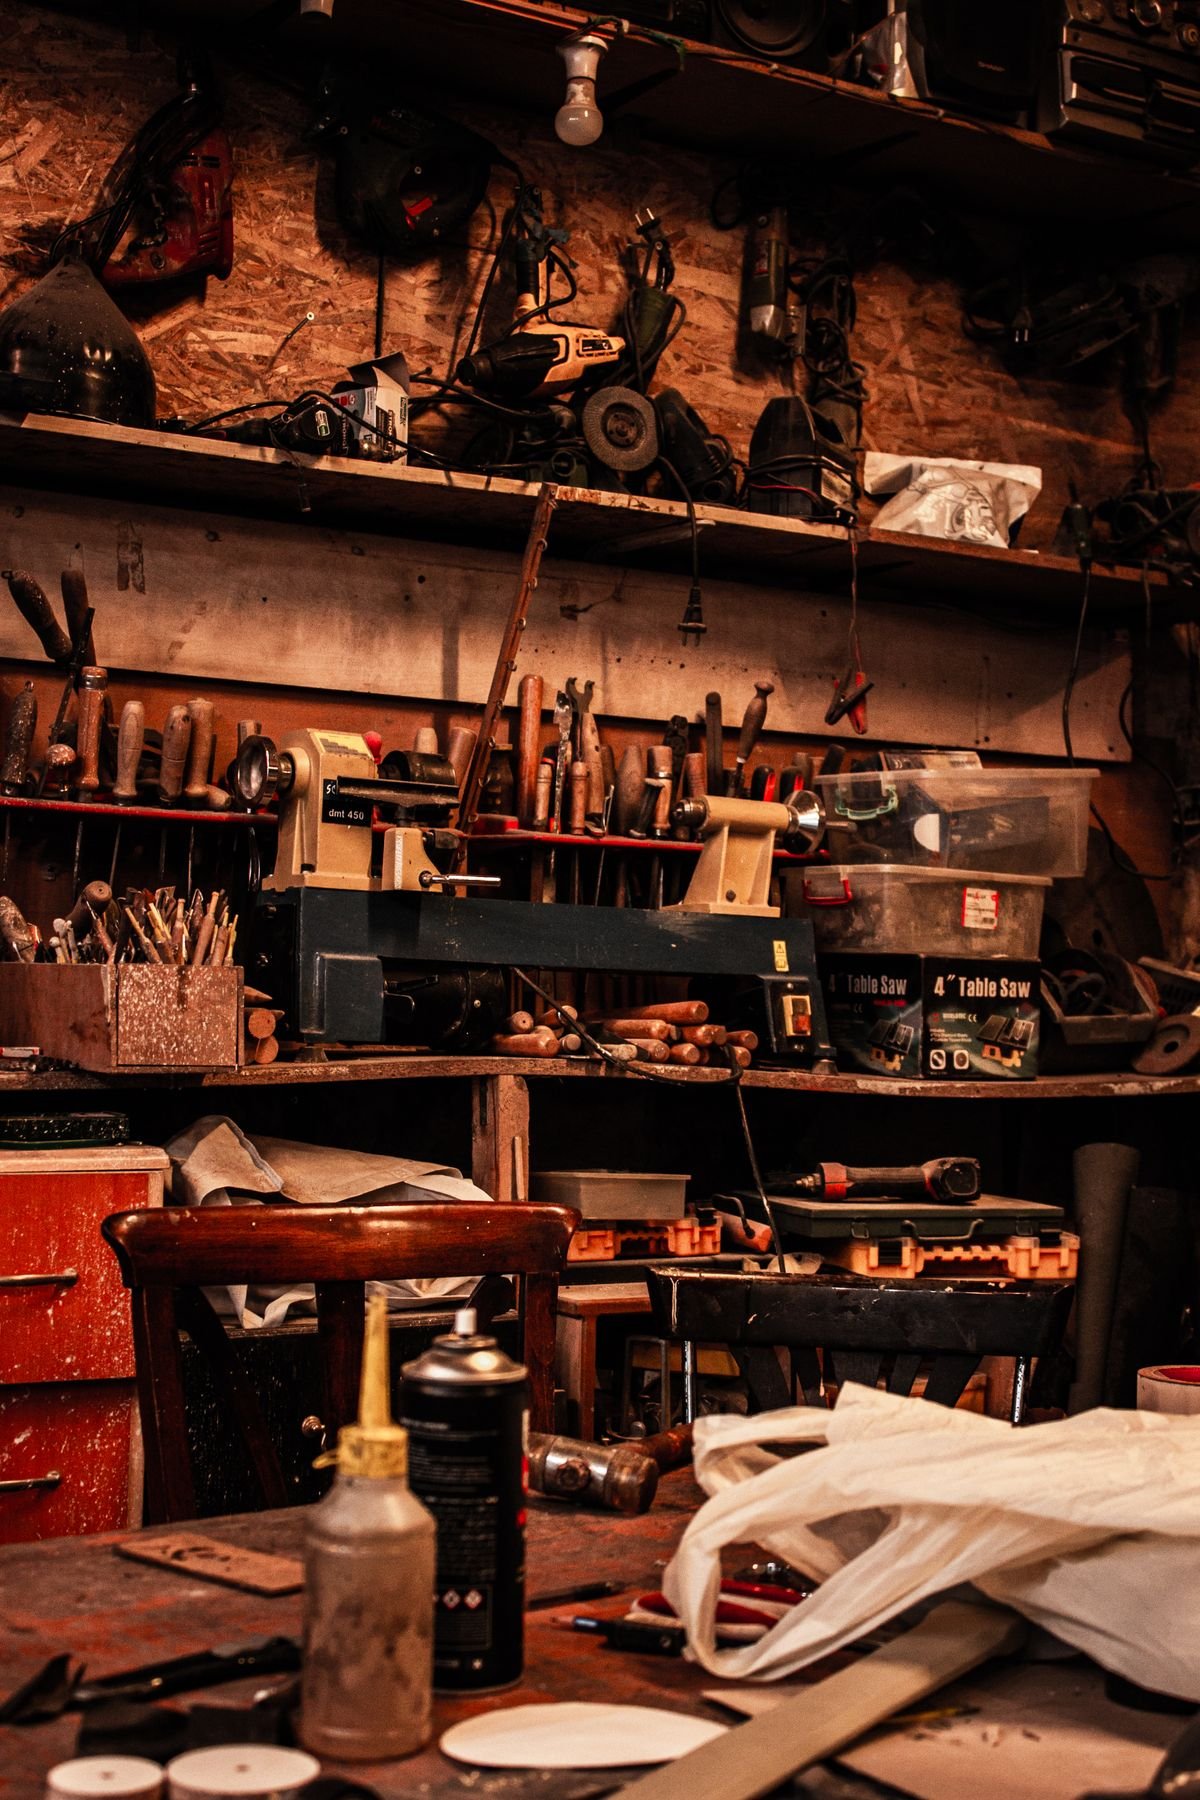
Photo: Kordanalev via Pexels.
Key Takeaways
- Use a closed-grain hardwood such as hard maple, walnut, or cherry.
- Start with lumber dried to about 6 to 8 percent moisture content, so the board stays flat.
- Titebond III is FDA approved for indirect food contact and gives you 8 to 10 minutes of open time.
- Sand through 80, 120, 180, and 220 grit, then raise the grain once before the final pass.
- Finish with food-grade mineral oil and a beeswax blend, never a film finish like polyurethane.
Project at a Glance
| Detail | Recommendation |
|---|---|
| Skill level | Beginner |
| Board style | Edge grain |
| Finished size | About 11 x 17 x 1.25 inches |
| Strip width | 1.5 to 2 inches |
| Active work time | About 4 to 6 hours |
| Total time | 2 days (glue needs to cure overnight) |
| Glue | Titebond III Ultimate Wood Glue |
| Finish | Food-grade mineral oil + wax |
Step 1: Choose the Right Wood
When you figure out how to make a cutting board, wood choice matters more than any tool. A good board wood is hard enough to resist deep cuts, yet soft enough to protect your knife. It should also have tight, closed pores, so food and water stay on the surface. For example, hard maple rates about 1,450 lbf on the Janka hardness scale, walnut about 1,010 lbf, and cherry about 995 lbf. All three are proven board woods.
On the other hand, a few species are better left out:
- Red oak. Its open pores act like tiny straws that wick up moisture.
- Softwoods such as pine. They dent and scar too easily.
- Some exotics. Certain tropical species can irritate skin, so stick with domestic hardwoods for your first build.
For a deeper comparison of species, see our guide to the best wood for cutting boards.

Photo: cottonbro studio via Pexels.
Check the Moisture Content
Wet wood shrinks as it dries, and that can crack glue joints or cup your board. According to Purdue University Extension, hardwood lumber for furniture and similar indoor products should be kiln dried to 6 to 8 percent moisture content. Therefore, buy kiln-dried lumber from a hardwood dealer and let it sit in your shop for a few days. If you own a moisture meter, check a few spots on each board before you cut.
Step 2: Gather Your Tools and Supplies
You do not need a full shop to learn how to make a cutting board. However, a few tools make the job far easier. Here is a realistic list, split into must-haves and nice-to-haves.
Must-Haves
- Table saw or circular saw with a straightedge guide
- At least 3 bar or parallel clamps long enough to span the panel width
- Waterproof wood glue, such as Titebond III
- Random orbit sander and discs in 80, 120, 180, and 220 grit
- Tape measure, square, and pencil
- Food-grade mineral oil and board wax
- Safety glasses, hearing protection, and a dust mask
Nice-to-Haves
- Jointer and thickness planer for milling rough lumber
- Router with a roundover bit for soft edges
- Moisture meter
- Glue roller or silicone brush
Recommended Supplies on Amazon
These are the supplies we would buy for a first board. Each one solves a specific problem in the process.
1. Titebond III Ultimate Wood Glue (32 oz, 2-Pack)


Image: Amazon
Best glue. This is the glue most board makers reach for. It is waterproof, FDA approved for indirect food contact, and cleans up with water while wet. The 2-pack of 32-ounce bottles is a lot for one board. Still, if you plan on making cutting boards as gifts, it is better value than small bottles.
- Rating: 4.8 stars from 521 ratings
- Open time: 8 to 10 minutes (per Titebond)
- Cure: 24 hours
2. BESSEY K-Body REVOlution 12-Inch Parallel Clamps (2-Pack)


Image: Amazon
Best clamps. Parallel clamps keep their jaws square, so the panel stays flat instead of bowing. Each clamp offers 12 inches of capacity, a 3-3/4-inch throat, and up to 1,700 lbs of force. Plus, the removable pads resist glue. You will want two packs, so you can alternate clamps above and below the panel.
- Rating: 4.8 stars from 23 ratings
- Capacity: 12 inches per clamp
- Best for: Panels up to about 11 inches wide
3. General Tools MMD4E Moisture Meter


Image: Amazon
Best for checking lumber. A meter takes the guesswork out of the 6 to 8 percent target. This pin-type model reads from 5 to 50 percent in wood and shows results on a backlit display. Moreover, it includes spare pins and a cap that doubles as a calibration check.
- Rating: 4.5 stars from 15,261 ratings
- Wood range: 5 to 50 percent
4. WALRUS OIL Cutting Board Oil (8 oz)


Image: Amazon
Best finish. This blend combines mineral oil, fractionated coconut oil, beeswax, and vitamin E in one bottle. As a result, you get oil and a light wax in a single step. It is FDA compliant for food-contact surfaces and made in the USA.
- Rating: 4.8 stars from 7,445 ratings
- Ingredients: Beeswax, fractionated coconut oil, mineral oil, vitamin E
Step 3: Rip the Strips
First, joint one edge of each board, or use a straight factory edge. Then rip the boards into strips about 1.5 to 2 inches wide. Strip width becomes the thickness of your finished board, so cut a little extra; for example, 1.5-inch strips flatten to roughly 1.25 inches. Next, cut every strip about 2 inches longer than your finished length. That way, you can trim off uneven ends later.
Safety comes first here. Always use a push stick, keep the blade guard on, and never stand directly behind the blade. Likewise, keep your hands well clear of the cut line, just as you would when slicing in the kitchen. Our tips on how to prevent cuts in the kitchen follow the same idea: control the work and keep fingers out of the path.
Step 4: Arrange the Pattern
Now comes the fun part. Lay the strips on your bench and turn each one so that the best face points up. Mixing species, such as maple with a walnut accent strip, adds contrast. In addition, look at the end of each strip. Alternating the direction of the growth ring arcs helps balance wood movement, so the board is less likely to cup.
Once you like the layout, draw a large “V” or triangle across the strips with a pencil. As a result, you can put everything back in order quickly during glue-up.
Step 5: Dry-Fit and Glue Up
Before you open the glue, do a full dry run with clamps. That way, you will know you have enough clamps and that every joint closes tight. Afterward, follow this sequence:
- Check the temperature. Titebond lists a minimum of about 45 to 47°F for the glue, air, and wood.
- Spread glue on one face of each joint. Use a roller or brush for a thin, even coat with full coverage.
- Work fast. According to Titebond’s product data, Titebond III has 8 to 10 minutes of open assembly time at 70°F.
- Clamp evenly. Alternate clamps above and below the panel to keep it flat. Tighten until a small bead of glue squeezes out along each seam.
- Keep the panel flat. Meanwhile, tap the strips level with a mallet while the glue is still wet.
Titebond III is FDA approved for indirect food contact, which is why it is the go-to glue for cutting boards. It also passes the ANSI Type I water resistance test, so it holds up to regular washing.

Video: Woodcraft shows how to make a cutting board step by step.
Step 6: Let the Glue Cure
Patience is a big part of how to make a cutting board well. Leave the panel in the clamps for at least an hour. Then remove it and set it on edge so air reaches both faces. Most woodworkers wait a full 24 hours before planing or sanding. This is because glue that is not fully cured can gum up sandpaper and leave a slightly raised line at each joint. While you wait, scrape off any rubbery squeeze-out with a card scraper or putty knife. Removing it now is far easier than sanding hard glue later.
Step 7: Flatten the Board
Even a careful glue-up leaves small ridges between strips. So, you need to flatten both faces. You have three good options:
- Thickness planer. The fastest method for edge grain boards. Take light passes of about 1/32 inch.
- Router sled. A great choice if your board is wider than your planer.
- Hand plane or belt sander. Slower, but it works with very few tools.
Important: never run an end grain board through a planer. The blades can catch the short fibers and tear the board apart. That is one reason edge grain is better for beginners.
Step 8: Cut to Size and Shape the Edges
Next, square up the board. Trim both ends with a miter saw or a crosscut sled on your table saw, aiming for about 17 inches long. Then soften the edges. A 1/4-inch roundover bit in a router gives a comfortable, professional look. Alternatively, you can sand a small chamfer by hand.
This is also the time for extras. For instance, you can rout a juice groove about 1/2 inch from the edge, or cut finger grips on each end. Keep the first board simple, though. You can always add features on the next one.
Step 9: Sand and Raise the Grain
For many beginners, sanding is the part of how to make a cutting board that matters most, because it makes a homemade board feel store-bought. Start with 80 grit if the surface is rough, then move to 120, 180, and finally 220. Do not skip grits, because each one removes the scratches from the last.
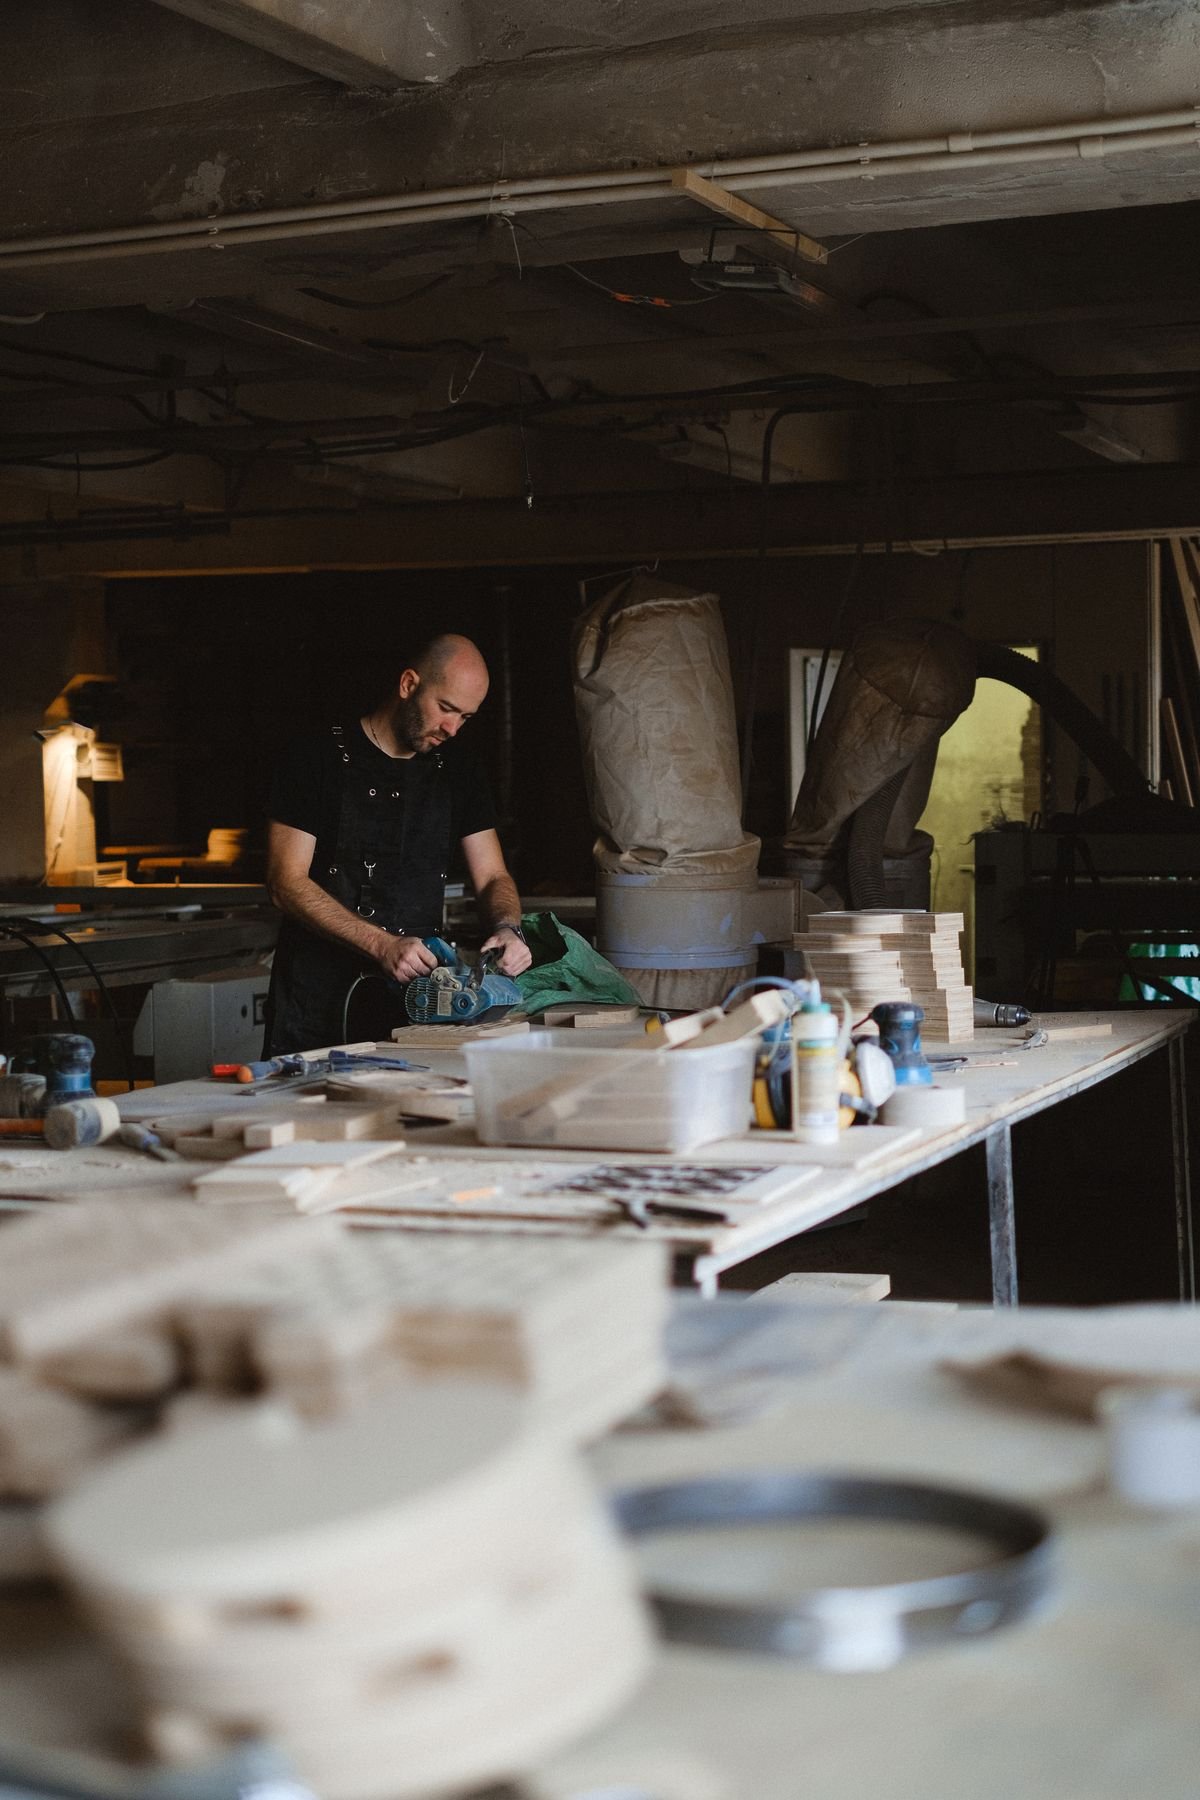
Photo: Anna Shvets via Pexels.
After the 220-grit pass, wipe the whole board with a damp cloth and let it dry for about an hour. The water lifts loose fibers, which makes the surface feel fuzzy. Then sand lightly once more with 220 grit. Consequently, the board stays smooth the first time you wash it, instead of turning rough.
Step 10: Apply a Food-Safe Finish
Finally, it is time for the most satisfying part of how to make a cutting board: bringing out the color. Flood the board with food-grade mineral oil, including the edges and ends. Let it soak in for 20 to 30 minutes, then wipe off the excess. Repeat this process until the wood stops absorbing oil, usually three or four coats over a day or two. After that, rub on a beeswax and mineral oil blend and buff it with a clean cloth.
Avoid polyurethane, lacquer, and varnish. These film finishes chip under a knife, and the flakes can end up in food. Also, skip cooking oils such as olive or vegetable oil, because they can turn rancid over time. To keep your new board in great shape, follow our guide on how to take care of a wooden cutting board.
Edge Grain vs. End Grain for Your First Board
Most guides on how to make cutting boards start with edge grain, and for good reason. It needs only one glue-up, it can go through a planer, and it uses less wood. End grain boards, by contrast, need two glue-ups, many more cuts, and careful flattening. They are kinder to knives, but they are also much harder to get right. So, build an edge grain board first, then tackle end grain once you are comfortable with gluing and flattening.
Common Mistakes to Avoid
Even when you know how to make a cutting board, small slips can ruin a weekend of work. Watch out for these:
- Using wet lumber. Wood above roughly 8 percent moisture can shrink and crack later.
- Starving the joints. Too little glue leads to weak seams. Instead, aim for a thin bead of squeeze-out.
- Over-tightening clamps. Excess pressure squeezes out too much glue and can bow the panel.
- Skipping grits. Jumping from 80 to 220 leaves swirl marks that show once the oil goes on.
- Making it too thin. Boards under about 3/4 inch tend to warp, so aim for 1 to 1.5 inches.
- Using a film finish. Polyurethane looks great at first but fails under knife cuts.
Is It Cheaper to Make or Buy?
If you already own the tools, making cutting boards is usually cheaper than buying a premium board. Hardwood offcuts are often sold at a discount, and one board needs only a few board feet. On the other hand, if you need to buy clamps, a sander, and a saw, your first board will cost more than a store-bought one. The value then comes from the skills and from every board after that. If you would rather buy, our roundups of the best large wooden cutting board options and small cutting boards for kitchen use are good places to start.
FAQ
What is the best glue for making a cutting board?
Titebond III is the most popular choice. It is waterproof (ANSI Type I) and FDA approved for indirect food contact.
How thick should a homemade cutting board be?
Aim for 1 to 1.5 inches. Thinner boards can warp, while thicker ones get heavy.
Can I make a cutting board without a planer?
Yes. A hand plane, router sled, or belt sander can flatten an edge grain board. It simply takes longer.
How long should glue dry before sanding?
Clamp for at least an hour, but wait about 24 hours before planing or heavy sanding.
Is a homemade cutting board safe for food?
Yes, as long as you use a closed-grain hardwood, a food-safe glue, and a food-grade oil finish. For more on board safety, read our guide to cutting boards that are the safest and healthiest.
Final Thoughts
Now you know how to make a cutting board from start to finish. Pick dry hardwood, glue carefully within the open time, flatten, sand through the grits, and oil it well. Your first board may not be perfect, and that is fine. Each one teaches you something new. Before long, you will be making boards as gifts for friends and family.


Hey, My name is MAMON. I am a SEO content creator and affiliate marketer with over 8 years of experience. I create honest product reviews, in-depth buying guides, and practical how-to articles to help readers make informed decisions. My mission is to provide trustworthy, research-backed content that delivers real value.