

If your copper kettle has turned dull brown, dark gray, or even spotted with green, the good news is that you can bring it back with items already in your pantry. Learning how to clean copper kettle surfaces properly comes down to one idea: a mild acid dissolves tarnish, and a gentle abrasive lifts it away. This guide covers four proven methods, how to treat the inside of the kettle safely, and what to do differently with a copper electric kettle or copper gooseneck kettle.
Before you grab a scrub pad, though, take a minute to identify what kind of copper you have. A lacquered or plated finish needs very different care than solid copper, and the wrong method can strip a coating in seconds.
Key Takeaways
- Tarnish is a thin layer of copper oxide; acids such as lemon juice and vinegar dissolve it quickly.
- Lemon juice contains roughly 48 g of citric acid per liter, which explains why lemon and salt work so well.
- Lacquered and copper-plated kettles should only get mild soap and water, never polish or abrasives.
- The FDA Food Code bars copper from direct contact with foods below pH 6, so rinse thoroughly after any acid treatment.
- Drying the kettle after every use is the simplest way to slow new tarnish.
Why Do Copper Kettles Tarnish?
To understand how to clean copper kettle tarnish, it helps to know what it is. Copper is a reactive metal. When it meets oxygen in the air, it forms copper oxide on
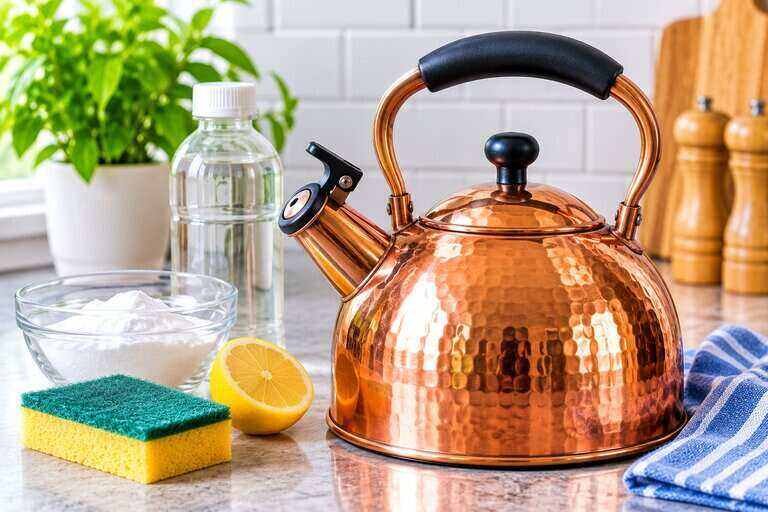

the surface. At first, this layer looks like a warm, darker brown. Then, over time, it deepens to almost black. Heat speeds up the process, which is why a stovetop kettle tarnishes faster than a decorative copper pot on a shelf.
In addition, moisture adds another stage. When water, oxygen, and carbon dioxide act on copper together for long periods, they create copper carbonate, the blue-green patina often called verdigris. The Statue of Liberty is the most famous example; its copper skin was originally the color of a new penny.
For a kettle, tarnish is mostly a cosmetic issue. However, a heavy green patina on the outside is a sign that water has been sitting on the surface, and it should be removed before it builds up. Fortunately, all of these layers are very thin, so they come off with the right cleaner.
First, Check What Kind of Copper Kettle You Have
Not every kettle that looks copper is solid copper. Therefore, identifying the material is the most important step before you start. This quick guide shows how to clean copper kettle types without damaging them:
| Kettle Type | How to Identify It | Safe Cleaning Method |
|---|---|---|
| Solid copper, unlined exterior | Tarnishes within weeks; heavy for its size | Acid and salt, or copper cream |
| Copper with tin lining | Soft, silvery-gray interior | Polish outside; soft sponge only inside |
| Copper with stainless lining | Bright, hard silver interior | Polish outside; descale inside normally |
| Lacquered copper | Stays shiny for years; glossy feel | Mild dish soap and water only |
| Copper-finish electric kettle | Plug-in base; often stainless with copper plating | Damp microfiber cloth, no abrasives |
Also, a simple test helps when you are unsure. Hold a small magnet against the body. Copper is not magnetic, so if the magnet sticks firmly, the kettle is steel with a copper finish. In that case, skip the polishing methods below and jump to the electric kettle section.
What You Need to Clean a Copper Kettle
Luckily, most of these supplies are probably already in your kitchen. Gather them before you begin:
- Lemons or bottled lemon juice: The main source of citric acid.
- White distilled vinegar: An inexpensive acetic acid cleaner.
- Table salt or coarse kosher salt: A gentle abrasive that dissolves as you work.
- All-purpose flour: Turns vinegar and salt into a paste that clings.
- Soft cloths or microfiber towels: For polishing and drying.
- Non-scratch sponge: Avoid steel wool, which leaves deep scratches.
- Mild dish soap: For the final wash.
- Optional copper cream: A commercial polish for heavy tarnish.
How to Clean a Copper Kettle: 4 Proven Methods
Each method below works on solid copper exteriors, and together they cover how to clean copper kettle tarnish at every stage. Start with the gentlest option, and only move to a stronger one if the tarnish does not budge.
Method 1: Lemon and Salt
This is the classic approach, and it works because of simple chemistry. A study in the Journal of Endourology measured about 48 g of citric acid per liter of fresh lemon juice. That acid reacts with copper oxide and dissolves it, while salt grains provide a light scrubbing action.
- First, wash the kettle with warm, soapy water to remove grease and dust.
- Next, cut a lemon in half and dip the cut side into a small pile of salt.
- Then rub the lemon over the tarnished areas using small circular strokes. Squeeze gently to release more juice as you go.
- After that, let the juice sit for one or two minutes on stubborn spots.
- Finally, rinse with warm water and dry immediately with a soft cloth.
In most cases, you will see the tarnish lift within seconds. Light discoloration usually disappears in a single pass, whereas older, darker tarnish may need two or three rounds.
Method 2: Vinegar, Salt, and Flour Paste
For larger kettles or vertical surfaces, a paste stays in place better than lemon juice. White vinegar sold in the U.S. must contain at least 4 g of acetic acid per 100 mL, according to FDA guidance, so it is strong enough to cut through moderate tarnish.
- To start, mix equal parts white vinegar, salt, and flour into a thick paste. About two tablespoons of each covers a standard 2-quart kettle.
- Next, spread the paste over the tarnished copper with a soft cloth.
- Then leave it on for 15–30 minutes. For heavy tarnish, you can extend this to an hour.
- Afterward, rinse thoroughly with warm water, wash with mild soap, and dry.
Method 3: Ketchup or Tomato Paste
It sounds odd, yet ketchup is a surprisingly good copper cleaner. Tomatoes contain citric and malic acids, and the thick texture clings to curved surfaces such as a kettle spout. Spread a thin layer, wait 10–15 minutes, then wipe it off and rinse. This method is especially handy for detailed handles and decorative seams.
Method 4: Commercial Copper Cream
When years of tarnish have built up, however, a commercial copper polish saves time. These creams combine mild acids with fine abrasives and often leave a thin protective film. Apply a small amount with a cloth, rub in the direction of the metal grain, and buff dry. Always follow the label directions, and wash the kettle with soap afterward so no residue touches your water.

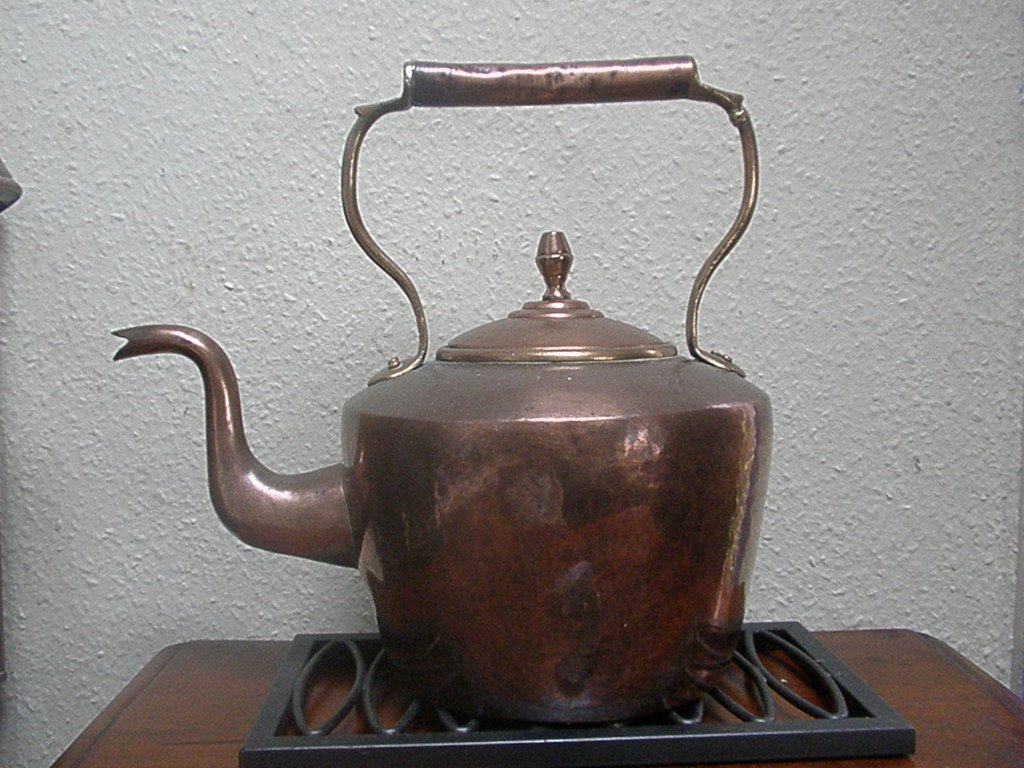
Photo: sammydavisdog via Flickr (CC BY 2.0).
To help you choose, here is how the four methods compare:
| Method | Active Ingredient | Contact Time | Best For |
|---|---|---|---|
| Lemon and salt | Citric acid (~48 g/L) | 1–2 minutes | Light to moderate tarnish |
| Vinegar paste | Acetic acid (4%+) | 15–60 minutes | Large surfaces, heavier tarnish |
| Ketchup | Citric and malic acids | 10–15 minutes | Spouts, handles, detailed areas |
| Copper cream | Mild acids plus fine abrasive | Per label | Years of buildup, green patina |

Video: Secret Chateau shows the lemon and salt method on copper.
How to Clean the Inside of a Copper Kettle
Knowing how to clean copper kettle interiors matters even more, because the inside touches your drinking water. Most copper kettles have a tin or stainless steel lining, and that lining is what you are actually cleaning.
Importantly, copper itself should not sit in contact with acidic contents. The Iowa Alcoholic Beverages Division, citing FDA Food Code section 4-101.14, notes that copper may not be used in contact with food that has a pH below 6, because copper can leach into acidic food. For that reason, you can use an acid to descale a lined kettle, but you should never leave it sitting for hours, and you should rinse several times afterward.
Here is the safe routine for mineral buildup inside a lined kettle:
- Fill the kettle halfway with equal parts water and white vinegar, or dissolve 1–2 tablespoons of citric acid powder in water.
- Bring it to a gentle simmer, then turn off the heat and let it sit for 20–30 minutes.
- Pour out the solution and wipe the interior with a soft sponge. Never use steel wool on a tin lining.
- Rinse three times with fresh water, then boil one full kettle of plain water and discard it.
Notably, citric acid is efficient here. Based on the reaction chemistry, each gram of citric acid can dissolve roughly 0.78 g of calcium carbonate, the main mineral in kettle scale. If your water is very hard, scale returns quickly, so you may want to treat the source. Our comparison of a water descaler vs water softener explains the long-term options, and the same minerals are behind the film covered in our guide to cleaning hard water from a dishwasher.
On the other hand, if the tin lining is worn through and bare copper shows across large areas, stop using the kettle for water. Retinning is a specialty service, and many copper shops in the U.S. still offer it.
How to Clean a Copper Electric Kettle or Copper Gooseneck Kettle
A copper electric kettle is usually a stainless steel kettle with a copper-colored finish. Likewise, most copper gooseneck kettles made for pour-over coffee use plated or powder-coated copper tones over steel. As a result, the polishing methods above can wear through the finish and leave a patchy silver spot.
Instead, use this gentler routine for how to clean copper kettle finishes on electric models:
- Unplug and cool: Always disconnect the kettle and let it reach room temperature.
- Protect the base: Never submerge the kettle or its power base in water.
- Wipe the exterior: Use a microfiber cloth dampened with warm water and one drop of dish soap.
- Remove fingerprints: A cloth lightly dampened with white vinegar and water lifts smudges without abrasion.
- Descale the interior: Use the vinegar or citric acid method above, since the inside is usually stainless steel.
For stubborn heat tint on the stainless interior, the same steps from our guide on cleaning discolored stainless steel pots apply. If you are shopping for a replacement, our best electric kettle guide lists models with copper finishes and stainless interiors.
How to Keep a Copper Kettle Shiny Longer

Photo: andrewmalone via Flickr (CC BY 2.0).
Once your kettle is clean, a few habits will stretch the time between polishing sessions. After all, knowing how to clean copper kettle surfaces is easier when they rarely get dirty. In general, moisture and heat are the two biggest triggers for new tarnish.
- Dry it every time: Wipe the exterior after each use so water spots do not form.
- Skip the dishwasher: Harsh detergent and high heat dull copper and can damage tin linings.
- Use a thin protective coat: A light layer of food-safe mineral oil or a microcrystalline wax slows oxidation on the outside.
- Polish on a schedule: A quick lemon-and-salt pass once a month prevents heavy buildup.
- Store it dry: Keep the lid off for a few minutes after emptying so the interior can air dry.
Of course, some owners prefer the warm, aged look of a light patina. That is perfectly fine for the outside of a kettle. Still, remove any green verdigris, since it signals trapped moisture that will continue to spread.
Common Mistakes to Avoid
Because copper is soft, a few common shortcuts can cause lasting damage. Watch out for these:
| Mistake | Why It Is a Problem | Better Choice |
|---|---|---|
| Steel wool or scouring pads | Leaves deep scratches in soft copper | Soft cloth or non-scratch sponge |
| Polishing lacquered copper | Strips the clear coat unevenly | Mild soap and water |
| Bleach-based cleaners | Chlorine can discolor and pit copper | Lemon, vinegar, or copper cream |
| Leaving acid on for hours | Can etch the surface and leach copper | Follow contact times, then rinse |
| Air drying | Water spots turn into new tarnish | Towel dry right after rinsing |
Frequently Asked Questions
Is it safe to drink water from a copper kettle?
Yes, as long as the interior is lined with tin or stainless steel and the lining is intact. Plain water has a near-neutral pH; therefore, it does not pull much copper from the surface. Problems arise mainly with acidic liquids or a worn lining.
Can I use baking soda to clean copper?
Baking soda is mildly abrasive but not acidic, so on its own it does little to dissolve tarnish. However, a paste of baking soda and lemon juice works well, because the lemon supplies the acid while the baking soda adds gentle scrubbing.
How often should I polish my copper kettle?
Generally, for a kettle you use daily, a light polish every three to four weeks keeps it bright. By contrast, decorative pieces may only need attention two or three times a year.
Why did my copper turn pink or orange after cleaning?
Simply put, that bright salmon color is bare, freshly exposed copper. Over time, it will darken to a warm brown as a new, thin oxide layer forms. This is normal and harmless.
Can I use a copper kettle on an induction cooktop?
Only if it has a magnetic steel base, because pure copper does not work with induction. If you want a stovetop kettle routine instead, our guide to making tea in a pot on the stove walks through the basics.
Final Thoughts
Now you know how to clean copper kettle tarnish without harsh chemicals. Start with lemon and salt, move to a vinegar paste or copper cream for heavier buildup, and always rinse and dry right away. Most importantly, identify whether your kettle is solid, lined, lacquered, or plated before you scrub, since that single check prevents most damage.
With a monthly polish and a quick towel dry after each use, a copper kettle can stay bright for decades. In short, a few minutes of care keeps it looking as good as the day you bought it.


Hey, My name is MAMON. I am a SEO content creator and affiliate marketer with over 8 years of experience. I create honest product reviews, in-depth buying guides, and practical how-to articles to help readers make informed decisions. My mission is to provide trustworthy, research-backed content that delivers real value.