


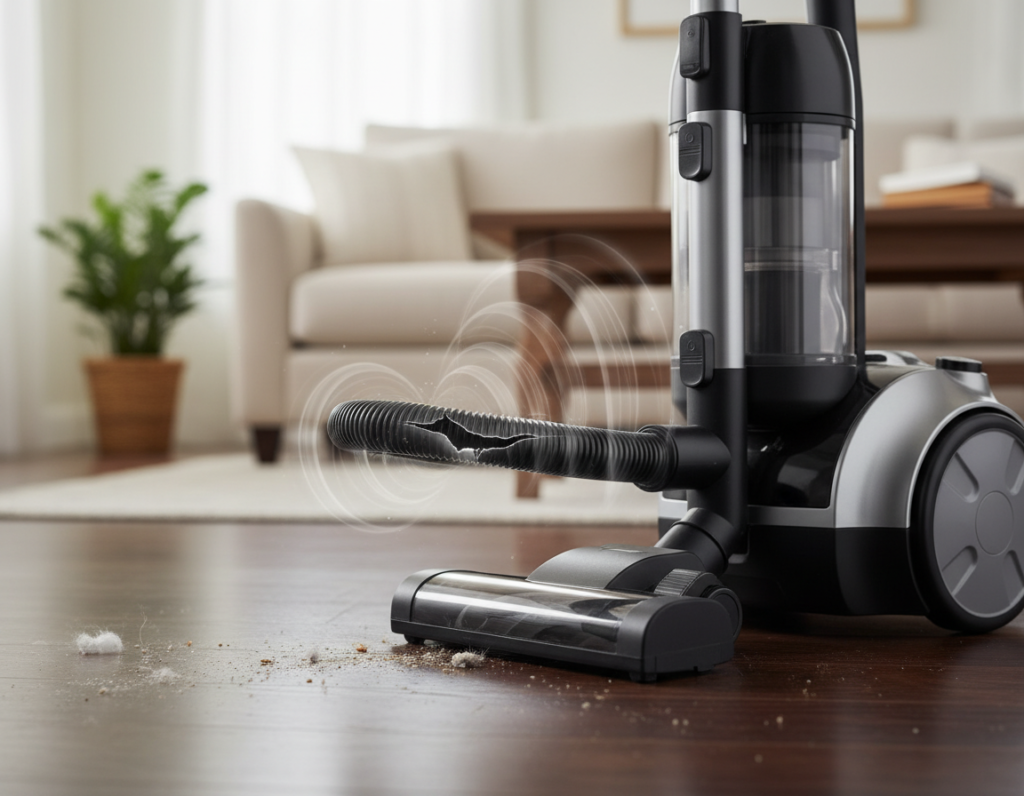
You were midway through weekend cleaning when a new hiss cut through the usual motor hum. If you have ever wondered what does a vacuum cleaner leak sound like, it often resembles a high, thin whistle that makes you stop and test hoses, filters, and grips. Michael Adeniran warns this kind of noise often signals pressure loss and rising motor strain.


Early detection helps you protect suction and parts. With timely care you can avoid overheating, costly replacement, or full-scale repair. Learning the specific pitch of a breach gives you a clear path to fix vacuum issues yourself or call service.
Quick tip: check the vacuum hose, bag or filter first. Tight seals keep air moving and maintain performance across floors.
Key Takeaways
- Recognize hissing or high-pitched whine as signs of leaks.
- Act fast to prevent motor damage and loss of suction.
- Inspect hoses, filters, and seals before seeking service.
- Simple repairs can save you replacement costs.
- Consult the owner manual or an expert when unsure.
Understanding What Does a Vacuum Cleaner Leak Sound Like
When you run your machine, different models produce distinct tonal profiles. Upright units give a deep motor roar, while cordless sticks emit a higher-pitched whine during normal operation. Robot models usually hum steadily at about 60–70 dB, similar to a quiet conversation.
Identifying Hissing Sounds
A persistent hissing or whistling that stays the same across rug and hard floor often points to escaping air from the suction path. Check hoses, seals, and the dust bag compartment first. Blocked filters or a full bag can mimic these signs by restricting flow through the system.
Distinguishing Normal Motor Noise
Rule of thumb: short bursts or a steady deep roar usually mean the motor is under load but functioning. A loud roar for 15–30 seconds can be normal if your unit has a self-emptying base during debris transfer.
- Compare tones on different floor types to isolate the issue.
- Watch for warning lights on smart models indicating pressure drops.
- Regularly inspect filters and hoses to rule out false alarms.
Why Vacuum Leaks Impact Performance
One quick sign of trouble is inconsistent pickup across the same floor. When air escapes before the filter chamber, your unit cannot trap fine dust. That loss of control cuts suction and makes cleaning take longer.
Michael Adeniran of Pressure King Inc. warns that reduced suction forces the motor to work harder. The extra strain raises heat and may shorten motor life. Over time, energy use and repair bills climb.
Leaks also let debris gather in unintended places. That buildup can create mildew odors and odd noise during use. Industrial vacuums use airtight seals for this reason: they protect pressure and steady performance under heavy duty cleaning.

- Address leaks quickly to preserve power and extend service life.
- Check hoses, bag fits, and filter seats for common signs.
| Effect | Cause | Common sign | Quick fix |
|---|---|---|---|
| Loss of suction | Air escaping before filter | Weak pickup on floor | Seal hose, reseat bag |
| Motor strain | Pressure drop in system | Higher temp, odd noise | Inspect vents, replace filter |
| Odors & deposits | Debris in wrong areas | Mildew smell | Deep clean internals |
Preparing Your Workspace for Inspection
A tidy workspace makes it far easier to spot torn seals and pinhole cracks in hoses. Clear an area with bright light and enough room to lay out parts. A clean surface helps you see dust, trapped debris, or damaged components during regular maintenance.
Always power down and unplug the unit before you open any covers. For cordless and robot models vacuum cleaners, press and hold the power button until the system shuts off entirely. This step prevents accidental starts and keeps you safe while you inspect parts.
Safety Protocols
- Telle Tire recommends a visual check of all lines and hoses before attempting repairs.
- Gather simple tools: trash bin, dry cloth, tweezers, and a flashlight for tight spots.
- Follow the eight safety tips for using your unit during maintenance to avoid injury.
- Document each step so you track which parts were checked and what needs service or repair.
- Note that professional service centers use similar protocols when they fix and test systems.
Visual and Auditory Diagnostic Techniques
A careful look at connection points plus a few low-tech checks often reveals hidden airflow problems. Use sight, touch, and simple tools to locate the source before you order any parts or call service.
The Smoke Test Method
Light incense or use a small smoke machine near hose joints and the motor housing. Watch where smoke is drawn in or blown out; that shows spots where air escapes.
Tip: perform this with the unit off and then again briefly on low power to confirm moving airflow.
Using Soapy Water
Mix mild soap and water and brush suspected areas. Bubbles will form at cracks, loose fittings, or torn seals.
This method works well on hose seams, filter seats, and bag compartments. Dry parts fully before running the system.
Checking Connection Points
Inspect clamps, gaskets, and fasteners at each junction. Tighten loose clamps and reseat seals to restore suction and cut down noise.
- Check hose ends and wand joins for tears.
- Confirm filter and bag fit to prevent false alarms.
- Note any worn components for replacement during repair.
Addressing Airflow Blockages in Hoses and Filters
Clogged pathways inside your unit make the motor strain and can raise pitch and heat quickly.
Start with the wand. Remove the long wand on a cordless stick to check for trapped debris inside the tube or hose. Small clumps of hair and string often sit at bends and cut suction fast.
Next, inspect and clean filters monthly. Clean filters help prevent overheating and restore proper air flow. If you use a bagged model, ensure the bag fits snugly; even slight looseness can let air escape the system and create leaks.
- Blockages often cause a high-pitched whine because the motor works harder.
- Dreame models use anti-tangle brushes to reduce hair and string buildup on the floor.
- Regularly check the hose for obstructions and clear debris to immediately restore suction and power.
Quick care tip: clear visible clogs, wash or replace filters per the manual, and reseat the bag and seals. These simple maintenance steps keep noise down and extend performance so you can fix vacuum airflow issues before they become serious.
Resolving Issues with Seals and Gaskets
Inspect the rubber seats and gaskets closely; age often makes them brittle and prone to gaps.
Gaskets and seals around the canister and motor housing lose flexibility over time. That wear can cause a leak and cut suction so the motor works harder.
Replace worn gaskets every few months to keep the system airtight. Always use manufacturer-approved parts so components fit correctly and prevent future leaks.

Check belts and end caps for cracks. A stretched belt will squeal and harm performance. Dreame TriCut brushes help by trimming hair and lowering friction on seals and hose ends.
- Remove the old gasket carefully to avoid damage to mating surfaces.
- Install the new seal, press firmly, and test for steady pressure and suction.
- For heavy use, consider reinforced seals used in industrial vacuums to reduce maintenance.
Routine care of these small parts keeps noise down and extends the life of your vacuum and filters. Timely repair saves money and improves cleaning results.
When to Replace Damaged Components
Knowing when to replace worn components saves time and prevents bigger failures. Inspect seals, hoses, and the motor housing for cracks or hardening. Small faults can let air escape and cut suction fast.
Look for urgent signs: a burning smell, persistent grinding noise after cleaning, or visible cracks in the motor housing. These signs signal that the motor or bearings may be failing and require immediate attention.
Identifying Genuine OEM Parts
Using third-party parts can cause improper fit, vibrations, and accelerated motor wear. To fix vacuum issues that persist, choose genuine OEM parts for seals, belts, and components.
“A burning smell often means the motor is overheating and needs service.”
- Contact manufacturer support if major mechanical failure appears.
- Replace your vacuum cleaner when cracks in the motor housing make repairs costly.
- Pressure King Inc. offers models with precision seals to reduce future leaks.
| Problem | Likely cause | Action |
|---|---|---|
| Burning smell | Overheated motor | Stop use, contact service |
| Grinding noise | Failing bearings/gear | Replace components or machine |
| Loose fit | Non-OEM parts | Use genuine replacement parts |
Best Practices for Long-Term Maintenance
Consistent care protects parts and keeps performance steady over time.
Weekly: clean filters and empty dust compartments. This step cuts friction, lowers noise, and helps prevent a leak from forming.
Monthly: inspect hoses, seals, and joints for cracks or loose fittings. Replace worn parts before they force an expensive service call.

- Document each check so you spot trends and save on replacement costs.
- Expect repair ranges from $150 to $1,000 depending on complexity.
- Use apps like Dreamehome to schedule deep cleaning when you’re away.
- Dry components with air movers after wet cleaning to protect seals and prevent mold.
“Following the manufacturer schedule keeps your machine running at its best.”
If issues persist, consult an expert technician. Regular maintenance and timely repairs let you fix vacuum trouble early and extend the life of your system.
Conclusion
Spotting early signs of escaping air helps you stop small problems before they become costly. Keep an eye on suction and power while you clean to protect performance and parts.
When the sound changes or pressure drops, inspect the hose, seals, and filter. Fixing the source of noise fast saves you time and avoids expensive service calls. Use genuine parts from a trusted source to keep fit and function reliable.
If you have more questions, check our frequently asked and asked questions section for clear steps and diagrams. A well-sealed system keeps your home cleaner and your equipment running efficiently for years.