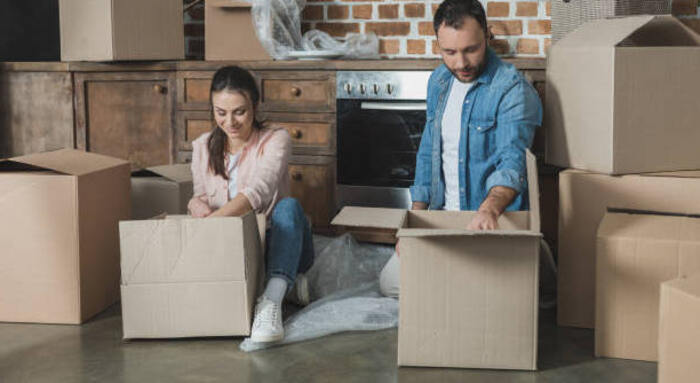
If you are planning a move, this article guides you on what you should pack first, choosing packing materials, and when to begin packing kitchen items. Read on!
1. Organize and declutter
Organizing and decluttering is the first and most important step when packing for a move. Though often overlooked, kitchens and the garage are notorious rooms that hoard the most unused and chipped items. Therefore, you should begin by organizing and decluttering your kitchen to reduce the load. If you’ve hired a moving company for moving services, remember that the cost of moving depends on the amount of your load.
Therefore, you should explore all ways of reducing your load to reduce the cost of moving. While letting go of various items might prove challenging, check your cupboards and kitchen drawers, and identify items you haven’t used for 12 months or more. Identify items that can be donated, recycled, or gifted. You can keep sentimental items.
2. Gather the necessary packing supplies
Gathering the right packing supplies is an essential step in packing. After organizing and decluttering this space, you can easily identify what you need to pack your kitchen items. You’ll need the following packing supplies to make your kitchen move successful:
- Moving boxes – you should source large, medium-sized, small, and heavy-duty boxes for various kitchen items.
- Bubble wraps – they protect fragile items from breaking
- Newspapers – prevents pots and pans from shifting and scraping
- Plastic wraps – used to separate glass containers and prevent them from shifting in the boxes
- Box dividers – used to safely transport dish sets and glassware
- Box labels – to mark the content of boxes to simplify unpacking
- Packing tape – used to seal boxes
3. Keep your kitchen functional
Packing your entire kitchen at once might seem impractical. Therefore, you should set aside several essential items to keep your kitchen functional. This includes:
- Enough plates/bowls, glass, and cutlery for your family members
- Mixing bowl and strainer
- General frying pan and medium-sized pot
- Essential utensils, such as bread knife and wooden spoon
- Optional extras, such as a toaster, mug, and kettle for breakfast
- Cleaning products
You should set aside these items and a medium-sized box to pack them before the move.
4. Packing your kitchen items
You should then prepare your packing supplies to begin the real packing process. You should prepare an inventory that indicates where various items should be placed. Start the packing process beginning with infrequently used items, such as special event dishes, vases, and baking supplies. Note that kitchen boxes can quickly get heavy as plates and glassware are heavy, unlike clothing and other household items.
Therefore, even if you’ve hired movers with moving equipment, you shouldn’t pack excessively heavy boxes as they become susceptible to damage. Starting from one drawer, wrap and group kitchen items using these guidelines:
- Line the inside part of the boxes with packing paper. Packing paper is quite heavy and will cushion various items stacked together during the move.
- Use sheets of packing paper to separate stacks of plates. Don’t stack more than four plates to minimize the breakage risk. Stack bundles of plates into the box horizontally to reduce the risk of damage. Use the same process to pack bowls.
- Place heavy items at the bottom of the box and use packing paper to act as a buffer layer before placing the second layer. However, don’t pack a second layer if the box is already heavy.
- Never place glasses at the bottom of the box, especially if you intend to place other items with significant weight on top. Glasses should be wrapped separately and packed standing.
- Use sufficient packing paper to protect cup handles
- Wrap utensils in groups of 4 to 6 and lay them on top of packing boxes before closing the box. Flatware or cutlery, such as spoons and knives, should also be bundled together in the same manner. However, don’t place knives facing upward.
- Use a separate box to pack pans, pots, containers, and large utensils. Wrap pots and lids separately and nest small items within large items.
- Pack pantry items and canned products into small boxes. Wrap breakable containers with liquid items using plastic bags to prevent leaks.
- Small and medium-sized kitchen appliances should be packed and transported individually. This limits their movement during transport, minimizing breakage.
- Ensure that you unplug appliances ahead of the move to prepare them. Tape any moving components and keep accessories safely in plastic Ziploc bags.
- Vases and wine bottles require careful packing. Wrap them individually and place them in small boxes. Some moving companies provide specialized wine moving boxes, which come in handy in moving unopened wines and valuable bottles you wouldn’t want to lose.
Other items, such as baking trays, dish racks, and cookbooks, should be packed conventionally per the normal packing principles.
5. Moving perishable food items
Moving perishable items is a source of headache for most homeowners, especially since they have to switch off appliances, such as refrigerators and freezers, several hours before the move. Unfortunately, most moving companies decline to move perishable food items, such as frozen cakes, fruits, eggs, milk, and meat, for health and safety reasons. Therefore, to avoid wastage, you should phase out perishable groceries before the scheduled day of moving.
Conclusion
Packing your kitchen for a move might prove daunting if you are not well prepared. From large appliances, dishes, and perishable food items to pack, most people don’t know where to start packing for the move or how to move your kitchen appliances safely. Kitchens, especially kitchens with pantry areas, also harbor several unused items, making it difficult to choose packing boxes and moving supplies.
