


Key Takeaways
- Route rigid metal duct straight up from the range hood, between two roof rafters, and out through a dedicated roof cap; the fewer bends, the better the airflow.
- Most residential range hoods need a 6-inch round duct, not the 10-inch duct older guides sometimes recommend; check your hood’s CFM rating to confirm.
- The International Residential Code requires exhaust terminations to sit at least 3 feet from other roof openings like skylights, chimneys, and other vents.
- Flashing and roofing-grade sealant around the vent boot are what actually prevent leaks, not the duct itself.
A range hood is the fan and filter assembly mounted above your stove that pulls smoke, grease, steam, and combustion byproducts out of your kitchen air before they settle on your cabinets and walls. Venting it through the roof, rather than out a side wall, is the most direct route when your stove sits on an interior wall or island with no exterior wall nearby. Get the installation wrong, though, and you’re not just dealing with a noisy or weak-pulling hood, you’re also risking a genuine roof leak.
This guide walks through the full process: what to check before you buy a hood, how big the duct and roof cap need to be, exactly where on the roof the vent belongs, and how to cut, fit, and seal it so it holds up through a decade of weather.
What to Check Before You Install
Before you cut a single hole, confirm these five things about your setup:
- CFM rating. A rough rule of thumb from ventilation manufacturers is 100 CFM of airflow for every 12 inches of stove width, so a 30-inch range needs a hood rated around 250 CFM at minimum. Higher-BTU gas ranges need more. For context, ENERGY STAR’s certification requirements set a baseline working speed of at least 90 to 100 CFM for certified range hoods, which is a reasonable minimum floor even for a lightly used kitchen.
- Duct size. Duct diameter should match the hood’s CFM, not the other way around. A hood under 400 CFM typically runs on 4-inch duct, 400 to 600 CFM calls for 6-inch, and only high-output professional hoods above 900 CFM need anything close to 8 or 10 inches.
- Filter type. Baffle filters handle grease better over time and need less frequent washing than mesh filters, which matters more the more you fry or grill.
- Mounting height. Most codes and manufacturer instructions call for 24 to 30 inches of clearance between the cooktop and the bottom of the hood.
- Noise level. Blower noise is rated in sones; if you cook with the TV or conversation going, look for a hood in the 1 to 3 sone range rather than the loudest, highest-CFM option available.
If you’re still shopping, our best under-cabinet range hood guide breaks down CFM and noise ratings across current models, and our ductless range hood guide covers the recirculating alternative for kitchens where a roof or wall vent genuinely isn’t an option.

Venting a Range Hood Through the Roof
Roof venting works by running rigid ductwork straight up from the hood, through the ceiling joists and attic space, and out through a dedicated roof cap. Unlike a wall vent, which only needs to clear one exterior wall, a roof vent has to pass cleanly through the attic and the roof deck itself, which means more planning around rafters, insulation, and weatherproofing.
Sizing the Ductwork
Match your duct diameter to your hood’s rated CFM rather than guessing. Rectangular duct, often 3.25 by 10 inches, is common where a round duct won’t fit between joists, but round duct moves air more efficiently for the same cross-sectional area, so use round wherever the space allows. Galvanized steel duct is the standard choice; it holds its shape under negative pressure, resists grease buildup better than flexible foil duct, and won’t sag or kink over a long attic run the way flexible duct can.
Choosing the Right Spot on the Roof
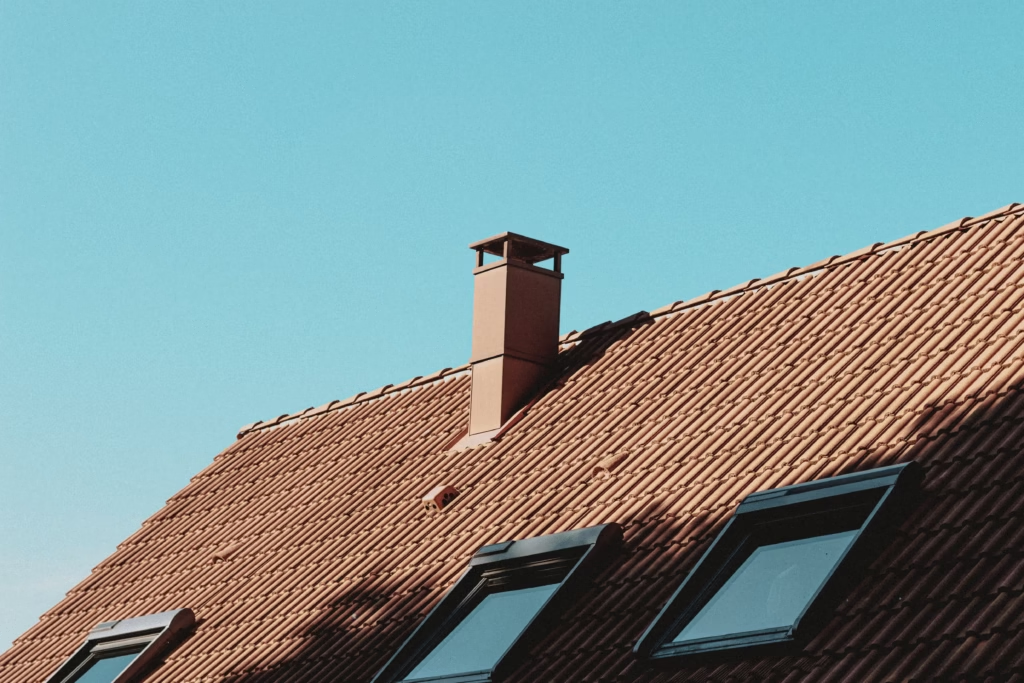
The vent needs to land between two roof rafters, not on top of one, so start in the attic with a flashlight and confirm the bay you’re planning to cut into is actually clear of framing, wiring, and plumbing vents. From there, the International Residential Code’s exhaust systems chapter requires exhaust terminations to sit at least 3 feet from other roof openings, including skylights, chimneys, and other vent stacks, and to stay clear of roof valleys where water concentrates. Most manufacturers also recommend keeping the termination at least 5 feet up from the eave, both to keep it clear of ice damming at the roof edge and to give the exhaust enough vertical rise to draft properly.
Cutting the Opening
Once you’ve confirmed the location from inside the attic, drill a locator hole through the roof deck at the center point between the rafters. Go up on the roof, find that hole, and mark the cutout using your roof cap’s template, either round or square depending on the cap you bought. Cut through the shingles and decking with a reciprocating saw or jigsaw, then pull back roofing material and remove nails in a perimeter around the hole and at least three courses above it, so the cap’s flange has clean material to sit against and be woven under.

Fitting and Sealing the Vent Cap
Set the roof cap into the opening so its flange sits flat against the deck, then slide the upper edge of the flange under the shingle course above the cutout, this is what keeps water running over the vent instead of under it. Nail the flange down along the sides and bottom only, never through the top where water would pool against the nail heads, and run a bead of roofing-grade sealant under the shingle edge and around any exposed nail heads. Once the cap is set and sealed, connect the accordion or rigid duct from the attic side up to the cap’s collar and secure it with a clamp or sheet-metal screws, then wrap the joint with foil tape to keep it airtight.
Common Mistakes That Cause Leaks or Weak Draft
- Undersized duct on a high-CFM hood. Forcing 600 CFM through 4-inch duct creates so much resistance that the blower works harder, gets louder, and still underperforms.
- Too many bends. Every 90-degree turn in the duct run cuts effective airflow, sometimes significantly, so route the shortest, straightest path from hood to roof rather than snaking around joists.
- Flexible foil duct in long attic runs. It’s easy to install but sags over time, collects grease at low points, and restricts airflow more than rigid duct.
- Skipping the backdraft damper. Without one, outside air and cold drafts can flow back down through the duct into your kitchen when the hood isn’t running.
- Nailing through the top of the flashing. This is the single most common cause of a roof vent leak, and it’s avoidable by only nailing the sides and bottom of the cap’s flange.
Maintaining a Roof-Vented Range Hood
Once the vent is in and working, a little seasonal upkeep keeps it that way. Check the roof cap’s damper flap once or twice a year to confirm it’s opening freely and not stuck shut with grease or debris, since a stuck damper quietly kills your hood’s performance without any obvious symptom indoors. Clean or replace the hood’s filters on the schedule the manufacturer recommends, generally every one to three months for mesh filters and less often for baffle filters, since a grease-clogged filter forces the blower to work harder and pushes more residue into the duct itself. After any major storm, it’s worth a quick visual check of the roof cap’s flashing from the ground or a ladder to make sure nothing has lifted or cracked.
When to Call a Professional Instead
Cutting into a roof is one of the few DIY kitchen projects with real consequences if it goes wrong, a bad seal doesn’t show up as a problem until the next heavy rain, by which point the damage is already inside your attic insulation or ceiling drywall. If your attic access is tight, your roof has a steep pitch, or the planned duct run needs more than one or two gentle bends to reach a clear rafter bay, it’s worth paying a contractor for the cut-in and flashing even if you handle the rest of the installation yourself. The cost of that labor is small next to the cost of a water-damaged ceiling.
Frequently Asked Questions
Can I vent a range hood through the roof myself, or do I need a permit? Many jurisdictions require a permit for any roof penetration, even a small one, since it affects the building envelope. Check with your local building department before cutting; a permit typically also means an inspector verifies the flashing before you close everything up, which is a useful second check on your work.
Is a roof vent better than a wall vent? Neither is universally better. A wall vent is usually simpler to install and cheaper to maintain since it doesn’t involve roofing work, but it only works when your stove sits on or near an exterior wall. A roof vent is the only real option for an island cooktop or an interior-wall kitchen, and it can also draft more efficiently since hot exhaust air naturally rises.
How long can the duct run be before it hurts performance? Manufacturers generally recommend keeping the total run, plus the equivalent length added by each bend, under about 25 to 35 feet for a residential hood. Longer runs need a higher-CFM blower to compensate, so check your hood’s specific limit before finalizing the route.
What happens if I skip the roof cap’s backdraft damper? Without a damper, wind and stack effect can push outside air, insects, and in cold climates, condensation back down through the duct and into your kitchen whenever the hood isn’t actively running. It’s a small part that prevents a persistent draft and moisture problem.
Conclusion
Venting a range hood through the roof is worth doing properly, since gas and electric cooking both put moisture, grease, and in the case of gas, combustion byproducts like carbon monoxide into your kitchen air. A correctly sized duct, a roof cap placed the required distance from other openings, and flashing installed the way roofers actually do it are what separate a hood that quietly does its job for twenty years from one that leaks into your attic within a season. If you’re still deciding between a roof-vented hood and a recirculating one, weigh how often you cook and how much smoke or grease your meals typically produce, that’s usually the deciding factor between paying for the ductwork now or living with a less effective ductless filter long-term.


Hey, My name is MAMON. I am a SEO content creator and affiliate marketer with over 8 years of experience. I create honest product reviews, in-depth buying guides, and practical how-to articles to help readers make informed decisions. My mission is to provide trustworthy, research-backed content that delivers real value.