



If a search for this topic keeps sending you to 3D modeling tutorials, you’re not alone. Blender is also the name of popular free 3D software, and its beginner “donut tutorial” dominates search results. This guide is about the other kind of doughnut in a blender: an actual baked treat, made by blending batter in your kitchen blender and baking it in a doughnut pan. No frying, no yeast, no stand mixer required.
Knowing how to make a doughnut in blender form means dumping wet and dry ingredients into the pitcher, blending until smooth, and pouring straight into a doughnut pan. The whole process takes about 20 minutes from start to finish, and it’s genuinely one of the easiest baked treats you can make.
Key Takeaways
- Blender doughnuts are baked, not fried, using a simple batter blended smooth and poured into a doughnut pan.
- Overmixing the batter develops too much gluten and makes the doughnuts dense and tough, so blend just until smooth.
- Never taste raw batter before baking. The FDA warns that both raw flour and raw eggs can carry harmful bacteria.
- No doughnut pan? A muffin tin works as a substitute, though you’ll get muffin-shaped results rather than the classic ring.
Why Bake Doughnuts Instead of Frying Them?
Traditional yeast doughnuts, the kind you’d get from a doughnut shop, require proofing dough, heating oil to a precise temperature, and frying in batches, which is a real project. Learning how to make a doughnut in blender form instead sidesteps almost all of that. Cake-style baked doughnuts use baking powder rather than yeast for their rise, so there’s no proofing time to wait through, and baking in the oven means no hot oil to manage or dispose of afterward. The tradeoff is texture: baked doughnuts are lighter and more cake-like rather than the pillowy, slightly chewy texture of a fried yeast doughnut. For a weekday treat or a quick weekend breakfast project, that tradeoff is usually a good one.
Ingredients You’ll Need
- 1 1/2 cups all-purpose flour
- 1/2 cup granulated sugar
- 2 teaspoons baking powder
- 1/2 teaspoon salt
- 1/2 teaspoon ground cinnamon (optional)
- 2 large eggs
- 1/2 cup milk
- 1/4 cup melted butter or neutral oil
- 1 teaspoon vanilla extract
This base recipe makes about 6 standard-sized doughnuts. It’s easy to double for a full 12-cavity pan, and simple to swap ingredients for dietary needs, more on that below.
Equipment
- A blender
- A doughnut pan (or a muffin tin as a substitute)
- Nonstick cooking spray
- A piping bag, zip-top bag with the corner snipped, or a spoon for filling the pan
- A wire cooling rack
How to Make a Doughnut in Blender: Step-by-Step
1. Preheat and prep
Preheat your oven to 350°F. Grease a doughnut pan thoroughly with nonstick cooking spray, including the center posts, since batter sticks there easily.
2. Add everything to the blender
Add the flour, sugar, baking powder, salt, cinnamon, eggs, milk, melted butter, and vanilla to the blender pitcher. You don’t need to mix wet and dry separately first; the blender handles that in one step.
3. Blend until just smooth
Blend on low to medium speed for about 15 to 20 seconds, just until the batter looks smooth and no dry flour streaks remain. Stop as soon as it comes together. Longer isn’t better here.
4. Fill the doughnut pan
Transfer the batter to a piping bag or a zip-top bag with a corner snipped off, and pipe it into the doughnut pan cavities, filling each about two-thirds full. This keeps the batter out of the center hole and gives a cleaner ring shape than pouring by hand.
5. Bake
Bake for 10 to 12 minutes, or until a toothpick inserted into a doughnut comes out clean and the tops spring back lightly when touched.
6. Cool before removing
Let the doughnuts cool in the pan for about 5 minutes, then run a thin knife around the edges and gently lift them onto a wire rack to cool completely before glazing.

Why Blending the Batter Works So Well, and Where to Stop
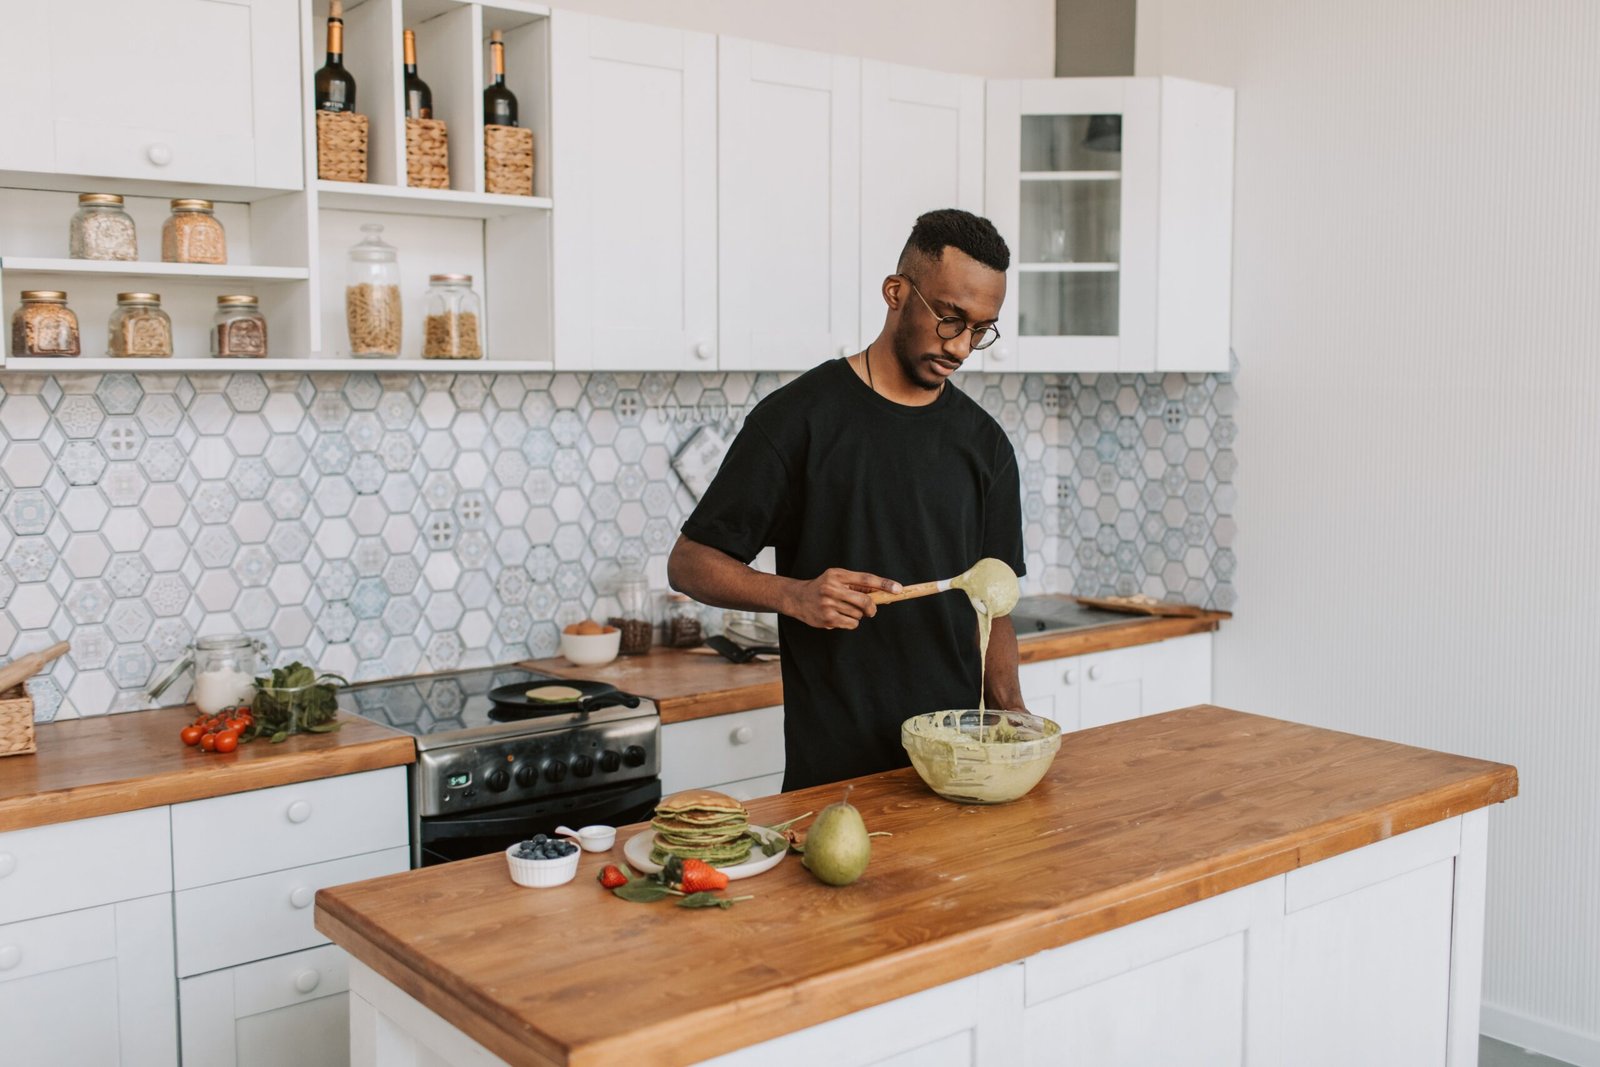
A blender does in seconds what would otherwise take several minutes of whisking by hand: it fully combines wet and dry ingredients into a smooth, lump-free batter. But there’s a real limit to how much blending helps. According to King Arthur Baking’s guide to gluten development, mixing flour with liquid starts building gluten strands immediately, and the more you agitate the batter, the stronger and tougher those strands become. For a tender baked good like a cake doughnut, you want minimal gluten development, which means blending only until the batter looks smooth, not running the blender continuously “to be safe.” If your doughnuts come out dense or chewy instead of light and tender, overmixing is usually the first thing to check.
A Food Safety Note: Don’t Taste the Batter
It’s tempting to sample blender batter straight from the pitcher, but it’s worth resisting. According to the FDA’s guidance on handling flour safely, raw flour is a raw agricultural product that hasn’t been treated to kill bacteria, and it can carry pathogens like E. coli or Salmonella, the same way raw eggs can. Cooking is the only reliable way to make batter containing flour and eggs safe to eat. This applies just as much to a quick blender batter as it does to cookie dough, so wait for the doughnuts to fully bake before tasting.

Flavor Variations
- Chocolate: Add 2 tablespoons of cocoa powder to the batter and reduce the flour by the same amount.
- Pumpkin spice: Swap the milk for pumpkin puree and add 1 teaspoon pumpkin pie spice.
- Protein doughnuts: Replace some of the flour with a scoop of protein powder and add a splash of extra milk if the batter gets too thick. If you like blending protein-forward treats, our guide to making protein ice cream in a blender uses a similar swap-and-blend approach.
- Apple cider: Replace the milk with reduced apple cider and add cinnamon and nutmeg for a fall-flavored version.
Simple Glaze and Topping Ideas
- Classic vanilla glaze: Whisk 1 cup powdered sugar with 2 tablespoons milk and 1/2 teaspoon vanilla until smooth. Dip the tops of cooled doughnuts and let set.
- Cinnamon sugar: Brush warm doughnuts with melted butter, then dip in a mix of cinnamon and granulated sugar.
- Chocolate glaze: Melt chocolate chips with a splash of milk and dip the tops of cooled doughnuts before adding sprinkles.
- Simple dusting: A light dusting of powdered sugar on warm doughnuts needs no extra prep at all.
Wait until the doughnuts have cooled before glazing with anything sugar-based; a warm doughnut will make the glaze slide right off instead of setting.
No Doughnut Pan? Here’s What to Do
A muffin tin works as a direct substitute, filled the same two-thirds-full amount. You’ll end up with round muffin-shaped treats rather than the classic ring, but the flavor and texture will be identical. A mini bundt pan or cake pop pan can also work if you want to get closer to the traditional shape without buying a dedicated doughnut pan.
Storage
Store unglazed doughnuts in an airtight container at room temperature for up to 2 days. Once glazed, they’re best eaten within a day, since the glaze can soften and the doughnuts lose some of their texture as they sit. For longer storage, freeze unglazed doughnuts in a freezer bag for up to 3 months, and thaw at room temperature before glazing and serving.


Troubleshooting Tips
Most problems people run into when learning how to make a doughnut in blender form come down to one of these five issues:
- Doughnuts stuck to the pan: Grease the pan more generously next time, including the center posts, and let doughnuts cool for the full 5 minutes before attempting to remove them.
- Dense or tough texture: This almost always traces back to overmixing. Blend only until the batter looks smooth, not a second longer.
- Doughnuts didn’t rise well: Check that your baking powder is fresh; it loses potency over time and won’t give the same lift once it’s past its prime.
- Batter too thick to pipe: Add milk a tablespoon at a time until it reaches a pourable, pipeable consistency.
- Uneven baking: Rotate the pan halfway through baking if your oven runs hot on one side.
Frequently Asked Questions
Can I use a food processor instead of a blender?
Yes, a food processor works for this batter just as well. Our comparison of a food processor and blender covers other differences between the two if you’re deciding which to reach for regularly.
Why does the recipe say not to overmix, when blenders mix so thoroughly anyway?
Blending is fast, but it still develops gluten the same way hand-mixing does, just more quickly. A few extra seconds in a blender can overmix a batter just as easily as several extra minutes of whisking would.
Can I make these doughnuts gluten-free?
Yes, a 1:1 gluten-free flour blend generally substitutes well in this recipe without other changes. Results can vary slightly by brand, so check that your blend is designed for cake-style baking rather than bread.
Do I need to clean my blender differently after making batter?
Not especially, though acting quickly helps, since dried batter is harder to remove than fresh. Rinse the pitcher promptly and wash with warm, soapy water before it has a chance to set.
Can I make the batter ahead of time?
It’s best baked shortly after blending, since the baking powder starts reacting as soon as it hits the wet ingredients. If you need to prep ahead, keep the dry and wet ingredients separate and blend them together right before baking.
What size blender pitcher works best for this recipe?
A standard full-size blender pitcher handles this batter easily, even the smaller ones found on personal blenders. Since the batter is relatively thin, thickness isn’t the challenge here the way it can be with thicker doughs; just make sure the blades are fully submerged so everything blends evenly.
Is a blender actually necessary, or can I whisk this by hand?
A blender isn’t strictly required. You can absolutely whisk the wet ingredients together, then fold in the dry ingredients by hand until just combined. The blender simply speeds up the process and makes it harder to accidentally leave dry flour pockets, which is part of why the blender method has become popular for quick baked doughnuts specifically.
Where does the confusion with “Blender” the 3D software come from?
Blender is also the name of free, open-source 3D modeling software, and its most famous beginner tutorial happens to walk new users through modeling a photorealistic doughnut. Because that tutorial is so widely referenced online, searches for how to make a doughnut in blender the kitchen appliance often get mixed in with results for the software instead.
Final Thoughts
Making a doughnut in a blender is about as low-effort as baking gets: dump the ingredients in, blend until smooth, pipe into a pan, and bake. The only real technique to watch is not overmixing, since a few extra seconds of blending is the difference between a tender doughnut and a tough one. From there, the glaze and flavor combinations are entirely up to you.


Hey, My name is MAMON. I am a SEO content creator and affiliate marketer with over 8 years of experience. I create honest product reviews, in-depth buying guides, and practical how-to articles to help readers make informed decisions. My mission is to provide trustworthy, research-backed content that delivers real value.