


Most bread dough needs about 6 to 8 minutes in a stand mixer on low to medium-low speed. That’s the short answer. The real answer depends on what you’re baking: lean doughs like basic sandwich bread finish faster, enriched doughs loaded with butter and eggs take longer, and whole wheat needs its own timing altogether. This guide breaks down exactly how long to knead dough in a stand mixer for the bread you’re actually making, plus how to tell when it’s truly done instead of just guessing at the clock.
Homemade bread is worth the effort, and a stand mixer takes most of the physical work out of getting there. But unlike hand-kneading, where you can feel the dough change under your palms, a mixer runs on timing and visual cues you have to learn to read. Get the timing wrong and you’ll end up with a dense, tough loaf either way, whether from under-kneading or over-kneading.
Key Takeaways
- Most lean bread dough needs 6-8 minutes on low speed (speed 1 or 2) in a stand mixer.
- Enriched doughs with butter, eggs, or sugar often need 6-10 minutes since fat slows gluten development.
- Speed matters as much as time. Staying on speed 1 or 2 prevents the motor from overheating and keeps gluten developing evenly.
- The windowpane test is more reliable than any timer: stretch a small piece of dough until light passes through without tearing.
- Watch for dough that clears the bowl’s sides and wraps around the hook without climbing up it. Both are signs kneading is complete.
Why Kneading Time Actually Matters
Kneading develops gluten, the stretchy protein network that traps gas from the yeast and gives bread its rise and chew. Too little kneading and the dough can’t hold its structure, leaving you with a flat, dense loaf. Too much, and the gluten tightens past its useful point, producing bread that’s tough instead of tender. A stand mixer speeds this process up dramatically compared with hand-kneading, but it also makes it easier to overshoot the mark, since the machine doesn’t get tired and keeps going exactly as long as you let it.
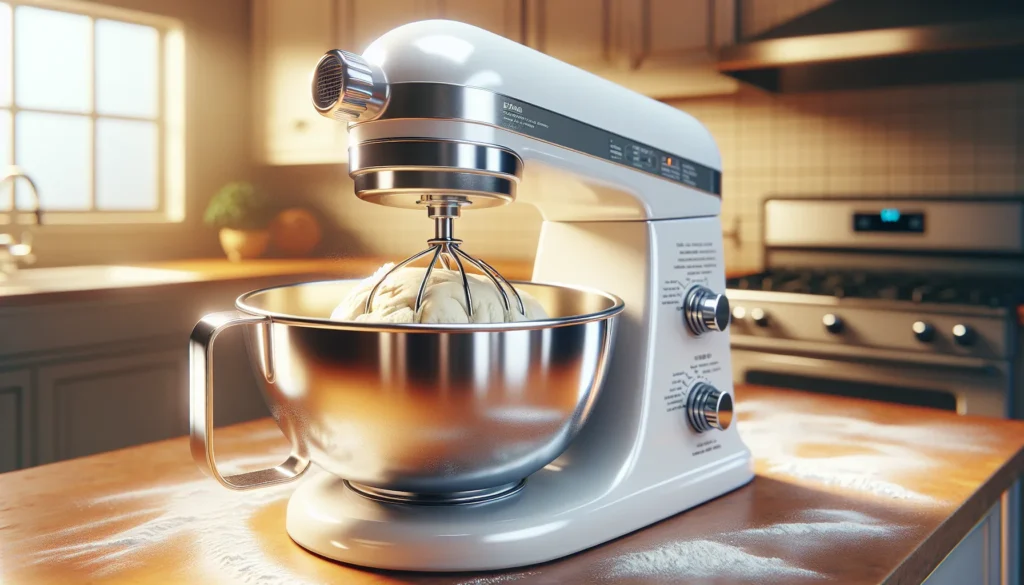

How Long to Knead Dough in a Stand Mixer
The timing depends on the type of dough you’re making.
Lean doughs (basic bread, pizza dough, bagels) generally need 6 to 8 minutes on low speed once the ingredients have come together into a shaggy mass. These doughs have little or no fat, so gluten develops relatively quickly.
Enriched doughs (brioche, cinnamon rolls, sandwich bread with butter or eggs) typically need 6 to 10 minutes, since fat and sugar coat the flour proteins and slow down gluten formation. Add butter gradually, in small pieces, rather than all at once, so the dough can absorb it without becoming greasy.
Whole wheat and mixed-grain doughs often take longer to develop and rarely stretch into as thin a windowpane as white flour dough. Bran particles in whole wheat physically cut through gluten strands as they form, so judge these doughs more by feel and elasticity than by a perfect translucent stretch.
Across dough types, Breville’s baking guide notes that kneading generally takes about 8 minutes for most bread recipes, though your specific recipe should always be the final word, since hydration, flour type, and altitude all shift the timing slightly.
Step-by-Step: Kneading Dough in Your Stand Mixer
1. Choose the Right Speed
Fit your mixer with the dough hook and start on the lowest speed once the ingredients have formed a rough, shaggy dough. Speed 1 or 2 is the effective ceiling for kneading on most stand mixers, regardless of how high the dial goes. Pushing past that risks overheating the motor, splattering flour, and developing gluten unevenly.
2. Watch the First Few Minutes
In the first minute or two, the dough will look lumpy, wet, and stick to the sides of the bowl. That’s completely normal. Let the mixer keep working; this is the stage where the ingredients are still coming together before real gluten development begins.
3. Check for the Dough Clearing the Bowl
Around the 3 to 5 minute mark, the dough should start pulling away from the sides of the bowl and gathering more around the hook. If it’s still sticking heavily after 5 minutes, add flour a teaspoon at a time; if it looks dry and is bouncing around the bowl instead of catching on the hook, add water a teaspoon at a time.
4. Run the Windowpane Test
Once the dough looks smooth and is clearing the bowl, stop the mixer and pinch off a piece about the size of a golf ball. Gently stretch it between your fingers. If it stretches thin enough to let light through without tearing, the gluten is fully developed and it’s ready to rise. King Arthur Baking’s guide to the windowpane test explains that this test isn’t strictly pass or fail. It simply shows you what stage the dough has reached, so don’t be afraid to run it more than once, a couple of minutes apart, if the first attempt tears.
Signs Your Dough Is Perfectly Kneaded
- It clears the sides of the bowl and no longer sticks in wet patches.
- It wraps around the dough hook without climbing all the way up it.
- It feels smooth, elastic, and slightly tacky rather than sticky.
- It passes the windowpane test, stretching thin enough to see light through without tearing.
- Poking it with a finger leaves an indent that springs back rather than staying sunken.
Common Mistakes: Over-Kneading and Under-Kneading
Under-kneaded dough tears immediately during the windowpane test and feels rough or shaggy rather than smooth. Bread made from under-kneaded dough often has a coarse, uneven crumb and doesn’t rise as high as it should, since the gluten network can’t hold onto the gas produced by the yeast.
Over-kneaded dough is the more common mistake when using a stand mixer, precisely because the machine makes kneading effortless. It’s easy to start the mixer, walk away, and come back several minutes later than planned. Over-kneaded dough becomes difficult to stretch and shape, and the resulting bread can turn out tough with an overly tight, chewy crumb. Once you’re past the 4-minute mark on a batch, check the dough every couple of minutes rather than letting the mixer run unsupervised.
If your dough has been kneading for longer than about 10 minutes and still won’t pass the windowpane test, more kneading usually isn’t the fix. Let it rest, covered, for 10 to 15 minutes, then try the test again. A short rest often lets the gluten relax and finish developing without extra mixing time.
Stand Mixer vs. Hand-Kneading: Which Is Faster?
Hand-kneading a similar dough typically takes 10 to 15 minutes of continuous, hands-on effort, and can run longer depending on the recipe and your technique. A stand mixer cuts that time roughly in half while saving your arms, hands, and wrists the workout. The tradeoff is that hand-kneading gives you direct tactile feedback on the dough’s texture as you go, which some bakers find genuinely useful, especially when learning what properly developed dough is supposed to feel like. Neither method is objectively better. A stand mixer is faster and more consistent, so it’s the practical choice for most home bakers making bread regularly.
Watch It in Action
Seeing the dough change texture in real time makes the timing and visual cues far easier to recognize than reading about them alone.
Watch the tutorial on YouTube: How to Knead Bread in a Stand Mixer
Frequently Asked Questions
Can I knead dough too long in a stand mixer? Yes. Because the mixer doesn’t tire out, it’s easy to over-knead by letting it run unattended. Check the dough every couple of minutes after the 4-minute mark rather than walking away for the full kneading time.
What speed should I use to knead bread dough? Stick to speed 1 or 2 on most stand mixers. Higher speeds can overheat the motor, throw dough around the bowl, and develop gluten unevenly.
Does kneading time change between mixer brands? The general 6 to 8 minute range for lean dough holds across most stand mixer brands, though motor power affects how the mixer handles stiff, heavy doughs. A lower-wattage motor may need to pause and rest more often than a higher-powered one when kneading dense bread dough.
Why does my dough keep failing the windowpane test? It usually just needs more time, but flour type matters too. Whole wheat and mixed-grain doughs rarely stretch as thin as white flour dough, so judge those by elasticity and cohesion rather than chasing a perfect, paper-thin window.
Can I use the paddle attachment instead of the dough hook to knead? No. The paddle attachment is built for creaming butter and sugar or mixing batter, not developing gluten. Always switch to the dough hook before kneading bread dough.
Choosing and Using the Right Mixer
The timing above applies no matter which stand mixer you own, but the right machine makes it easier to hit that sweet spot consistently. If you’re still deciding which model to buy, our guide on what to look for when buying a stand mixer walks through the features that matter most for bread baking, and our affordable stand mixer roundup covers reliable options that won’t break the budget. Once you’ve got the machine, our guide on how to use a stand mixer safely covers the setup and attachment basics that make every kneading session go smoothly, and our piece on what a stand mixer is used for is a good primer if you’re new to using one altogether.
Kneading time isn’t a fixed number so much as a range you learn to read by watching the dough. Start on low speed, expect somewhere around 6 to 8 minutes for most lean bread doughs, and let the windowpane test, not the timer, tell you when it’s truly ready. Get that habit down, and a stand mixer will turn out consistently better bread than hand-kneading ever could, in a fraction of the time.


Hey, My name is MAMON. I am a SEO content creator and affiliate marketer with over 8 years of experience. I create honest product reviews, in-depth buying guides, and practical how-to articles to help readers make informed decisions. My mission is to provide trustworthy, research-backed content that delivers real value.