


You remember the first time you tried making burgers from scratch. You held a simple kitchen tool and felt both nervous and excited. That moment often leads people to ask, how does a meat grinder work and why does it matter for homemade meals.
Since Karl Drais invented the first model in the 19th century, this tool has changed how you prepare sausages and other homemade dishes. The basic process is straightforward: feed meat into a funnel, push it along a screw conveyor, and let a blade mince it into the texture you want.


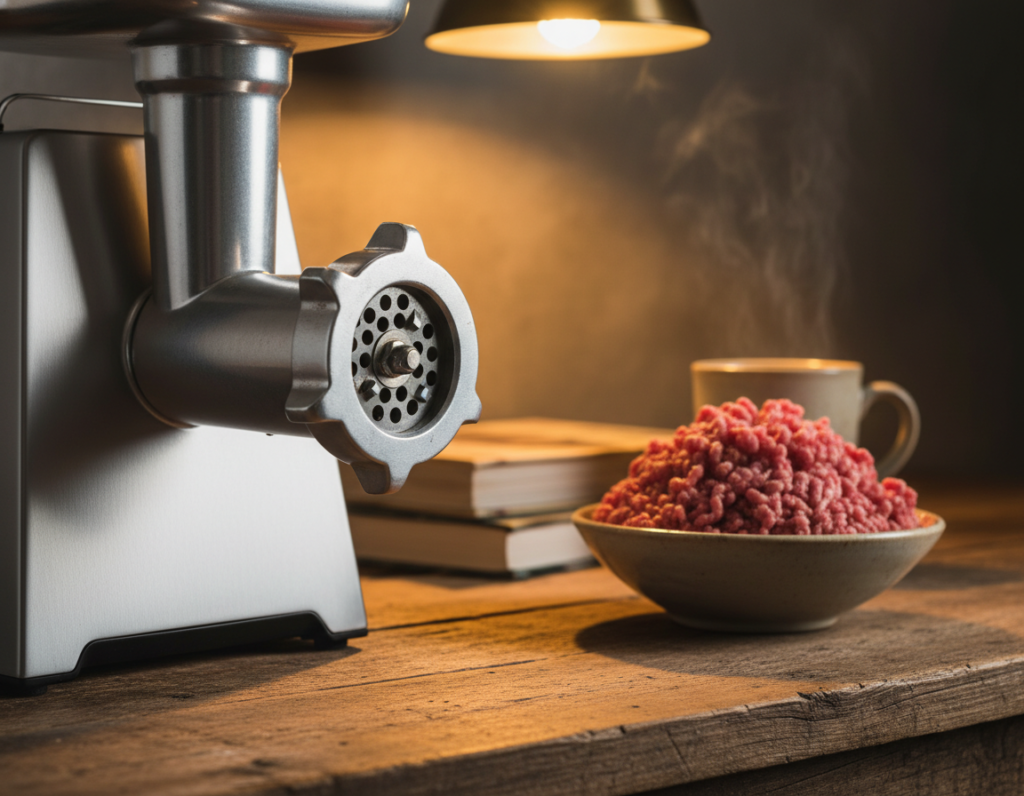
With a reliable machine, you get fresh ground meat for burgers or meatballs and better control over quality and safety. Mastering the mechanics helps you grind efficiently and create consistent results for your favorite family recipes.
Key Takeaways
- Karl Drais invented the first version in the 19th century.
- The funnel, screw conveyor, and blade form the core process.
- Using your own device yields fresher ground meat for burgers and meatballs.
- Proper technique improves texture and food safety.
- Learning basic mechanics boosts confidence with homemade sausages and recipes.
Understanding How Does a Meat Grinder Work
Imagine turning a chunk of beef into uniform pieces for juicy meatballs. The device you use transforms raw meat into a finer texture that suits many recipes.
The basic process pushes meat through a screw to a blade and plate. This action produces consistent ground results fast. Modern meat grinders save significant time versus manual mincing and cut effort for home cooks and chefs.
“The internal mechanics ensure uniform processing, giving you control over texture and quality.”
- Speed: Faster production for busy kitchens.
- Consistency: Even particle size for reliable recipes.
- Control: Adjust plates for coarse or fine results.
| Method | Time | Result |
|---|---|---|
| Manual mincing | Long | Variable texture |
| Home electric grinders | Short | Uniform ground beef |
| Commercial grinders | Very short | High consistency for bulk use |
Essential Components of Your Grinder
Visualize the path from the top opening down to the cutting edge inside the device. Each part has a clear job that affects texture, safety, and speed.
Hopper and Pusher
The hopper is the open place where you load raw pieces before processing. Use the pusher to guide chunks into the throat and keep your hands clear for safety.

The Screw Auger
The screw auger acts as the heart. It twists and moves meat toward the blade and the grinding plate, forcing material through the holes to form uniform ground pieces.
Blades and Plates
The blade and plate decide final texture. Swap plates for coarser or finer results when making sausage or burgers. Keep blades sharp and plates clean for consistent food quality.
“The screw forces product against the cutting edge, producing even results and reducing manual effort.”
| Component | Function | Tip |
|---|---|---|
| Hopper | Feed raw pieces into machine | Use pusher for safety |
| Screw auger | Pushes product to blade | Inspect for wear often |
| Blade & plate | Cut and size final output | Swap plates for desired grind |
| Assembly | Correct fitting ensures safe use | Check seals before each run |
Manual Versus Electric Operation
Your choice between hand operation and powered units determines noise, portability, and output.
Manual models require you to turn a hand crank. This gives you direct control over the grinding process and works well for small batches. Manual units are quiet, portable, and simple to maintain.
Electric versions run on a motor and supply more power. They cut processing time and handle larger volumes with less effort. If you often process bulk meat or value speed, an electric unit saves significant time and fatigue.
- Control: Hand operation offers tactile feedback for texture.
- Power: Motorized units provide consistent force for steady results.
- Time: Electrics reduce prep time; manuals depend on your pace.
- Use & care: Electric operation needs motor upkeep; manual units have fewer parts to clean.
Choose based on volume, available power, and how much control you want. Both grinders serve food preparation needs, but each fits different kitchen routines.
Selecting the Right Grinder Size
Choosing the proper capacity keeps your kitchen efficient and prevents motor strain. For most home cooks, smaller units meet regular needs without excess cost.
Home Versus Commercial Capacity
#5 and #8 models are the common choice for home kitchens. These sizes handle small batches and occasional grinding without taxing the motor.
- #32 and larger suit restaurants and butcher shops that process thousands of pounds.
- The listed size often reflects millimeter measurements that affect capacity and power.
- Match the unit to your expected volume to avoid overloading motors on electric and manual units.

| Size Model | Best For | Typical Capacity |
|---|---|---|
| #5 / #8 | Home kitchens, small batches | Up to 50 lbs/day |
| #32 | Commercial kitchens, high volume | Hundreds to thousands lbs/day |
| Plate & Knife Choices | Adjust final texture | Impacts grinding speed and product quality |
Picking the right size improves efficiency when preparing food products. Consider your routine, the types of cuts you process, and the power available before you buy. This simple match keeps your equipment reliable and your results consistent.
The Role of Grinding Plates and Knives
The cutting components are where texture control truly begins. Your choice of plate and blade sets the look and feel of final products like patties or sausages.
Understanding Hole Sizes
Hole diameter directly affects crumb and bite. Small holes (1/8 inch or 3 mm) produce finely ground results that suit patties and hot dog style sausage.
Large holes (1/2 inch or 12 mm) yield a chunkier grind for chili or rustic sausages. Keep several plates on hand for recipe flexibility.
Knife Sharpness and Material
Blade quality matters. Stainless steel and carbon steel blades hold an edge longer and resist wear during frequent use.
A dull blade will smear rather than cut, harming texture and color. Replace or sharpen blades often to maintain control over ground beef and other products.
- The grinding plate and blade decide final texture for beef patties and sausages.
- Select plate size to control the grind and meet recipe needs.
- Match plate holes to types of meat for best results.
| Plate Hole Size | Typical Use | Result |
|---|---|---|
| 3 mm (1/8″) | Fine patties, hot dogs | Smooth, uniform grind |
| 6 mm (1/4″) | Standard burgers, sausages | Balanced texture |
| 12 mm (1/2″) | Chunky chili, rustic sausages | Coarse, chewy pieces |
“Sharp plates and blades give you consistent texture and improve food quality.”
Preparing Meat for the Best Results
Start by chilling your protein so it stays firm through each pass and trims cleanly.
Cut pieces to fit comfortably into the hopper. This prevents jamming and keeps the grinder running without strain.
Keep items cold for safety and to reduce bacterial growth. Cold beef and other proteins grind more cleanly and give better texture in recipes.
“Firm, chilled cuts let blades slice instead of mash, improving texture and protecting parts.”
- Trim out gristle and bone fragments to protect the blade and plate.
- Cut into uniform pieces so the hopper feeds evenly.
- Different types meat may need specific trimming, but chilling is universal.
- Firm pieces let the grinding process yield consistent ground meat without overworking the motor.
Follow these prep steps each time you use your meat grinder. Proper setup makes your results safer, cleaner, and more reliable for every recipe.
Step by Step Grinding Process
Place trimmed, cold portions into the hopper and keep your pusher ready for steady pressure.
Start the unit or turn the hand crank so the screw pushes pieces toward the blade. The blade slices each portion into smaller bits as it meets the plate.
The product is forced through the holes of the grinding plate. That action sets the final texture for burgers, patties, sausages, or meatballs.
Maintain consistent pressure with the pusher whether you use a hand crank or an electric motor. This prevents jams and gives even ground meat results.
- Feed uniform pieces to keep the hopper flowing.
- Watch output to spot blockages at the grinding plate.
- Swap plate size to change texture for specific recipes.
- Monitor temperature; cold cuts grind cleaner and protect parts.
Follow this process and you gain full control over quality and texture. Proper operation yields safe, consistent ground beef ready for your favorite dishes.
Maintenance Tips for Longevity
A short maintenance session after each use prevents bigger repairs later. Follow a regular routine and your machine will stay reliable.

Cleaning and lubrication matter most. Clean all parts with warm, soapy water right after you finish. Dry every component completely to stop rust, especially on carbon steel plates and blade.
Cleaning and Lubrication
Apply food-grade mineral oil to moving parts like the screw to keep operation smooth. Inspect grinding plates and blades often for dullness; sharp parts preserve texture in your ground meat.
- Clean all parts thoroughly after each use with warm, soapy water.
- Dry components fully to prevent rust on plates and other parts.
- Use food-grade mineral oil on the screw and moving parts to reduce wear.
- Check the grinding plate holes for residue and corrosion; keep them clear.
- Maintain this routine to protect safety and extend usable time for your grinders.
Critical Safety Guidelines
Clear, simple rules cut the risk when you operate grinders in your kitchen.
Never insert fingers into the hopper. The blade and plate are sharp and can cause severe injury. Always use the supplied pusher to feed pieces into the feed tube.
When using electric units, unplug the power before cleaning or assembly. This prevents accidental startup during maintenance.
“Keep meat cold and parts secure; cold product grinds cleaner and reduces strain on plates and motor.”
- Place the unit on a stable surface to avoid tipping during operation.
- Check that the grinding plate and blade are correctly installed before use.
- Do not grind bones unless your model is rated for it; bones can damage plates and create dangerous debris.
- Keep chilled food at safe temperatures to protect quality and safety of ground products.
| Risk | Precaution | Reason |
|---|---|---|
| Finger injury | Use pusher, keep hands away from hopper | Sharp blade and moving parts cause cuts |
| Accidental start | Unplug electric units before cleaning | Prevents motor activation during handling |
| Plate damage | Avoid bones unless specified | Bones can chip the plate and contaminate food |
| Food safety | Keep product cold throughout process | Limits bacterial growth and improves grind quality |
Common Mistakes to Avoid
Common slip-ups can turn a smooth grinding session into a mess of clogged parts and poor texture.
Do not overload the hopper. Feeding too many pieces at once strains the motor and ruins the grind. Work in small batches for steady output and consistent ground meat.
Inspect plates and blade before use. Cracked plates, bent blade edges, or worn parts reduce safety and quality. Replace damaged components right away.
“If the unit struggles, stop and check for blockages or a dull blade; forcing it makes the problem worse.”
- Avoid rushing the process — forcing meat through the holes gives uneven texture.
- Don’t use your hands; always use the pusher for safety near the plate.
- Use the correct plate size for your recipe, especially for fine sausages.
- Clean and dry all parts after each run to prevent rust and contamination.
By skipping these mistakes, you protect safety, preserve parts, and get better, more consistent results every time.
Conclusion
Finish strong by focusing on the basics that protect texture and flavor.
Mastering your grinders gives you full control over the quality of the food you serve at home. Choose the right size for your needs and keep parts clean to avoid problems.
Use the pusher to feed pieces into the hopper and keep the plate sharp for even texture. These simple steps make burgers and other recipes turn out better every time.
Invest a little time learning your unit and you will enjoy fresher results, safer prep, and consistent outcomes. Your confidence in the kitchen will grow with each batch you prepare.